Christmas Lantern Decor Ideas That Glow All December
A Christmas lantern is the easiest glow in the whole house. It is a box of light you can carry from the mantel to the porch to the table, and everywhere it lands it makes the room feel like December. No wiring, no drilling, no ladder in most cases. You set it down, you switch it on, and the corner you ignored all year suddenly has a purpose. That is the whole appeal of a lantern, and it is why lanterns show up in nearly every fresh 2026 Christmas guide, from the mantel to the front steps to the window.
I learned this the year the power went out on the coldest night of December. The tree lights died, the string lights died, the whole living room went dark, and the only light left in the house was a single black metal lantern on the mantel with a battery candle inside it. My daughter carried it to the kitchen table, we ate dinner by that one small glow, and the evening turned into the most memorable night of the whole season. The next morning I bought four more lanterns. Not because one lantern is not enough, but because I finally understood what a lantern does. It does not decorate a room. It gives a room a heartbeat.
That is the promise of this guide. Christmas lantern decor ideas for every spot in the house and outside it: how to choose the right lantern, how to style one on the mantel, how to use outdoor Christmas lantern ideas on the porch and the steps, how to build a tabletop centrepiece that still leaves room for dinner, what to put inside a lantern so it looks full and not empty, the paper star lanterns that make a window glow like a Scandinavian postcard, easy DIY fills that cost almost nothing, and the safety rules that keep the glow safe all month. For the candle side of the same glow, our Christmas candle guide covers pillar candles, tapers and trays in every room, our Christmas front porch guide covers the whole porch look around the lanterns, and our Christmas fireplace guide covers the mantel and hearth they sit on.
1. Start With the Lantern: Styles, Sizes and What Suits Your Home
Every lantern decision starts with the lantern itself, because the style you choose decides everything else. A tall black metal lantern with clear glass reads as classic and a little formal. A weathered wood lantern with a rope handle reads as farmhouse and relaxed. A brushed brass lantern reads as elegant and warm. A whitewashed lantern reads as coastal and calm. A paper star lantern reads as Scandinavian and soft. None of these is better than the others. The right one is the one that matches the room it will live in.
Size matters more than style. A lantern that is too small disappears on a mantel and looks lost on a porch step. A lantern that is too big crowds a nightstand and blocks the view across a dining table. The working rule is simple. For a mantel, choose a lantern between 30 and 45 centimetres tall, about 12 to 18 inches, so it stands proud of the garland without hiding it. For a porch, choose a pair between 35 and 55 centimetres tall, so they read from the street. For a dining table, choose one lantern under 30 centimetres, or a pair of small ones under 25 centimetres, so nobody has to peer around it to talk. For a window, a paper star between 40 and 60 centimetres across fills the pane without blocking the light.
Buy in pairs when you can. Two lanterns of the same style, in two different heights, look planned in a way that one lantern never does. Put the tall one on the left and the short one on the right, or the tall one at the back and the short one at the front, and the eye reads them as a set. A single lantern works best when it is the only light in a small spot, on a nightstand, on a bathroom shelf, on a windowsill. Everywhere else, a pair is the safer choice. If the budget only stretches to one large lantern, buy the large one and add a small cheap one later. The set matters more than the price of either piece.
Glass is the next decision. Clear glass shows everything inside the lantern, which is good when the inside is the decoration, a little scene, a cluster of ornaments, a bottle brush tree. Frosted or seeded glass softens the light and hides a plain battery candle, which is good when the lantern is the decoration and the inside is simple. Mercury glass, the speckled silver finish, catches the light and looks antique, and it suits a vintage or glamorous room. Open lanterns with no glass at all suit a covered porch or a sheltered mantel, but they let dust and rain in, so keep them indoors or under cover.
The handle matters too, and people forget it. A lantern with a sturdy handle can hang from a hook, a branch, a shepherds hook by the door, a nail on the porch beam. A lantern with a fixed top ring can hang but cannot be carried easily. A lantern with no handle at all is a tabletop piece only. If you want the freedom to move the lantern around the house through December, buy one with a real handle. The lantern that moves is the lantern that gets used.
Finally, think about the light source before you buy. Most modern lanterns are sold empty, and the light is your choice. A flameless LED pillar candle is the standard, and it is the safest choice in a house with children, pets, or greenery nearby. A short string of fairy lights on a timer is the prettiest choice, and it fills the lantern with a soft scatter of light. A real candle is the warmest choice, and it belongs only in a lantern with no flammable decoration inside it, on a stable surface, where you can see it. Decide the light first, then buy the lantern to fit it. A lantern bought for a real candle is wasted on a battery one, and a lantern bought for fairy lights needs a lid or a hook to hide the battery box.
2. The Mantel Lantern: Greenery, Height and the Rule of Pairs
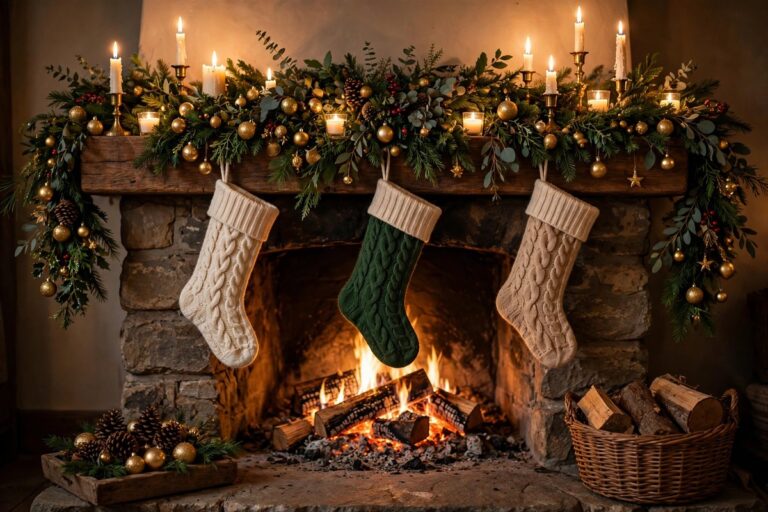
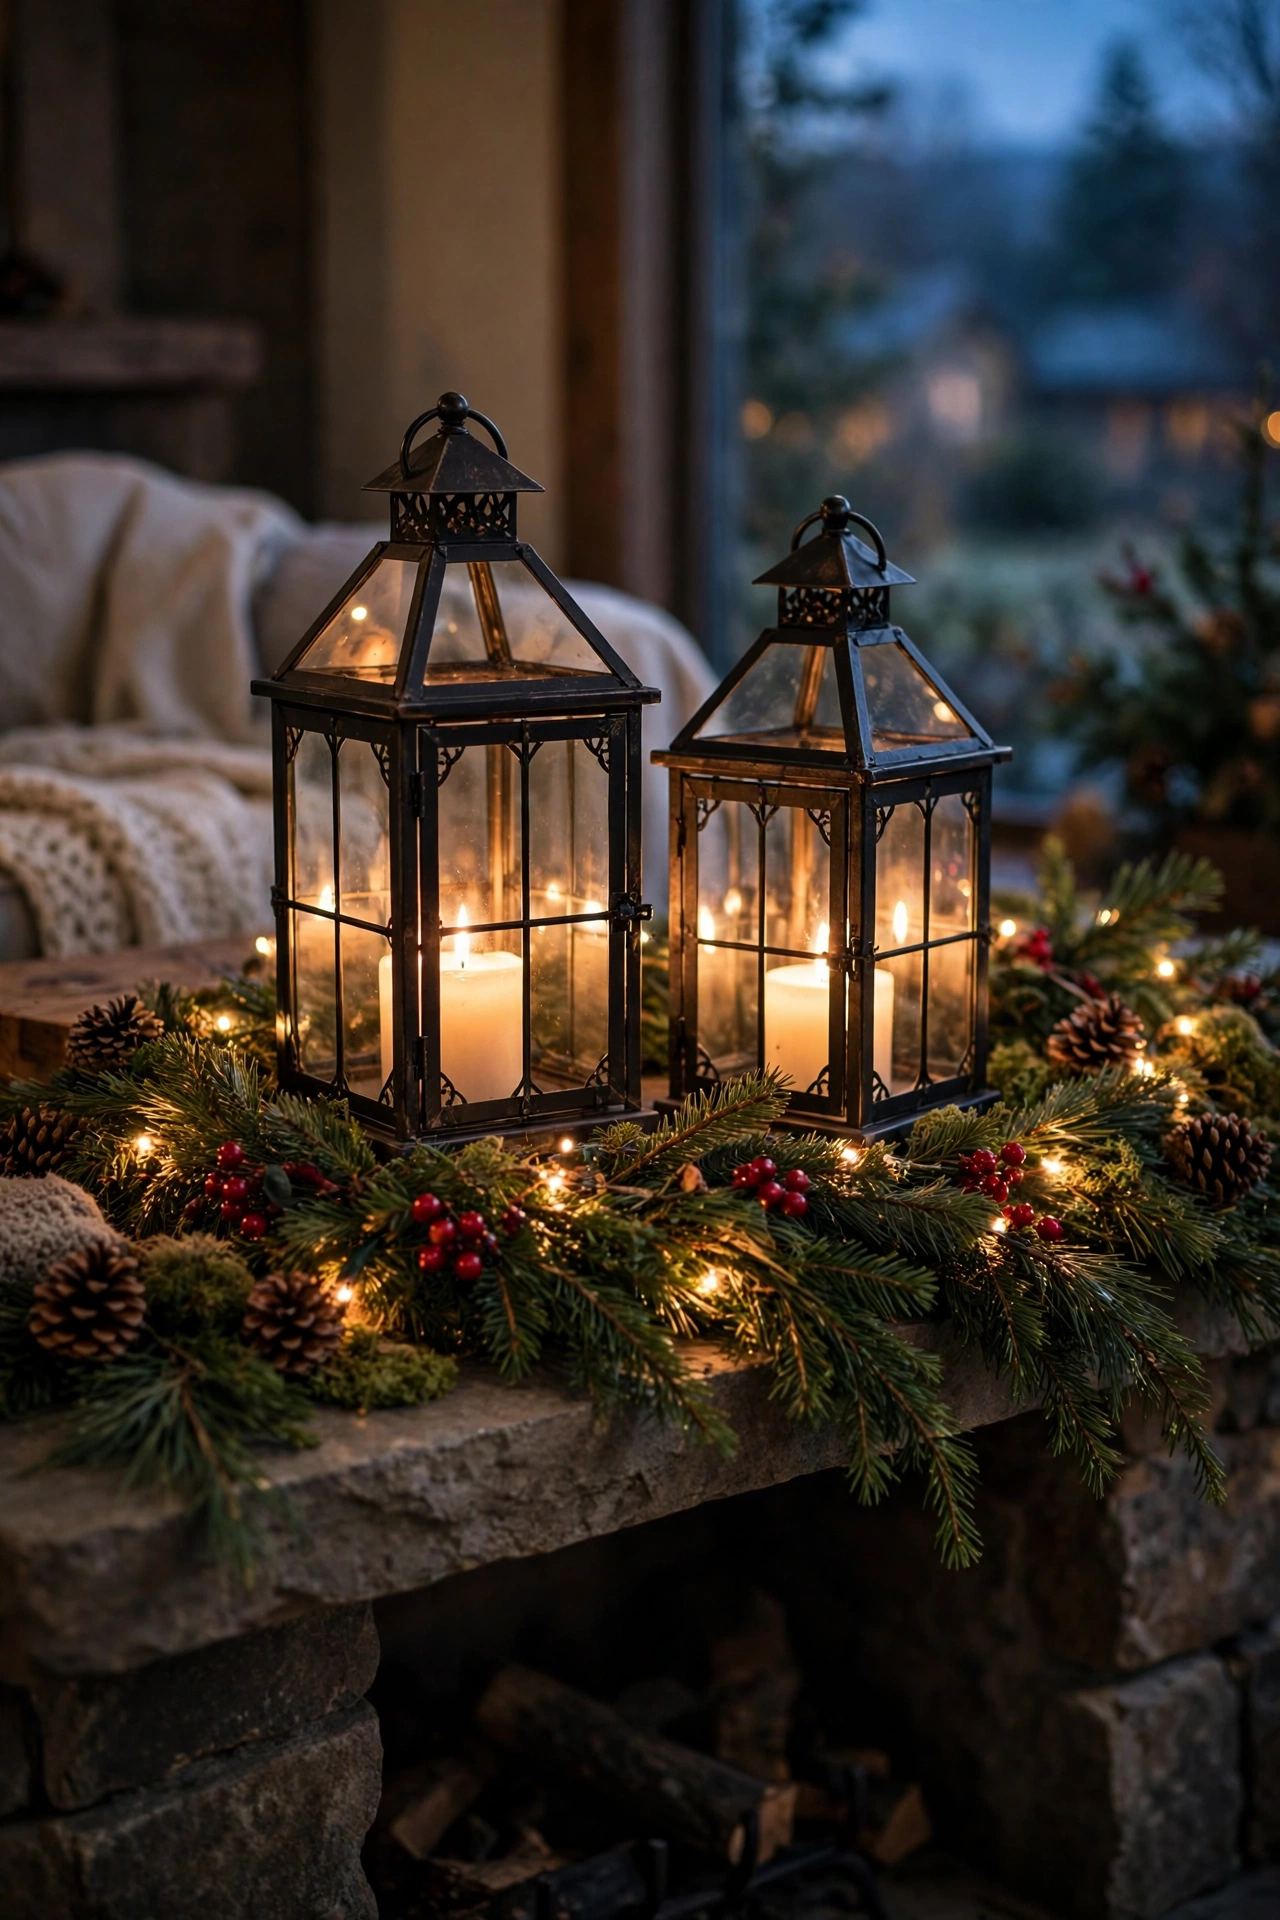
The mantel is the natural home of a Christmas lantern. It is the first place guests look, it is the warmest wall in the house, and a lantern there does double work. It lights the garland and it lights the room. The fresh 2026 guides all show the same picture: a rustic lantern tucked into evergreen branches on a stone mantel, antlers and ornaments around it, warm string lights woven through the greenery. It works because the lantern is both the light and the decoration.
Start with the garland. Lay a full evergreen garland along the mantel first, letting the ends droop a little at both sides. A garland that stops exactly at the edge of the mantel looks measured. A garland that droops looks lived in. Then place the lanterns. One tall lantern at one end and one short lantern at the other end is the classic arrangement, and it balances the mantel without making it symmetrical. Symmetry looks formal. A tall lantern on the left and a short lantern on the right, with the stockings or the wreath in the middle, looks like a home.
If you have only one lantern, put it off centre. A single lantern in the exact middle of the mantel fights the mirror or the wreath above it for attention, and both lose. A single lantern a third of the way along the mantel, with the garland running past it, looks deliberate. Tuck the base of the lantern into the garland so the greenery touches the glass. A lantern sitting on top of the garland looks perched. A lantern nested into the garland looks planted.
Height is the detail that separates a good mantel from a great one. A lantern on a flat mantel sits at the same height as everything else, and the eye slides straight across it. Raise one lantern on a stack of books, a wooden box, or an upturned crate, and the mantel gains a second level. The raised lantern becomes the high point, the garland becomes the low line, and the space between them has depth. Keep the raise modest, five to ten centimetres, so the lantern still looks stable. A lantern on a wobbly stack is a lantern waiting to fall.
The light inside a mantel lantern should be warm, and it should be on a timer. A timer that switches the lantern on at dusk and off at bedtime means the mantel glows every evening without anyone touching it. Battery candles with built in timers cost a little more than plain ones, and they are worth every cent. A mantel lantern that is dark half the time is a decoration. A mantel lantern that glows every evening is a ritual.
What goes around the lantern matters as much as what goes inside it. A few pinecones at the base, a sprig of red berries tucked into the greenery beside it, a small cluster of ornaments in the same colour as the lanterns ribbon, and the mantel reads as one picture. Do not crowd the lantern. A lantern with three things around it looks styled. A lantern with ten things around it looks like a shelf that needs clearing. Leave breathing room on the mantel, especially near the lantern, because the glow needs empty space to fall on.
One safety note belongs here, because the mantel is where greenery meets light. Never put a real flame inside a lantern that sits in or on a garland. Dried evergreen, ribbon, paper stars and pinecones all catch fire faster than you expect. Use flameless candles or fairy lights in any lantern that touches greenery. The glow is the same, and the risk is gone. Save the real candles for a lantern on a bare tabletop, far from anything flammable, where you can watch it.
3. Porch and Steps: Outdoor Christmas Lantern Ideas That Survive Winter
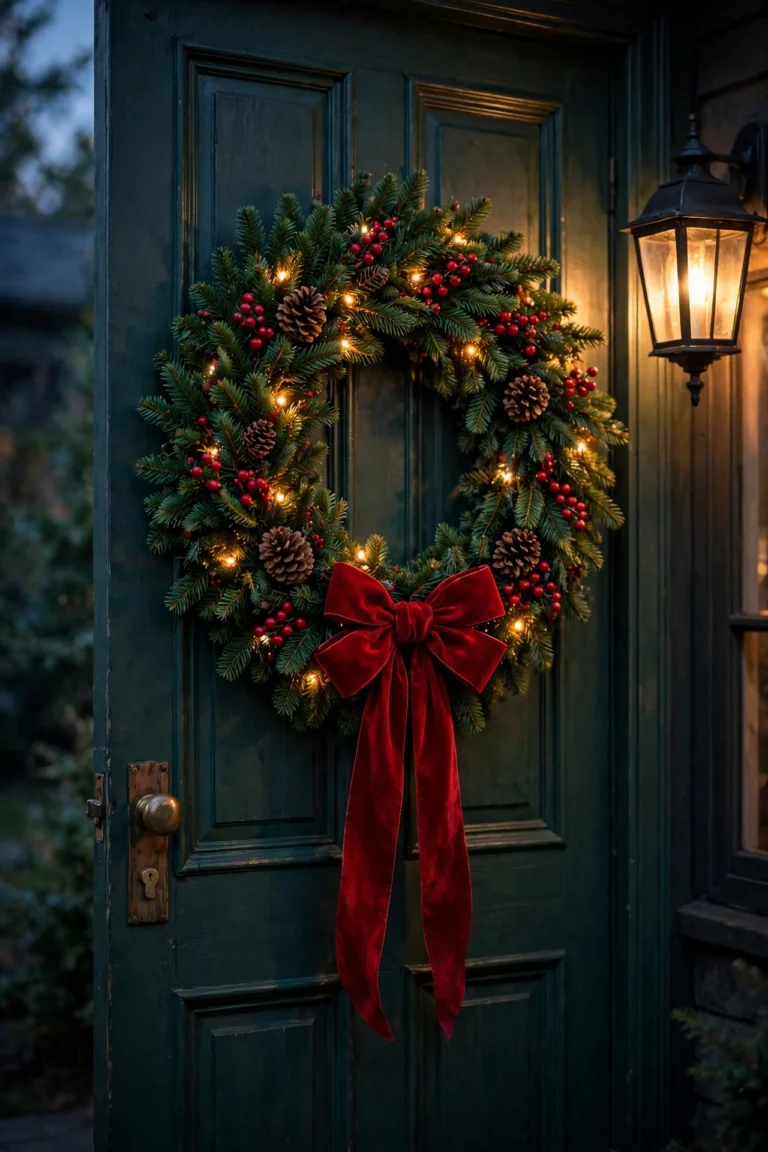
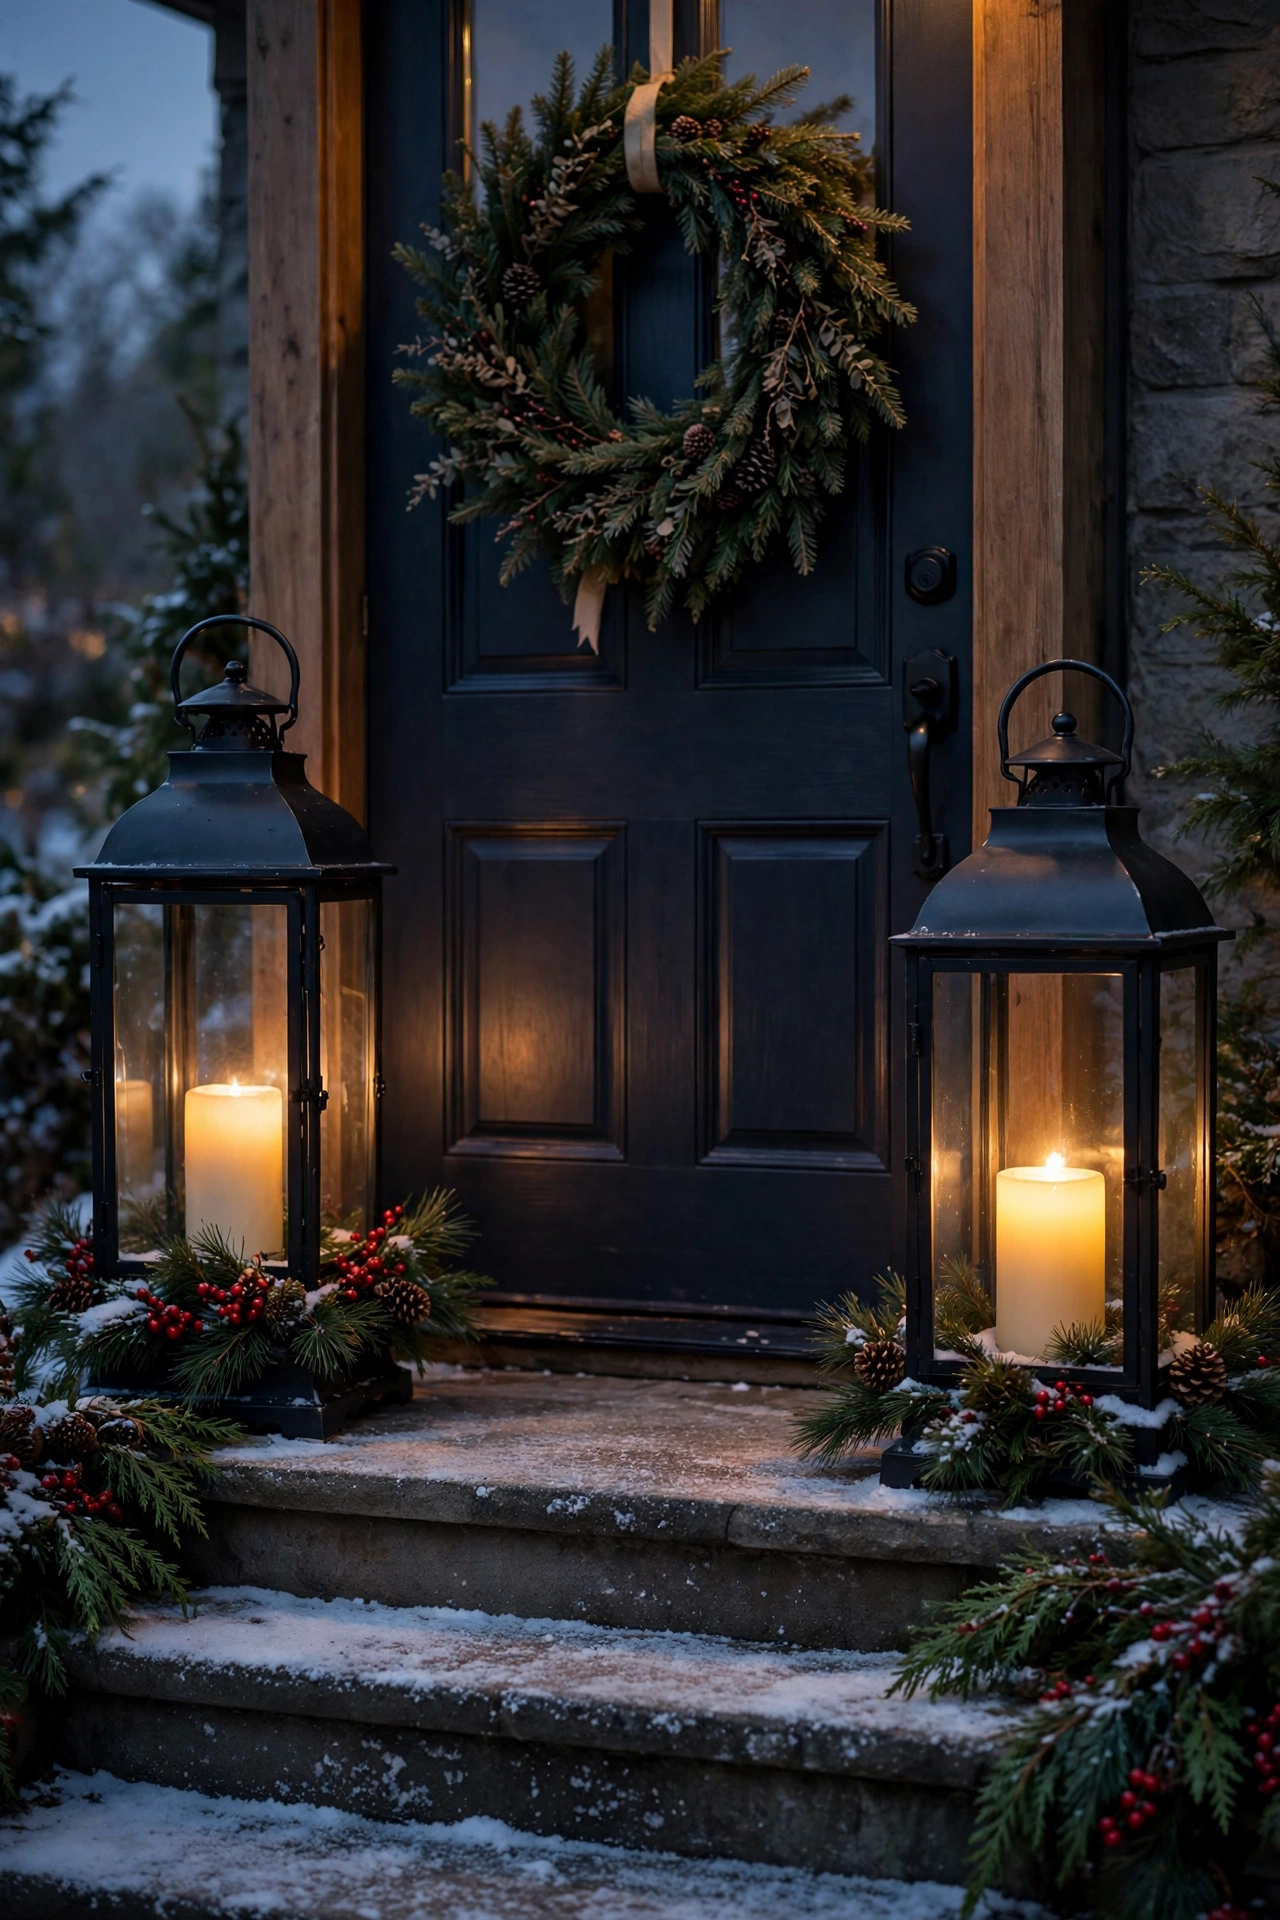
Outdoor Christmas lantern ideas are the most searched lantern idea of the season, and the reason is simple. The porch is the first thing guests see and the last thing they remember, and a lantern on the steps is the warmest possible welcome. The 2026 guides agree on the formula: two or three lanterns in different heights, black metal, wood, or brushed brass, flanking the door or staggered down the steps, filled with flameless pillar candles on a timer, with a sprig of greenery or a few cranberries around the candle base.
Start at the door. One lantern on each side of the door is the classic porch look, and it works on every size of porch. Match the pair, same style, same height, and the door looks framed. If the porch is wide, add a third lantern further out, on the steps or beside a planter, at a different height. Three lanterns beat two on a wide porch, because two lanterns on a wide porch look lost. The rule is to fill the width. A small porch needs two small lanterns. A wide porch needs two large ones and a third somewhere in between.
Stagger the heights down the steps. A tall lantern on the top step, a medium lantern on the middle step, a short lantern on the bottom step, and the steps themselves become the decoration. This is the look that photographs beautifully from the street, and it is the look that neighbours notice. Keep the lanterns on the same side of the steps, or mirror them on both sides if the steps are wide. Do not put a lantern in the middle of a step where someone will kick it. A lantern on the edge of a step is a decoration. A lantern in the walking line is a hazard.
Weather is the difference between an indoor lantern and an outdoor one. Rain, wind, snow and frost all attack a porch lantern. Choose metal or heavy wood, not thin plastic or paper, for any lantern that will sit outside overnight. Paper star lanterns belong in a window or under a covered porch, never in open rain. A lantern with a solid roof and glass on all four sides keeps the candle dry. A lantern with open panels lets the wind blow the light out, and in a real storm it lets the rain in. If your porch is exposed, buy lanterns rated for outdoor use, or bring them inside on the worst nights. A lantern that survives December is a lantern you can use again next year.
Timers are not optional outdoors. A porch lantern on a timer glows every evening at dusk, whether you remember it or not, and switches itself off overnight so the batteries last the month. Set the timer for dusk to about 10 in the evening. That covers guests arriving, neighbours walking past, and the family coming home, and it saves the batteries for the nights that matter. A lantern you have to switch on by hand will be dark on the exact night guests arrive, because that is how memory works.
Wind needs a plan. A tall lantern on a windy porch catches the wind like a sail, and a gust can topple it. Weigh the lantern down. A bag of gravel or a flat stone hidden under moss and pinecones inside the base gives it weight down low, where it counts. On a very windy porch, wire the handle to the railing or the door frame with a short length of wire. Nobody sees the wire, and the lantern stays put. Use shatterproof ornaments inside an outdoor lantern, never glass, because a fallen glass ornament on stone steps is a mess and a cut waiting to happen.
The glow itself should be warm and low. Lantern light is warm and low, and that is exactly what makes a porch feel inviting after dark. Two or three small lights beat one big floodlight every time. A floodlight says security. A lantern says welcome. Keep the porch light off if the lanterns are doing the job, or dim it, and let the lanterns carry the evening. Guests will walk toward the warm light, and they will feel welcomed before they reach the door.
4. The Tabletop Lantern: A Centrepiece That Leaves Room for Dinner
A lantern makes a wonderful table centrepiece, with one condition. It must leave room for dinner. A centrepiece that blocks conversation, hides the food, or forces guests to pass dishes around it has failed, no matter how pretty it is. The tabletop lantern works when it is low, when it is narrow, and when the table still feels like a table.
Choose a lantern under 30 centimetres tall for the dining table, or a pair of small lanterns under 25 centimetres. A tall lantern on a dining table is a wall between guests. A low lantern is a glow they can see over. If you love a tall lantern, use it on a sideboard or a console table behind the dining table, where its height is an asset instead of a barrier. The dining table wants low light. The sideboard wants tall light.
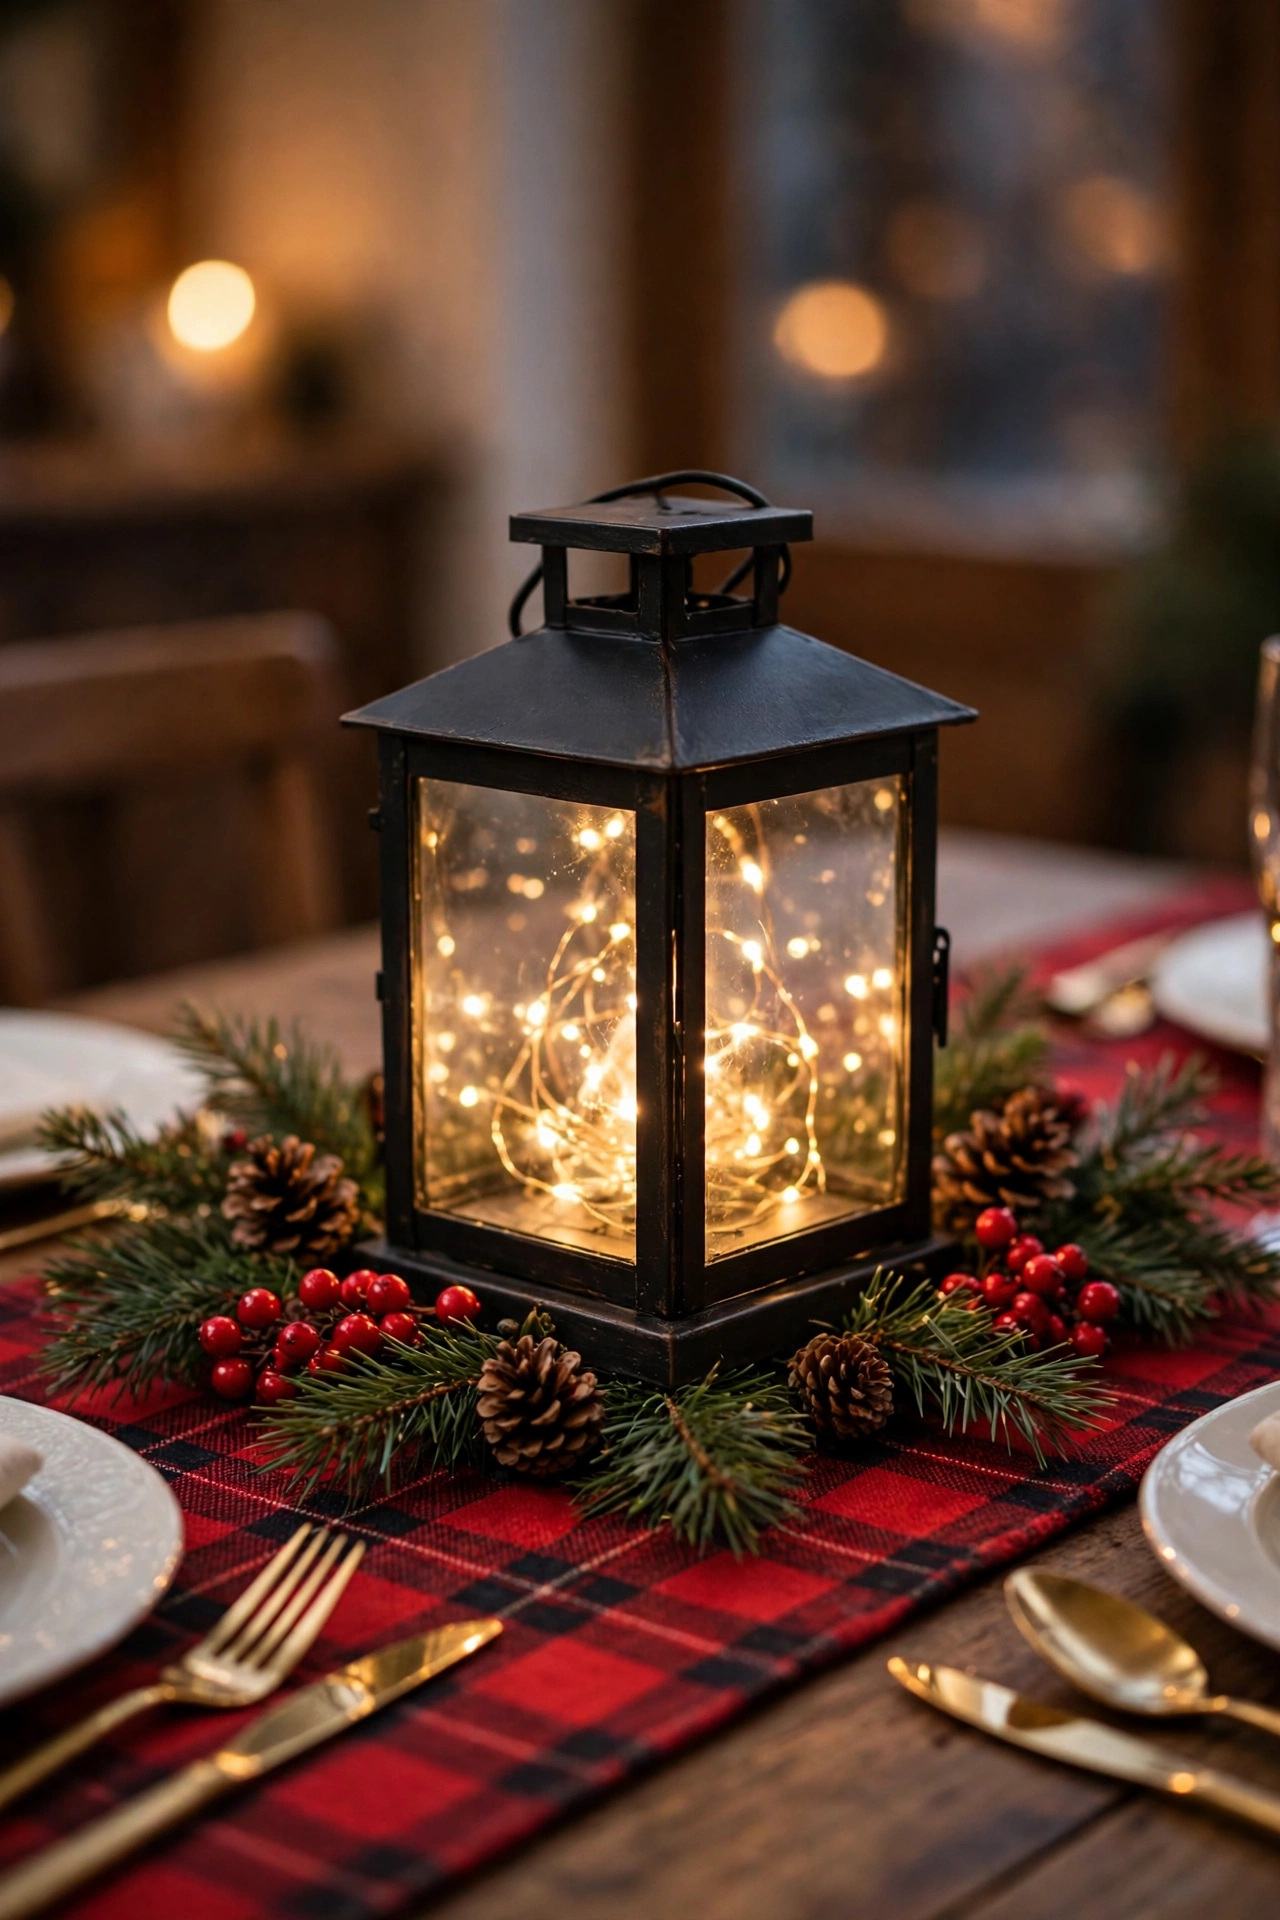
Build the centrepiece around the lantern, not on top of it. Lay a runner down the middle of the table, then set the lantern in the centre of the runner. Add a low ring of greenery around the base, a few pinecones, a scatter of cranberries, a couple of small ornaments in the palette of the table. The lantern is the high point. Everything else stays low. The eye reads the lantern first, then the greenery, then the plates. That is the order a centrepiece should work in.
One lantern suits a table for four. A table for eight needs two small lanterns, spaced along the runner, with greenery between them, so the light reaches both ends of the table. A table for twelve needs three, or one lantern plus a row of small votives or tea lights in the gaps. The rule is one light per four seats, roughly, so nobody eats in the dark and nobody eats in a glare.
The light inside a dining table lantern should be flameless. Real candles at a dinner table are lovely, and they are also a risk with sleeves, napkins, children reaching for bread, and a table full of paper and fabric. A flameless pillar candle inside the lantern gives the same warm glow, and it cannot set a napkin on fire. If you want real candlelight at dinner, put the real candles in a separate candelabra at the end of the table, away from the lantern and the greenery, where you can watch them. The lantern is for glow. The candelabra is for flame.
Keep the lanterns fill simple on the table. A dining table lantern does not need a scene inside it. A single pillar candle, a short string of fairy lights, or a small bottle brush tree is enough. The table already has plates, glasses, cutlery, food and people. The lantern is one voice in a busy room, and it should speak quietly. Save the elaborate scenes, the floating ornaments and the miniature villages, for the mantel and the sideboard, where people can stand and look at them properly.
After dinner, the table lantern earns its keep a second time. Move it to the coffee table, the side table, or the windowsill, and the room keeps glowing while the table is cleared. A lantern that moves is a lantern that gets used, and the tabletop lantern is the easiest one to move. Carry it by the handle, set it down somewhere new, and the evening has a second act.
5. What to Put Inside: Flameless Candles, Fairy Lights and Little Scenes
The question every lantern owner asks is what to put inside it. An empty lantern is a glass box. A filled lantern is a decoration. The answer depends on where the lantern lives, how much light you want, and how much work you are willing to do. Here are the fills that work, from simplest to most elaborate.
The flameless pillar candle is the default, and it is the default for a reason. It is safe, it is simple, it looks like a real candle from across the room, and it fits almost any lantern. Choose a candle that is about two thirds the height of the lantern, so there is space above the flame for the light to spread. A candle that touches the top of the lantern looks cramped. A candle that is too short looks lost. Buy candles with a timer, so the lantern lights itself every evening. A set of three candles in three heights, one on the floor of the lantern, one on a wood slice, one on two stacked slices, gives the light three levels and the lantern a sense of depth.
Fairy lights are the prettiest fill, and they are the fill the camera loves. A short string of warm white micro LED lights on fine wire, coiled loosely inside the lantern, turns the whole box into a glow. Use warm white, never cool white, in a Christmas lantern. Cool white feels like a shop window. Warm white feels like candlelight. Hide the battery box under a layer of faux snow, moss, or a folded piece of greenery at the base of the lantern, so the box does not show. A string of twenty lights is enough for a small lantern. A string of fifty fills a large one. More than that, and the lantern looks like a tangle.
A bottle brush tree inside a lantern is the classic Christmas scene. One small tree, a little faux snow at the base, a single tiny ornament on the top, and the lantern becomes a snow globe without the water. Two trees at different heights work in a large lantern. Three trees crowd it. Keep the tree small enough that there is glass visible above it, so the scene has air. A tree that touches the roof of the lantern looks stuffed. A tree with space above it looks like it is growing.
Ornaments make the most playful fill. Fill the base of a large lantern with a shallow layer of faux snow, then stand a few shatterproof ornaments on it, or hang them from the ceiling of the lantern on fishing line at staggered heights. The hanging trick is the one the 2026 guides keep returning to. Hot glue a few lengths of fishing line and a hair thin LED string to the inside ceiling of the lantern, and ornaments, stars and crystals float through the full height, which leaves the floor free for a tall figure or a complete winter scene. Stagger the line lengths, short, medium, long, and keep everything clear of the panes. Outdoors, choose lightweight shatterproof ornaments over glass every time.
A miniature scene is the most elaborate fill, and the most rewarding. A tiny house, a deer, a small tree, a dusting of faux snow, and the lantern becomes a village in a box. Build the scene on a flat base that fits the floor of the lantern, a circle of cardboard covered in moss or snow, so you can lift the whole scene out in January and store it in one piece. Keep the tallest figure under two thirds of the lantern height, so the scene has sky above it. A scene that fills the lantern to the roof has nowhere for the eye to rest.
Whatever you put inside, remember the rule of one idea per lantern. A lantern with a candle and fairy lights and a tree and ornaments is a junk drawer with a lid. A lantern with one clear idea, one candle, or one string of lights, or one little scene, looks planned. If you have more ideas than lanterns, buy another lantern. The lantern is cheap. The clutter is expensive.
6. Paper Star Lanterns and Windows: The Scandinavian Glow
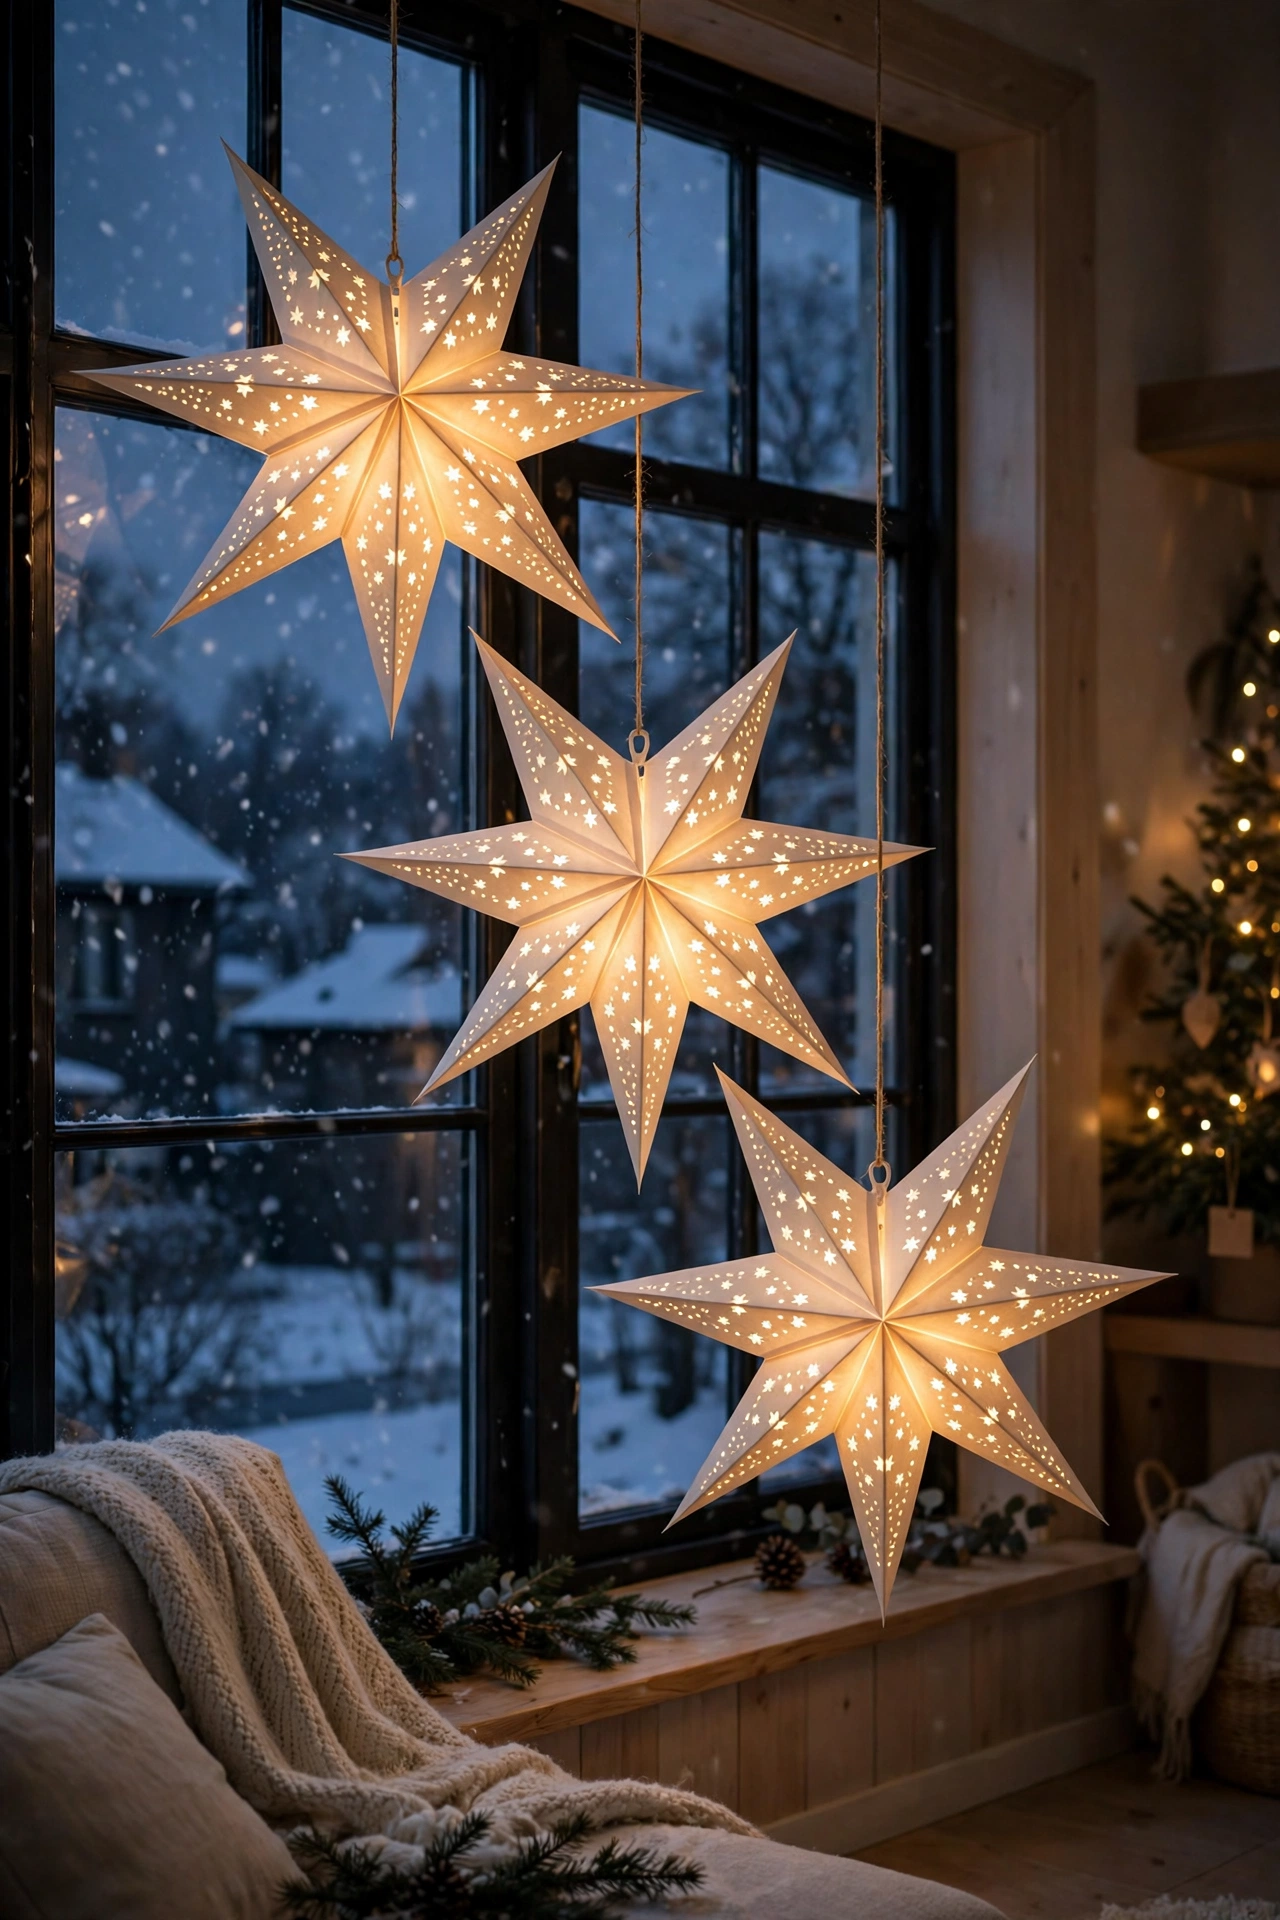
Paper star lanterns are the single most iconic piece of a Nordic Christmas, and they are the easiest way to make a window glow. Hung in windows throughout Scandinavia from late November, these large perforated stars glow from within and signal warmth to everyone passing in the dark. Hang one in each front facing window, or a cluster of three at staggered heights in your largest window, and the house looks like a Christmas card from the street.
A paper star is a different kind of lantern. It has no glass, no metal, no base. It is a folded paper star with a light inside, and it works because the paper diffuses the light into a soft, even glow. Buy stars in white, cream, or soft grey. White is the classic. Cream is warmer. Soft grey is modern and calm. Avoid bright colours for the window, because a red or green star competes with the tree and the wreath, and the window should glow, not shout.
Hang the star from the window frame or a curtain rod with clear line, so it appears to float. The line should be invisible in the daytime and the star should look like it is hanging in the air. Hang the star in the centre of the window, or slightly off centre, at about two thirds of the window height, so it is visible from the street and from the room. A star hung too low blocks the view out. A star hung too high disappears behind the curtain. Measure twice, hang once.
Use only warm LED bulbs or battery operated inserts made for paper lanterns, and never an open flame. Paper and flame are a combination that should never meet. Most paper stars are sold with a cord and a bulb holder, or with a battery LED insert. The battery insert is the safer choice, and it is the one that lets you hang the star anywhere, even in a window with no socket nearby. Put the insert on a timer if it has one, so the star glows at dusk without anyone touching it.
A cluster of three stars at staggered heights is the most photographed arrangement. Hang the largest star in the middle and two smaller ones on either side, one a little higher and one a little lower. The stagger gives the window movement. Three stars at the same height look like a row. Three stars at three heights look like a constellation. Keep the stars at least fifteen centimetres apart, so they do not touch and tear.
Paper stars fold flat for storage, which is their secret advantage. In January, take the light out, fold the star flat, slide it into a large envelope or between two sheets of cardboard, and store it with the Christmas decorations. A paper star stored flat lasts for years. A paper star stuffed into a bag comes out creased and torn. Treat the star like the paper it is, and it will glow again next December.
The same idea works inside the house, not just in the window. Hang a paper star in a hallway, over a stairwell, or in a bedroom corner, and it becomes the softest light in the room. A paper star over a reading chair, with a warm bulb inside, is the cosiest corner in the house. The Scandinavian rule is simple. One star per room, in the window if the room has one, and the whole house glows gently, without a single harsh light.
7. DIY Lantern Fills on a Budget: Jars, Cinnamon and Floating Ornaments
You do not need to buy a lantern to have a Christmas lantern. Some of the best lanterns in the 2026 guides are made, not bought, from jars, cans, and things already in the kitchen. A DIY lantern costs almost nothing, it takes an evening to make, and it looks handmade in the best sense of the word, like someone cared enough to make it rather than buy it.
The mason jar lantern is the easiest DIY of all. Take a wide mouth mason jar, drop a battery tea light or a short string of fairy lights inside, and tie a sprig of greenery and a cinnamon stick to the outside with twine. Frost the glass first if you want a softer glow. A thin coat of white spray paint on the inside of the jar, or a smear of glue rolled in Epsom salt, turns clear glass into frosted glass, and the light comes through soft and snowy. Set three jars in a row on a windowsill or a mantel, at three different heights, and you have a lantern display for the price of the jars.
The cinnamon stick lantern is the one that smells like Christmas. Arrange a dozen cinnamon sticks around the rim of a metal lantern, or around the outside of a jar, and hold them in place with twine or a rubber band hidden under a ribbon. Put a flameless candle inside. The soft glow warms the cinnamon, and the scent drifts through the room. It is the cheapest air freshener in the world, and it looks like a decoration, not a trick. Use flameless light only. Cinnamon is wood, and wood near a real flame is a risk you do not need.
The floating ornament lantern is the cleverest DIY in this guide. Take a large lantern, or a tall glass vase if you have no lantern, and hot glue a few lengths of fishing line to the inside of the lid or the rim. Hang shatterproof ornaments, stars, or acrylic crystals from the lines at three heights, short, medium and long. Add a micro LED string on fine wire, also glued to the lid, and the ornaments float in a scatter of light. Glue indoors, because hot glue grips poorly on cold metal and turns brittle in freezing weather. Knot the lines around a crossbar wherever there is one, so the glue is not doing all the work. The floor of the lantern stays free for a tall figure, a ceramic tree, or a complete winter scene, and the lantern looks twice as tall as it is.
The ice lantern costs nothing but water and cold weather. Fill a bucket or a large container with water, put a smaller container inside it to make a hollow, and leave it outside overnight where winters freeze hard. In the morning, unmould the ice, set a flameless candle inside the hollow, and you have a lantern made of ice. Line a path or a porch with a row of them, and the effect is one of the most magical sights of a northern Christmas. In milder climates, a glass hurricane lantern with a white candle borrows the same look without the freezing. Do not use a real candle in an ice lantern. The heat melts the ice, the water puts the candle out, and the lantern becomes a puddle.
The snow globe jar is the DIY for a tabletop. Take a quart jar, glue a tiny deer ornament or a bottle brush tree to the inside of the lid, spoon a little fake snow into the jar, screw the lid on, and flip the jar over. Set the jar inside a lantern, or stand it on its own on a shelf, and you have a snow globe that cost less than a coffee. Children love making these, and they make good gifts for grandparents, because the gift is the time spent making it, not the jar.
The total budget for a set of DIY lanterns is small. Three mason jars, a string of fairy lights, a bag of cinnamon sticks, a few shatterproof ornaments, and a roll of twine. Most households already own half of it. The whole look lands around fifteen to twenty five dollars if you buy everything new, and under ten dollars if you raid the kitchen and the craft box first. A lantern you made is a lantern with a story, and guests always ask about the story.
8. Safety, Timers and Storage: Keeping the Glow Safe and Simple
A lantern is a light in a box, and a light in a box deserves respect. Most lantern accidents are not dramatic. They are a scorched ribbon, a melted ornament, a lantern knocked off a step, a battery left to leak over the summer. All of them are preventable, and all of them are prevented by the same few habits.
The first rule is flameless near anything flammable. Use battery operated candles or LED lights inside any lantern that holds greenery, paper, ribbon, faux snow, dried oranges, cinnamon sticks, or fabric. The National Fire Protection Association reports that more than half of home candle fires start when something that can burn, such as decorations, is too close to the flame. A real candle belongs only in an empty lantern, on a stable surface, far from anything flammable, where you can see it. Never leave a real candle burning in a lantern unattended, and never leave one burning overnight. The glow is not worth the risk.
The second rule is timers everywhere. A timer is the single best purchase in Christmas decorating. It switches the lanterns on at dusk, it switches them off at bedtime, it saves the batteries, and it means the house glows even when nobody is home. Buy flameless candles with built in timers, or plug in fairy lights through a timer plug. Set the timer for dusk to about 10 in the evening. Test the timer on the first night, because a timer set wrong is worse than no timer at all. A lantern that glows at noon and goes dark at dusk is a timer set twelve hours out.
The third rule is weight and stability. A lantern on a step, a mantel, or a porch rail needs a low centre of gravity. Weigh the base down with a bag of gravel or a flat stone hidden under moss and pinecones. Keep lanterns off the walking line on steps. Keep them away from the edge of a mantel where a sleeve or a dog can knock them off. A lantern that falls from a mantel breaks glass and scatters ornaments. A lantern that falls from a step breaks on stone. Both are avoidable with a heavy base and a sensible spot.
The fourth rule is the right bulb and the right battery. Use warm white LED bulbs, 2700K, in a bedroom or a living room, because cool white feels like a shop window. Use outdoor rated fairy lights outside, because indoor lights are not sealed against rain. Take the batteries out of every lantern in January, because a battery left in a lantern all year leaks, corrodes the contacts, and ruins the lantern. A lantern with a corroded battery box is a lantern you have to replace, and the replacement costs more than the batteries you saved.
Storage is the last habit, and it is the one that decides whether your lanterns last one Christmas or ten. Wipe the glass clean before you pack a lantern away, because soot and dust bake on over the summer. Wrap each lantern in tissue paper or an old tea towel, so the glass does not scratch and the metal does not chip. Store paper stars flat, between sheets of cardboard. Store fairy lights coiled loosely, not wound tight, so the wire does not kink. Label the box with what is inside, and store the batteries separately, in a small bag, so you remember to put fresh ones in next December. A lantern stored well is a lantern that comes out of the box in November looking exactly like it did when it went in.
One final habit. Walk the house on the first night the lanterns are lit, and look at them the way a guest would. Is the mantel lantern too close to the garland. Is the porch lantern in the walking line. Is the table lantern blocking the view across the table. Is the window star hung straight. Fix the small things on the first night, while the decorations are still fresh in your hands, and the rest of December takes care of itself. A lantern is a simple thing, and simple things reward a little care.
Conclusion
A Christmas lantern is a small box of light, and a small box of light is enough to change a house. It does not need wiring or drilling or a ladder. It needs a spot, a light, and a little care. A lantern on the mantel makes the garland glow. A lantern on the porch makes the door welcoming. A lantern on the table makes dinner feel like an occasion. A lantern in the window makes the whole street a little warmer. A paper star makes a room feel Scandinavian and calm. A jar of fairy lights makes a shelf feel magical. And a lantern you made yourself, from a jar and a cinnamon stick and a string of lights, makes the house feel like yours.
Choose one lantern to start, or one pair, and put it where you will see it every evening. A mantel lantern if you sit in the living room. A porch lantern if you come home after dark. A table lantern if you eat together. Then add one more next year, and one more the year after, until the house has a lantern in every corner that needs one. The collection grows slowly, and that is the point. A house lit one lantern at a time is a house that glows all December, and the glow is the decoration that matters most.
Frequently Asked Questions
What size Christmas lantern should I buy?
For a mantel, choose a lantern between 30 and 45 centimetres tall, about 12 to 18 inches, so it stands proud of the garland without hiding it. For a porch, choose a pair between 35 and 55 centimetres tall, so they read from the street. For a dining table, choose one lantern under 30 centimetres, or a pair of small ones under 25 centimetres, so nobody has to peer around it to talk. For a window, a paper star between 40 and 60 centimetres across fills the pane without blocking the light. Buy in pairs when you can, in two different heights, because two lanterns look planned in a way that one never does.
Are flameless candles safe inside a Christmas lantern?
Yes, flameless candles are the safest light for a Christmas lantern, and they are the right choice whenever the lantern holds greenery, ribbon, paper, faux snow, or any other flammable decoration. A real candle belongs only in an empty lantern, on a stable surface, far from anything flammable, where you can see it. Never leave a real candle burning in a lantern unattended, and never leave one burning overnight. The glow of a flameless candle is the same from across the room, and the risk is gone.
Can I leave Christmas lanterns outside all winter?
You can, if the lantern is built for it. Choose metal or heavy wood lanterns with a solid roof and glass on all four sides for any lantern that will sit outside overnight. Paper star lanterns belong in a window or under a covered porch, never in open rain. Weigh outdoor lanterns down with a stone or a bag of gravel hidden in the base, use shatterproof ornaments inside them, and use outdoor rated fairy lights. On the worst nights, bring the lanterns inside. A lantern that survives December is a lantern you can use again next year.
What do I put inside a Christmas lantern?
The simplest fill is a flameless pillar candle, about two thirds the height of the lantern, on a timer. The prettiest fill is a short string of warm white fairy lights, with the battery box hidden under faux snow or moss. The most charming fill is a little scene, a bottle brush tree, a tiny house, a deer, with faux snow at the base. Ornaments hung on fishing line from the lantern ceiling, at three staggered heights, fill a tall lantern beautifully. Pick one idea per lantern. A lantern with one clear idea looks planned. A lantern with four ideas looks cluttered.
How do I hang a paper star lantern in a window?
Hang the star from the window frame or a curtain rod with clear line, so it appears to float. Hang it in the centre of the window, or slightly off centre, at about two thirds of the window height. Use only warm LED bulbs or battery operated inserts made for paper lanterns, and never an open flame, because paper and flame should never meet. A cluster of three stars at staggered heights, the largest in the middle, is the most photographed arrangement. In January, fold the star flat and store it between sheets of cardboard, and it will glow again next December.
How do I store Christmas lanterns after the holidays?
Wipe the glass clean, wrap each lantern in tissue paper or an old tea towel so the glass does not scratch, and store paper stars flat between sheets of cardboard. Coil fairy lights loosely so the wire does not kink. Take the batteries out of every lantern, because a battery left in all year leaks and corrodes the contacts. Label the box with what is inside, and store the batteries separately so you remember to put fresh ones in next December. A lantern stored well comes out of the box in November looking exactly like it did when it went in.