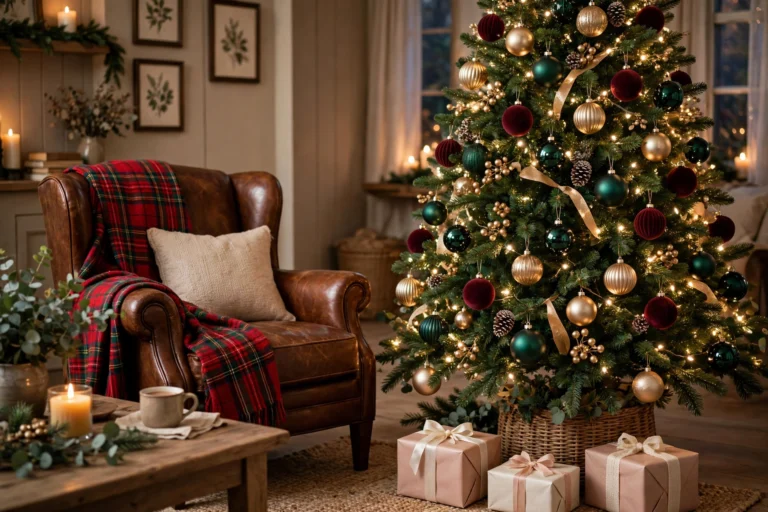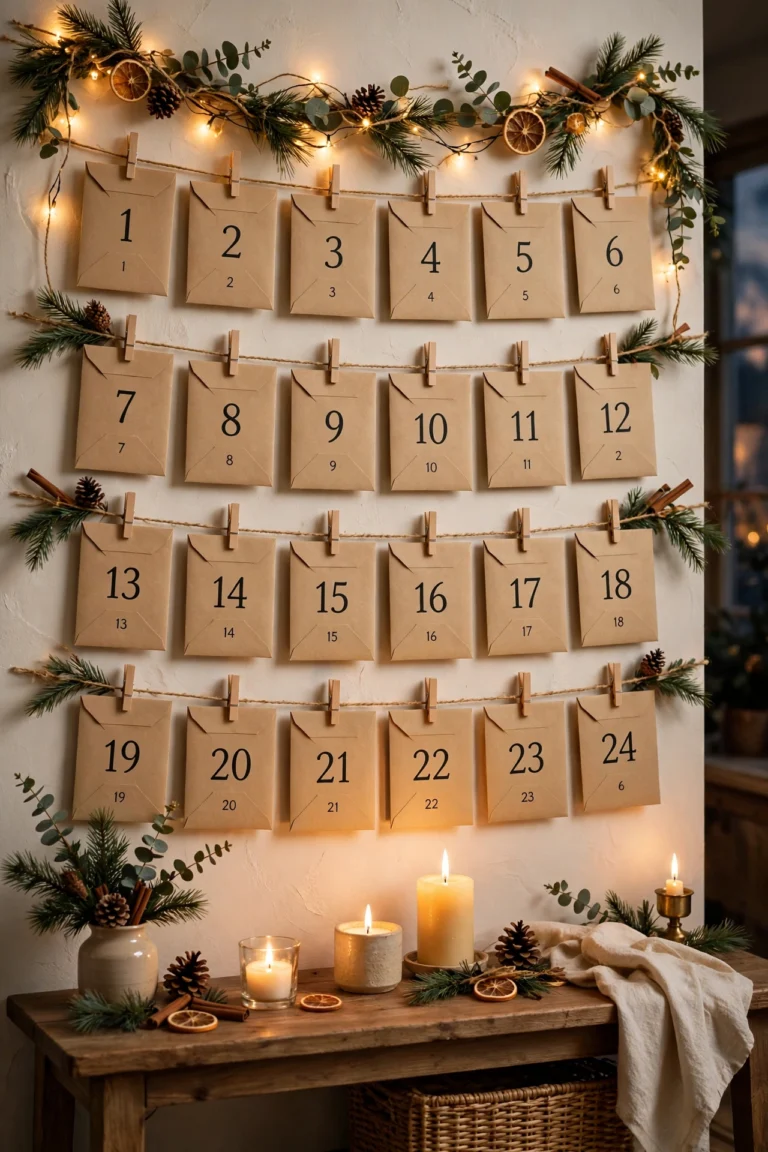
Christmas Shelf Decor Ideas That Look Styled, Not Stuffed
A shelf is the easiest place in the house to dress for Christmas and the easiest place to overdo it. It takes one small garland, a few well chosen pieces and some empty space to make a wall feel festive. It takes only a few extra objects to turn that same shelf into a crowded shop window. The difference between the two is not money. It is order.
Shelves work well at Christmas because they are small stages. A floating shelf, a ladder shelf, a bookcase shelf and a kitchen shelf all follow the rules even though they sit in different rooms. Greenery goes down first. Height goes at the back. Medium pieces sit in the middle. Tiny details go in front. Light is woven through everything at the end. Follow that order. The shelf looks styled rather than stored.
This guide covers the system. You will learn the one formula that works on every shelf. You will learn how to size a garland to the shelf you already have. You will learn how to style in threes. You will learn what to do with ladder shelves, floating shelves, bookcases and kitchen shelves. You will learn how to light a shelf. You will learn why leaving one shelf completely empty is the bravest and best idea on the list. Most shelves here take under an hour. Most use pieces you already own. Start with the formula. The rest is just choosing which shelf to dress first.
The Shelf Formula That Works Everywhere
Every good Christmas shelf uses the five layer method, whether it is a floating shelf in the hallway, a ladder shelf in the living room, one shelf of a bookcase, or an open kitchen shelf. Once you know the method, you can decorate any shelf in the house without needing a guide for each one.
First layer is greenery. A short fake garland, a few greenery picks, or a small wreath placed at the back makes the hard edge of the shelf softer and connects all the pieces together. Greenery always goes first, before anything else. It is the base that the rest of the display sits on. It covers the spaces between objects so the shelf looks like one scene instead of a row of separate things.
Second layer is height at the back. Tall items go against the wall: a small tabletop tree, tall candlesticks, a lantern, a framed print, or a leaning wooden sign. These items create the skyline of the shelf. Change their heights by at least a few inches from piece to piece so the eye moves up and down instead of hitting one flat line. A shelf where everything is the same height looks like a shop display. A shelf with real height changes looks collected over years.
Third layer is the middle row. This is where medium pieces live: ornaments in a small bowl, a ceramic house or two, a stack of books with a figurine on top, a jar of baubles, a small nativity scene. The middle row is the heart of the display, so give it the pieces you love most. Keep them in odd numbers where you can. Three houses read better than two, and five small ornaments in a bowl read better than four.
Fourth layer is tiny details in front. The front edge is for the smallest pieces: a pinecone, a single ornament, a sprig of berries, a small wooden star. These pieces are the ones guests notice up close, so pick ones with texture or a little shine. Keep them low so they never block the pieces behind them. If a front piece hides a middle piece, move it to the side or take it off.
Fifth layer is light, and it goes in last. Weave a short strand of warm fairy lights through the garland, letting the bulbs nestle among the greenery rather than sit on top of it. Battery fairy lights with a timer are ideal for shelves, since most shelves sit far from an outlet. Six hours on and eighteen hours off will carry the shelf through the whole season without anyone remembering to switch it on.
The formula also tells you when to stop. A tiny shelf has room for maybe eight to twelve items, so each one is highly visible. If you have placed the greenery, the back row, the middle row, the front details and the lights, the shelf is done. Adding one more thing does not make it more festive. It makes it harder to see the pieces that were already working. Step back, look from the doorway, and if the shelf reads as one scene, leave it alone.
Size the Garland to the Shelf
The garland is the single most common mistake on a Christmas shelf, and it is almost always a sizing mistake. A garland that is too long pools on the shelf and hides the pieces behind it. A garland that is too short looks like an afterthought, a green line that stops before the shelf does. Get the length right and everything else gets easier.
Measure the shelf first. For a garland that runs along the front edge, you need the shelf length plus about six to eight inches of slack, so the garland can dip and curve instead of lying in a straight line. A straight garland looks stiff. A garland with one or two soft dips looks like it grew there. Pinch and fluff the branches as you lay it, so it sits in soft waves rather than a flat green rope.
On a shallow shelf, skip the full garland altogether. A shelf less than six inches deep cannot hold a thick garland and still leave room for objects. Use two or three greenery picks tucked behind the back row instead, or lean a small faux wreath against the wall at one end. The wreath gives the same green anchor without eating the depth the objects need.
On a long shelf, one garland is rarely enough on its own. Two shorter garlands overlapped in the middle look fuller than one long thin one, and the overlap hides the join. If the shelf is wider than about four feet, add a second layer of greenery at the back, a few loose sprigs or a thin garland run behind the tall pieces, so the shelf has depth as well as length. Depth is what makes a long shelf look rich instead of stretched.
Stockings need the same sizing care. If you hang stockings from a shelf, space them twelve to fifteen inches apart, so each one has room to hang straight without crowding its neighbour. Use small removable hooks on the underside of the shelf edge, or hang the stockings from the garland itself with ribbon loops. Both hold a filled stocking safely and come off cleanly in January. Avoid nails or screws in a floating shelf, where the fixings can split the wood or show from below.
Choose the greenery to match the room. Faux pine is the safest all rounder, because it holds its shape for the whole season and never sheds needles onto the books below. Cedar and eucalyptus picks add a softer, more fragrant look, and they work well on shelves in bedrooms and bathrooms. Frosted greenery suits a white and silver room. Plain green suits a red and gold room. Whichever you choose, keep one type of greenery per shelf. Two different greens side by side look like a mistake, not a mix.
Style in Threes
The fastest way to make a Christmas shelf look styled is to group things in threes. One tall thing, one medium thing and one small thing, placed close together, read as one intentional group. Three separate groups along a shelf read as a finished display. Nine separate items in a row read as a jumble.
Choose your three groups before you start placing anything. The first group could be a mini tree, a ceramic house and a pinecone. The second group could be a lantern, a stack of books and a small ornament. The third group could be a framed print, a candle and a sprig of berries. Each group has its own height, its own texture and its own small story, and the gaps between the groups give the eye a place to rest.
Vary the heights inside each group as well as between groups. Place the tallest piece toward the back and the shortest piece toward the front, so the group looks like a small staircase. A group where all three pieces are the same height looks flat. A group with a clear tall, medium and small reads as designed, even when the pieces cost almost nothing.
Leave empty space on purpose. A shelf that is full from edge to edge looks like storage, not styling. The empty space is part of the design, not a gap to fix. One hand width of clear shelf between groups is about right on most shelves. On a small shelf, even two fingers of space between groups is enough to separate them. The breathing room makes the greenery and the lights beside it stand out, and it keeps the wall from feeling heavy.
Swap, do not add, when a shelf feels wrong. If a shelf looks crowded, the fix is almost never to rearrange everything. Take one piece off and see if the shelf improves. Then take one more off if it still feels full. Most overdecorated shelves only need two pieces removed to look right. The pieces you remove are not wasted. They can start a second shelf, fill a tray, or go back in the box for next year.
The rule of three also works for colour. Choose two main colours plus one metal, and stick to them across the whole shelf. Red and cream with gold, sage and white with wood tones, or navy and silver for something moodier all work, but only if the shelf commits to one palette. A shelf with red, green, gold, silver, blue and pink on it has no palette at all. It has a sale table. Pick two colours and one metal before you open the decoration box, and put everything else back.
Ladder Shelves Love Christmas
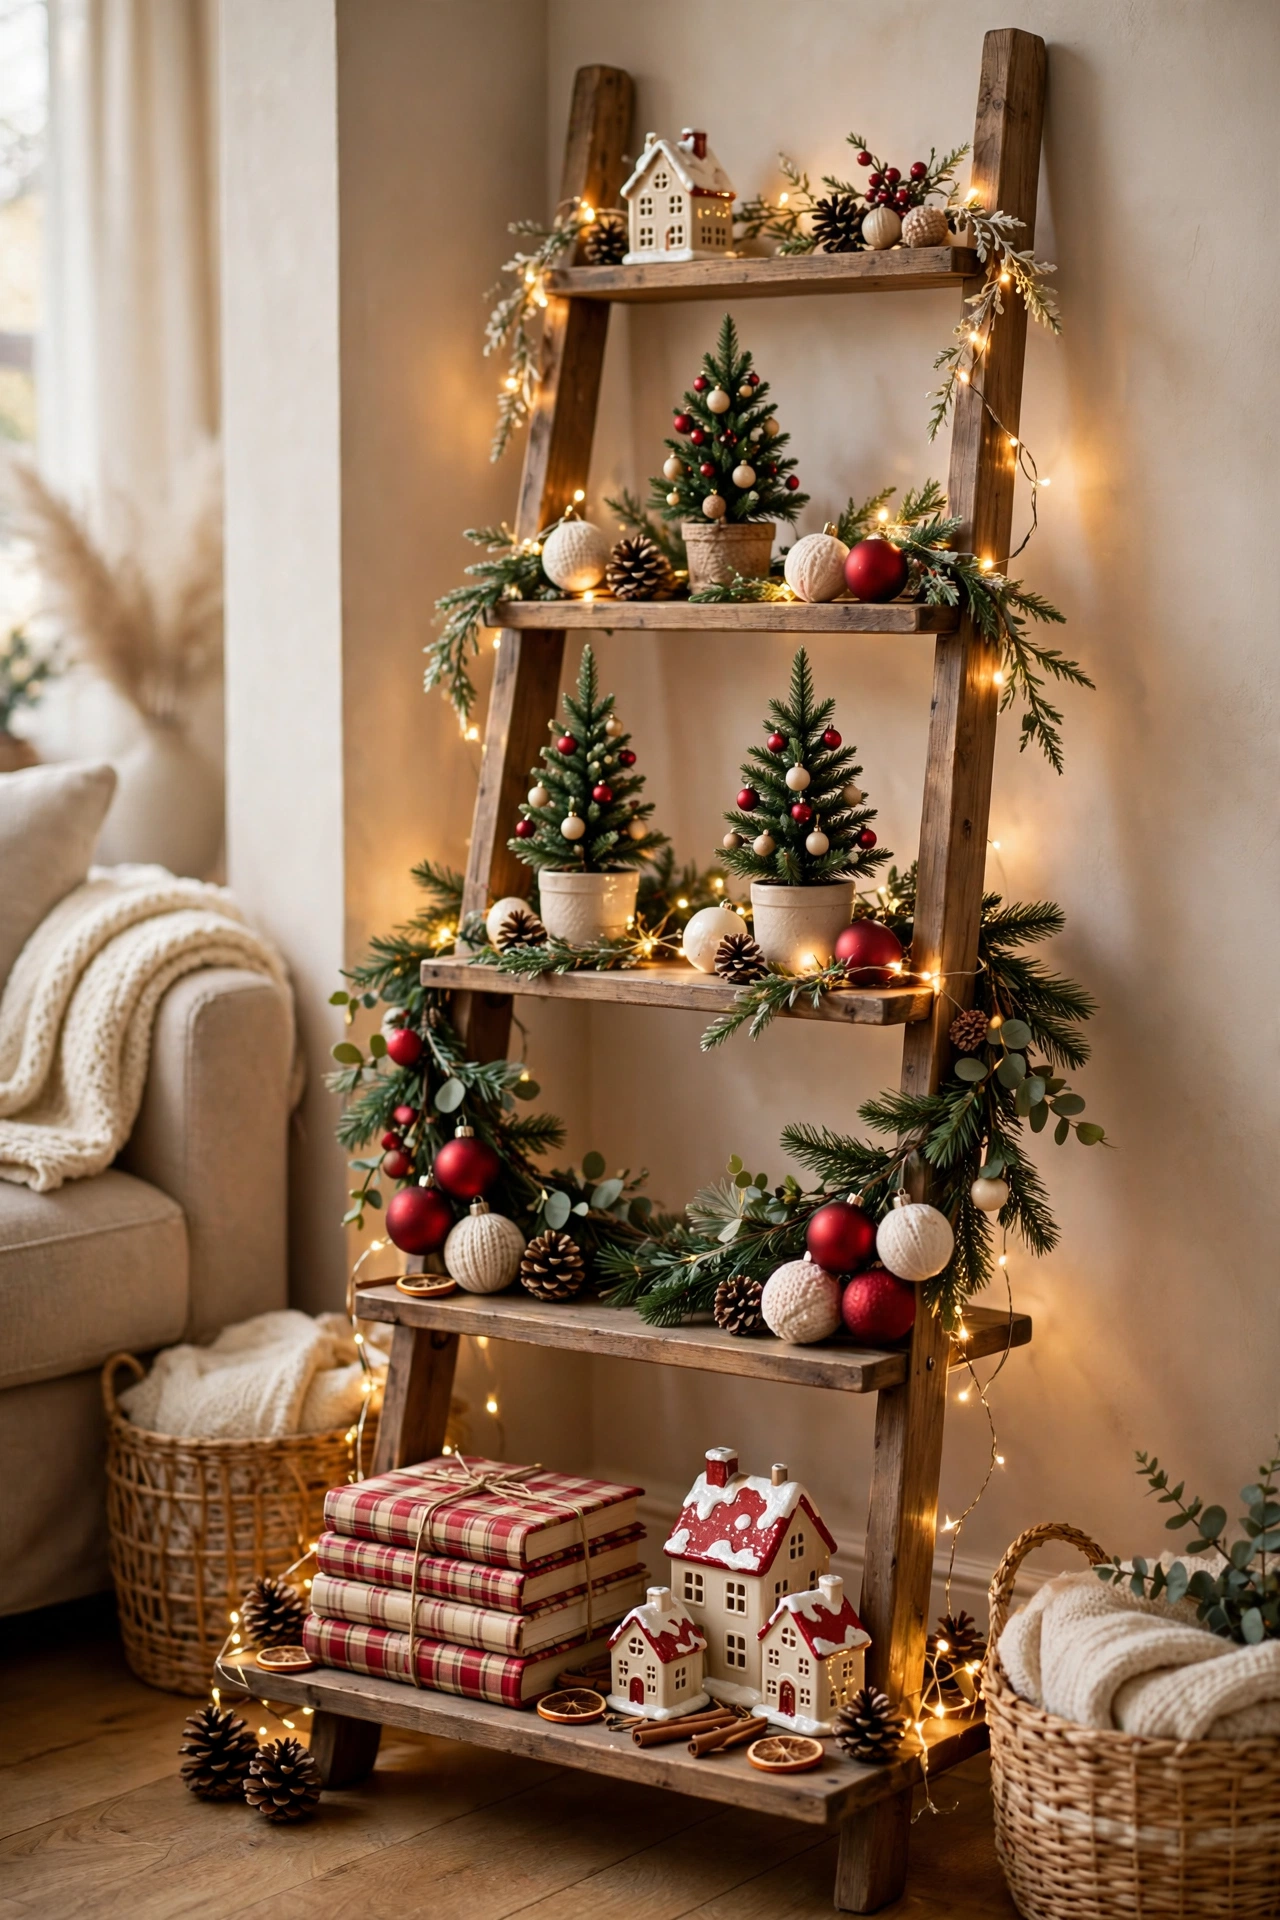
A leaning ladder shelf is perfect for Christmas styling because its tiers get narrower as they rise. This natural stagger helps you arrange your decorations in a pleasing way. The wide bottom shelf holds the big pieces, the middle shelves hold the medium pieces, and the narrow top shelf holds one small piece. The shape of the ladder does half the styling work for you.
Start at the bottom and work up. The bottom shelf takes the heaviest and tallest pieces: a lantern, a stack of festive books, a potted mini tree. The middle shelves take the ceramic houses, the ornament bowls and the small framed prints. The top shelf takes one thing only, a small tree, a single candle or a tiny wreath, because a crowded top shelf makes the whole ladder look top heavy and unsafe.
Drape the garland down the sides, not across every shelf. One garland run down one side of the ladder, or across the front edge of two shelves, is enough. A garland on every shelf hides the pieces and makes the ladder look like a green wall. Let some of the wood show. The wood is part of the look, especially on a rustic or farmhouse ladder shelf.
Keep the ladder shelf stable. A leaning ladder shelf should sit flat against the wall with its feet level, and the heaviest pieces should always go on the lowest shelf. Never put a heavy lantern or a full ornament bowl on the top tier. If the shelf wobbles when you touch it, take weight off the top and add it to the bottom until it sits steady. A shelf that falls in the night is not a decoration. It is a hazard.
A ladder shelf is also the best shelf for a Christmas village. Clear one whole shelf, cluster the houses in a rough curve rather than a straight line, and run a strand of warm white micro LEDs behind the houses so the light comes through the windows and out around the roofs instead of glaring off the front of them. Tape the cable to the back edge of the shelf. A visible power lead is what makes a shelf display look temporary, and hiding it takes about two minutes.
If you do not own a ladder shelf, the same staggered look works on a bookcase. The trick is the same: big pieces low, medium pieces in the middle, one small piece at the top, and a gap on every shelf so the eye can rest. The ladder shape helps, but the rules do the real work.
Floating Shelves and Small Walls
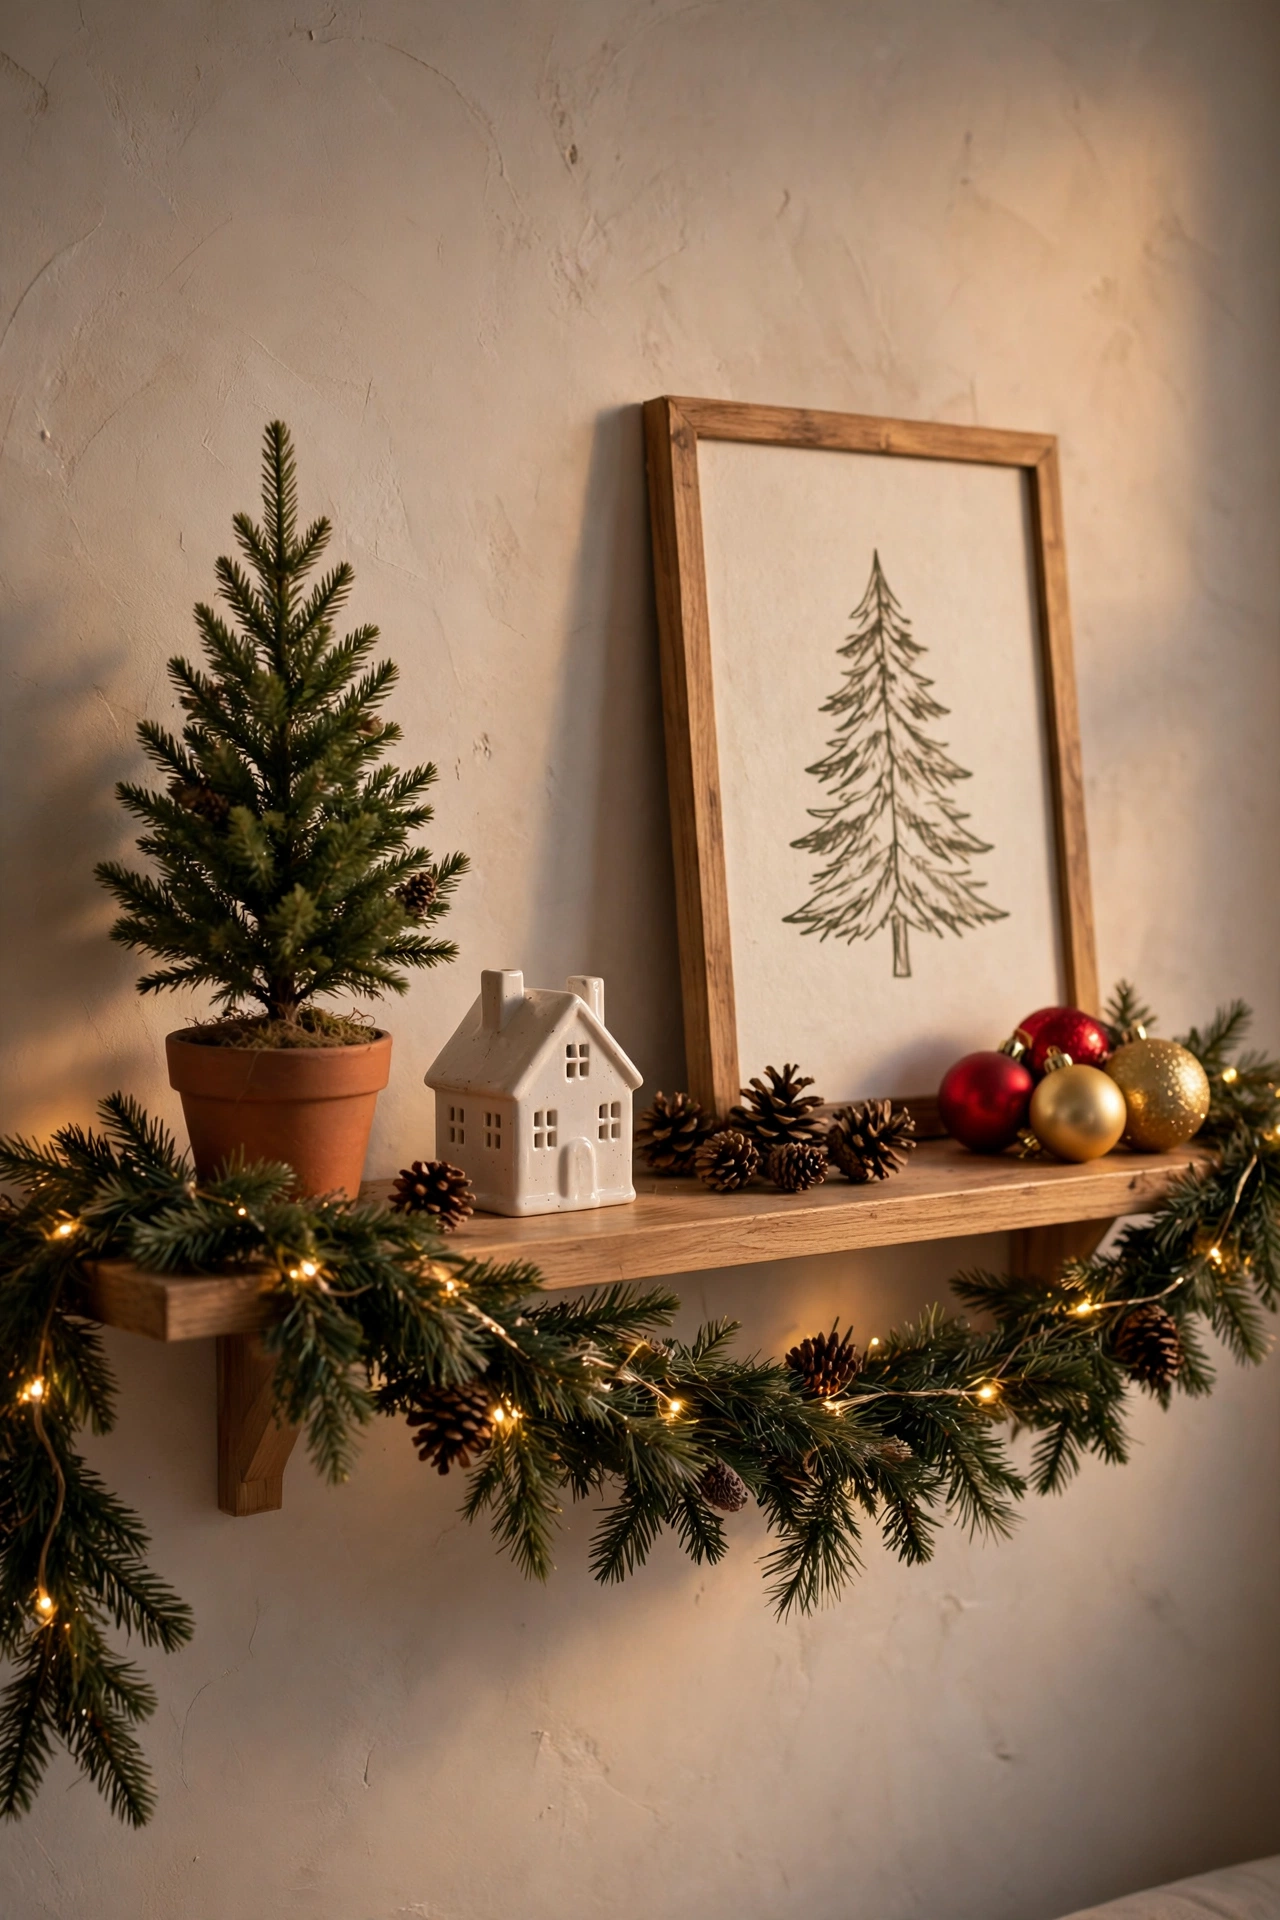
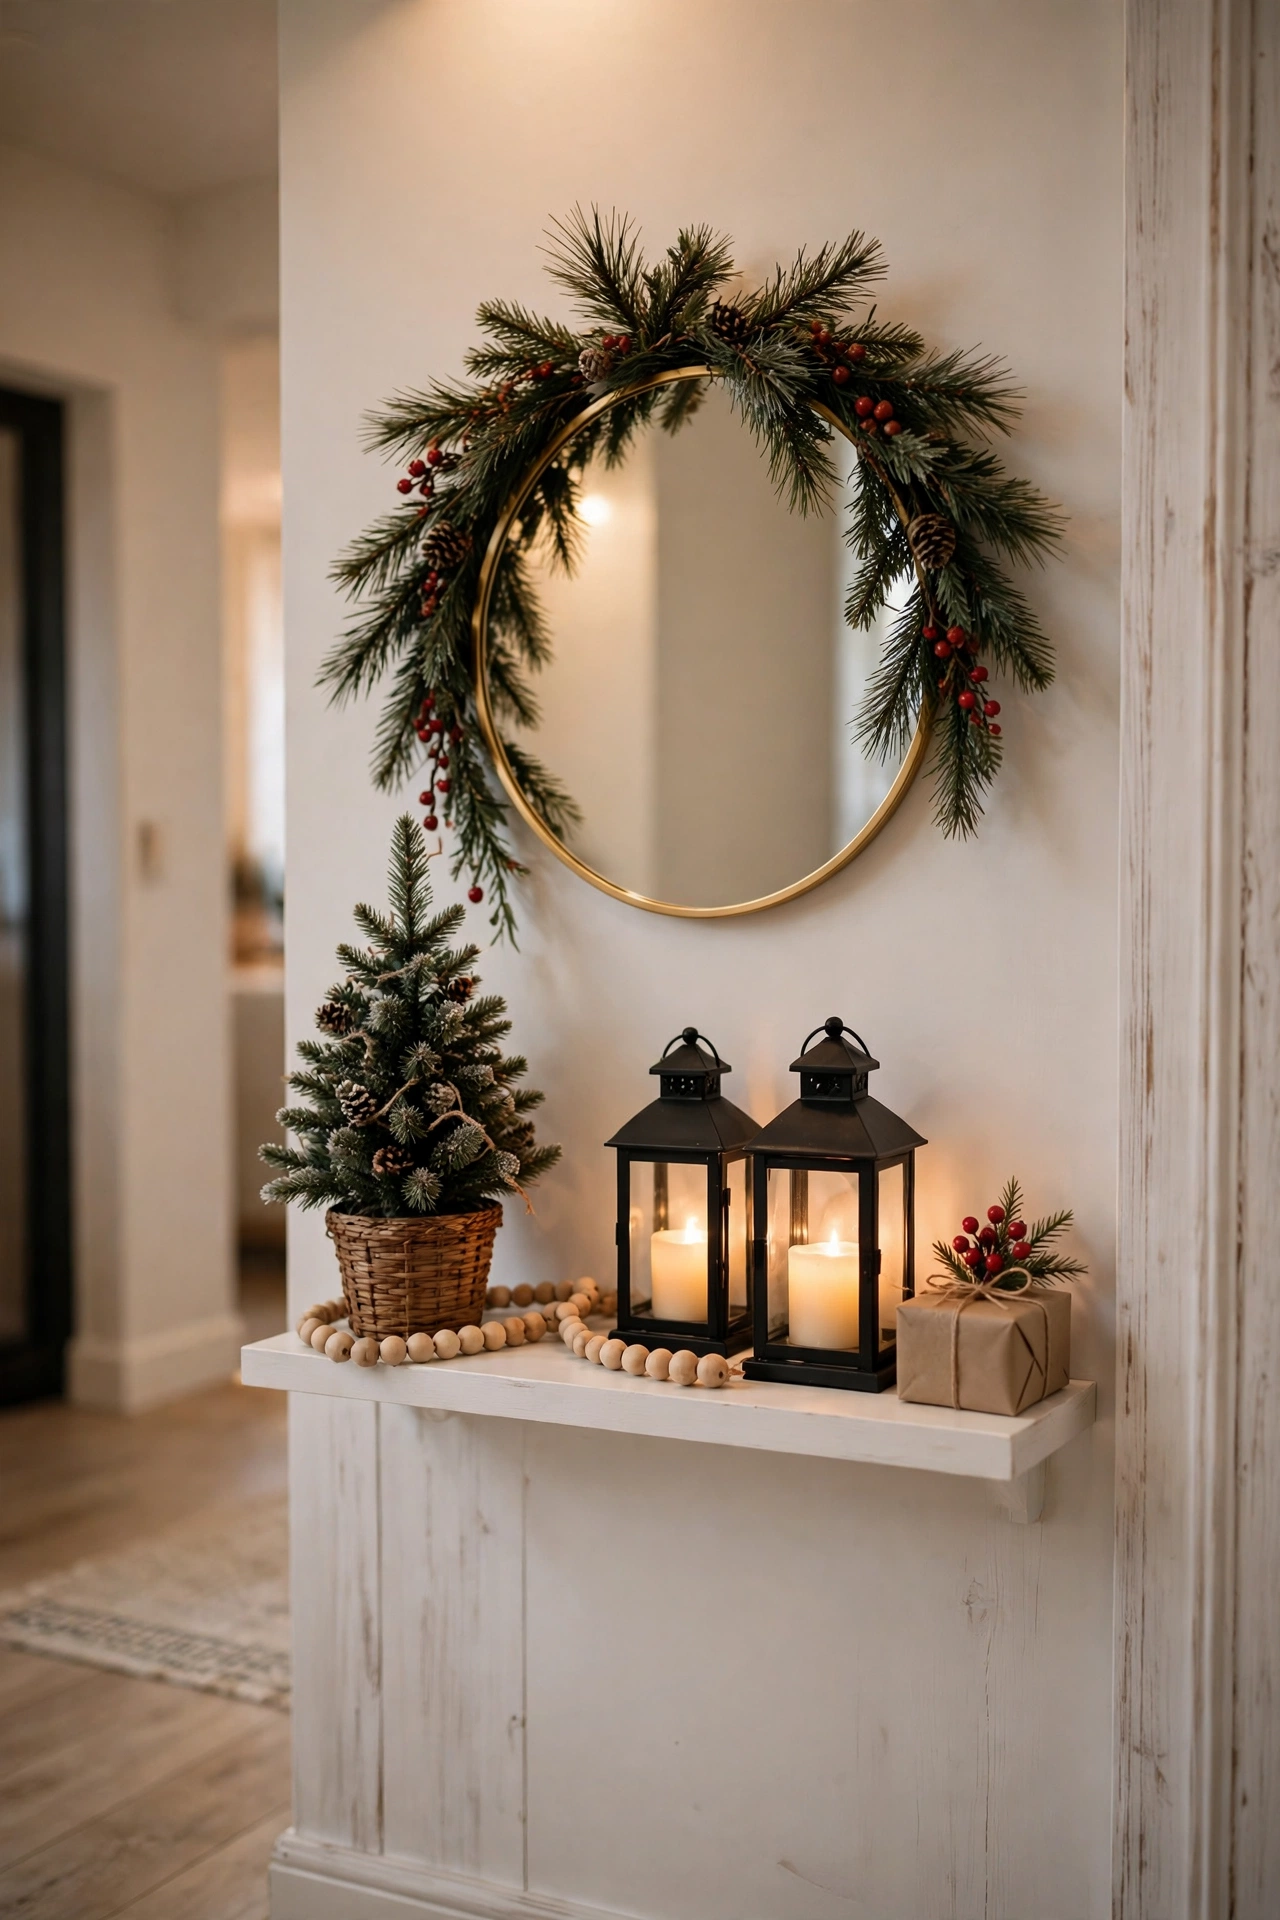
A floating shelf is a tiny stage, and Christmas gives it a script. One small red toy car, a jug of pine sprigs, a terracotta pot of greenery, and the shelf is dressed. It takes five minutes and it changes the wall it sits on. The small size is the advantage, not the limit, because a floating shelf forces you to choose only the best pieces.
Style a floating shelf in one group of three, not three groups. One tall thing, one medium thing and one small thing, and leave a little empty space on the shelf so the pieces can breathe. Swap just one or two everyday objects for festive ones, and the shelf reads as Christmas without looking like a shop window. Keep the everyday shape of the shelf and change only the details: swap a plain vase for a jug of pine, add a small festive figure, and you are done.
Floating shelves work hardest in hallways, entryways and small bedrooms, where there is no floor space for a tree. A chunky floating shelf above a console or a bench becomes a mini mantel. Hang a small wreath or a framed print above it, drape a short garland along its front edge, and set a lantern with a timer candle on top. Guests see it the moment they walk in, and it costs less than a wreath for the front door. Our Christmas wall decor ideas guide shows how the same shelf and print combination frames a whole room, so the shelf never looks like an afterthought.
Check the weight before you load a floating shelf. A shelf loaded with a mirror, ceramics and a swag of real cedar is carrying more weight than the fixings in the box expect, so fix the shelf into studs where you can. Keep heavy pieces off a floating shelf altogether. Ceramic houses, small trees and lanterns are fine. A full ornament bowl or a heavy framed mirror is not. If the shelf was installed with plasterboard fixings only, keep the display light and keep it low.
A floating shelf is also the best place for a no fireplace focal point. If your living room has no fireplace, a deep shelf on the main wall does the identical job a mantel does: a ledge, a backdrop and a place for the stockings. Mount it at mantel height, about 54 to 60 inches from the floor, and aim for at least eight inches of depth, so candlesticks and a leaning mirror can sit on it safely. Hang the stockings from removable hooks underneath, and the shelf reads as a mantel without anyone deciding that it is one. It is still useful in March, long after the stockings come down.
Bookcase Shelves That Still Hold Books
A bookcase is the hardest shelf to dress for Christmas, because it already has a job. The books have to stay, the shelf has to stay usable, and the decorations have to fit around them instead of replacing them. The good news is that books are already good decoration. They bring colour, height and texture, and a Christmas display built around them looks collected rather than staged.
Start by clearing one shelf entirely. Not the whole bookcase, just one shelf, usually the one at eye level. That cleared shelf becomes the Christmas shelf, and the other shelves stay as they are. Cluster the houses in a rough curve on the cleared shelf, add a short garland along its front edge, and set one small tree at one end. The cleared shelf reads as intentional, and the full shelves around it make it look richer by contrast.
On the shelves that keep their books, decorate in the gaps, not on top of the books. Pull a few books forward and set a small ornament, a pinecone or a tiny ceramic house in front of them. Lean a small framed print against the books at one end. Tuck a sprig of greenery behind the books so it peeks out above them. These small touches make the whole bookcase feel festive without moving a single book out of place.
Use the books as part of the palette. A shelf of red and cream book spines already matches a red and cream Christmas scheme. A shelf of dark green and navy spines suits a navy and silver scheme. Turn a few books around so their pages face out, and the cream pages become a neutral block that calms a busy shelf. Stack two or three books flat to make a little platform, and set a figurine or a candle on top. The platform lifts the piece above the book line, so it reads as a display instead of clutter.
Leave the top of the bookcase alone unless it is wide and stable. A garland along the top edge works, but only if the top is clear and the garland cannot slide off. A small tree on top of a tall bookcase looks charming in a photo and falls off in real life. Keep the top simple: one garland, or nothing at all. The eye level shelf is where the Christmas happens on a bookcase.
Kitchen Shelves, Shop What You Own
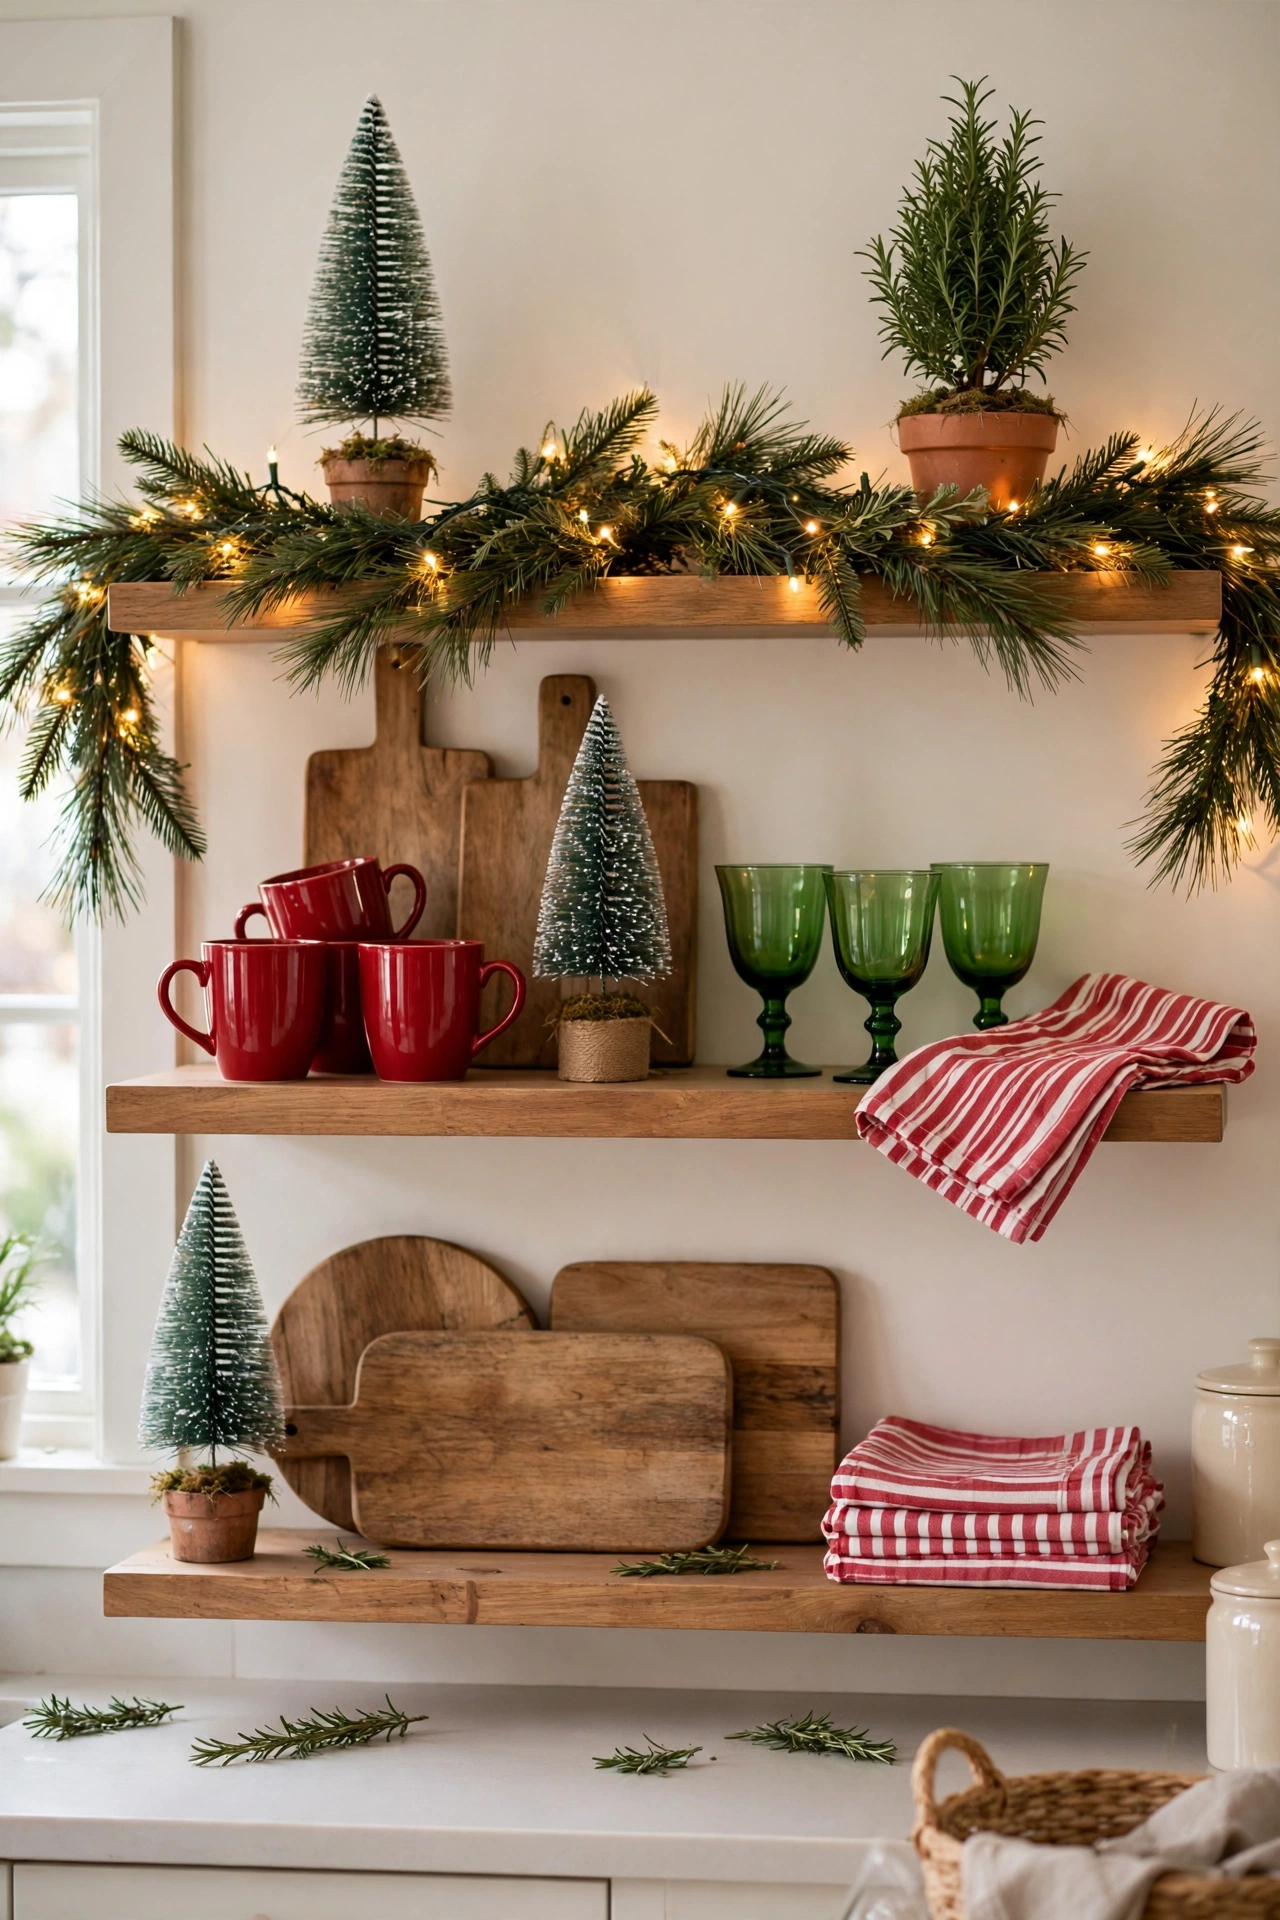
Kitchen shelves are the easiest Christmas shelves of all, because the decorations are already in the cupboard. Bring the red mugs, the green glasses and the wooden boards you already own to the front of your open shelves, and let colour do the decorating. One bottle brush tree per shelf, maximum. No new purchases needed, and the kitchen still works for cooking all December.
Start with the open shelves and the top of the cabinets. Pull the festive dishes forward and push the plain ones back. A row of red mugs on one shelf, a row of green glasses on the next, and a wooden board leaned at the back of each shelf gives the kitchen a Christmas rhythm without a single decoration bought for the purpose. Add a short pine garland along the top shelf and a string of warm fairy lights, and the kitchen glows in the evening without any extra effort.
Holiday mugs can live on an open shelf all December, and they earn their place because they get used every morning. A rosemary topiary on the sill doubles as seasoning, and a red striped towel hung on the oven handle is a decoration that also dries dishes. The rule for kitchen shelves is simple: if it cannot be used, it does not belong in the kitchen. A ceramic house that has to be moved every time you reach for a plate will be broken by the second week of December.
Keep five zones clear, whatever you decorate. The stove sides, the prep zone, the kettle corner, the sink edge and the top of the fridge all stay empty. Garland over the range hood collects grease film by week two. Decor in the prep zone gets in the way of chopping. A scented candle beside the stove is a fire risk. Pretty is easy in a kitchen. Pretty and functional takes a plan, and the plan is mostly about what you leave alone.
Our Christmas coffee table decor ideas guide uses the same one tray rule that works on a kitchen counter: one tray vignette, a mini tree, a battery candle and a cookbook, that lifts off in one move when real cooking starts. The same tray works on a kitchen shelf. Set the tray on the shelf with the mini tree and the candle on it, and the whole display moves as one piece when you need the shelf for serving dishes.
A small kitchen shelf is not a problem. It is a size to respect. One wreath on the wall above it, one garland strand, one lantern and one floor accent, and the floor stays clear for walking. Decorate up, not out. A tall narrow display on a kitchen wall takes no counter space at all, and it is the first thing you see when you walk in with the shopping.
Light It Up, Then Leave One Shelf Alone
Light is the layer that makes a Christmas shelf glow after dark, and it is also the layer most people rush. Weave a short strand of warm fairy lights through the garland, letting the bulbs nestle among the greenery rather than sit on top of it. Warm white only, never cool white, because cool white makes pine look grey and red look pink. One strand per shelf is enough. Two strands on one shelf look like a fault, not a feature.
Battery fairy lights with a timer are ideal for shelves, since most shelves sit far from an outlet. Six hours on and eighteen hours off, all season long, and the shelf glows every evening without anyone touching a switch. Hide the battery pack behind the tallest piece or tape it to the back edge of the shelf. A visible battery pack is what makes a shelf display look temporary, and hiding it takes about a minute.
Keep real candles off decorated shelves entirely. Greenery, books and framed prints sit too close together for a real flame, and a shelf is the one place a candle cannot be watched from across the room. Flameless candles give the same flicker safely, and they can sit inside a lantern or a glass holder right next to the garland. If you love real candlelight, keep it on the dining table or the coffee table, where someone is sitting beside it. Our Christmas living room decor ideas guide shows where real candles belong and where battery candles do the job better.
Step back and look at the whole wall before you call the shelf finished. Stand in the doorway and check three things. First, does the shelf read as one scene, or as a row of separate objects. Second, is there empty space between the groups, or is every inch full. Third, does anything block anything else, or can you see every piece from where you stand. If all three answers are good, the shelf is done. If any answer is no, take one piece off and look again.
Then comes the bravest Christmas shelf idea of all: leave one shelf completely untouched. No garland, no ornaments, no candles. Let the bare wood be part of the display. The empty shelf gives the eye somewhere to rest, makes the decorated shelves beside it look richer by contrast, and keeps the whole wall from feeling crowded. If a fully empty shelf feels too bare, set a single small candle on it and nothing else. One piece on an empty shelf still reads as breathing room. It is the easiest idea on this list and the one most people skip, which is exactly why it works.
A Christmas shelf does not need more decorations. It needs a formula, a garland that fits, groups of three, a tight palette, warm light, and the confidence to leave some space empty. Dress one shelf this weekend, using the pieces you already own, and see how the whole room changes. Start with the floating shelf in the hallway or the top shelf of the bookcase, the one you see every time you walk through the door. Greenery first, height at the back, medium pieces in the middle, tiny details in front, light last, and then step back and leave it alone.
When that first shelf looks right, the next one is easy, because you already know the order. The ladder shelf, the kitchen shelves, the bookcase, they all follow the same five layers. And when January comes, take the decorations down in the same order you put them up, lights first, then the small pieces, then the garland, and the shelf goes back to being a shelf without a trace. That is the real test of a good Christmas shelf. It looks styled all December, and it takes ten minutes to undo.