Christmas Dresser Decor Ideas That Keep the Top Usable
Your dresser is the second biggest surface in your bedroom, and it is the one most people forget at Christmas. The tree gets the attention, the bed gets the throw, the nightstand gets the mini tree, and the dresser just sits there holding the same jewelry tray and perfume bottles it holds all year. That is a missed chance, because the dresser is the bedroom version of a mantel. It is a long, flat surface under a mirror or a piece of art, made for a garland, a few candles and a small scene, and it is the surface you see every morning while you get ready.
The good news is that dressing a dresser is easier than dressing almost any other surface in the house. You are not working around a television screen, and you are not squeezing into a nightstand sized square. A standard six drawer dresser gives you about 150 centimetres of length to play with, which is enough for a garland, a mini tree, a tray vignette and still leaves room for the things you use every day. The trick is the same one that runs through all good Christmas dresser decor ideas. Style the back edge and the two ends, keep the middle clear, and never block the mirror or the drawers.
This guide starts with the one rule that decides everything, then works through the ideas in the order you would actually use them, from the three zone layout to the garland run, the mirror trick, the mini tree, the tray vignette, the dresser top village and the finishing rules for colour, light and safety. Most of it uses things you already own, and the whole dresser can be dressed in one afternoon. If you want the wider bedroom version, our Cozy Christmas Bedroom Decor Ideas guide shows how the whole room takes the same treatment. For the smaller surface beside the bed, the Christmas Nightstand Decor Ideas guide covers the same rules at nightstand scale. And for the candle rules that keep a bedroom safe, the Christmas Candle Decor Ideas guide is worth a read before you light anything near bedding or curtains.
The Dresser First Rule: Keep the Working Top Working
Every decision in this guide comes from one rule. The dresser must still work as a dresser. Your jewelry tray stays, your perfume stays, your brush stays, and the top drawer must still open without knocking anything over. Christmas decor gets the back edge and the two ends after those daily things have their places, not before. A display that looks beautiful in a photo and forces you to move three ornaments every morning just to find your watch is a failed display, because you will clear it within a week, decorations and all.
Start by clearing the surface completely and putting the daily things back first. Jewelry tray where your hand reaches it without thinking, usually at one end. Perfume and brush grouped together at the other end or in the middle, wherever they live already. Anything you use every single morning gets its spot first, and it gets a real spot, not a squeezed corner behind a tree. Only when those things are placed do you look at what is left. On a standard dresser that is usually a strip about 15 centimetres deep along the back edge, plus a patch at each end. That strip and those two patches are your whole decorating space, and they are enough.
The second part of the rule is about the drawers. A dresser is the only decorated surface in the house with moving parts underneath it, and that changes everything. Anything that hangs over the front edge will get knocked off the first time a drawer opens. Anything heavy sitting on the front lip will slide forward when a drawer slams. Keep every decoration at least 10 centimetres back from the front edge, and test every drawer after you style the top. Open the top drawer all the way, slowly, and watch what moves. If a candle wobbles, move it back. If a garland strand catches on the drawer front, tuck it higher. This two minute test saves you a broken ornament later.
The third part is about the mirror. Most dressers have a mirror above them, and the mirror is part of the display whether you plan it or not. It doubles everything you put on the dresser top, which is wonderful when the display is calm and terrible when it is crowded. A mirror that reflects a tidy garland and two candles looks like a whole second display. A mirror that reflects a cluttered top just shows you the clutter twice. Keep the top calm, keep the colours in your bedroom palette, and keep at least a third of the surface visibly empty. Empty space is what makes a long display look styled instead of stuffed, and it is what keeps the dresser usable every morning.
The Three Zone Dresser: Ends, Middle, Back Edge
The easiest way to style a dresser is to think of it as three zones, not one long surface. The two ends and the middle each get a different job, and the back edge ties them together. Once you see the zones, the whole dresser stops looking like a blank stretch of wood and starts looking like a plan.
The left end is the tall zone. This is where the tallest thing goes, and in a bedroom that is usually a mini tree, a tall branch in a vase, or a lamp you already own dressed with a ribbon. Height at one end gives the whole display its shape, and it stops the eye from sliding straight off the side. A mini tree 30 to 45 centimetres tall works well here. Anything taller starts to fight with the mirror, and anything shorter disappears behind the jewelry tray. If you do not have a mini tree, a tall vase with three or four evergreen branches does the same job for free, and you can tie a velvet ribbon around the vase to make it read as Christmas rather than just greenery.
The right end is the low zone. This is where the tray vignette or the candle cluster lives, and it should stay low on purpose. A low end balances the tall end, and it keeps the display from looking like two competing towers. A wooden tray with a ceramic tree, a battery candle and a few pine sprigs is the classic low end, and it has a practical bonus. Everything sits on one tray, so you can lift the whole vignette off in one move when you need the surface, and put it straight back when you are done.
The middle is the clear zone, and this is the part most people get wrong. The middle of the dresser is not empty because you ran out of ideas. It is empty on purpose, because it is where your daily things live and where your eyes rest. A jewelry tray, a small dish for rings, a brush, a phone, these are the middle. If the middle is clear, the two ends read as two deliberate displays instead of one long cluttered shelf. Keep the middle to daily things only, and if your daily things are few, leave the middle genuinely empty. An empty middle with a garland running along the back edge looks intentional and calm, which is exactly the feeling a bedroom should give you in the morning.
The back edge is the thread that joins the three zones. A short garland, a line of fairy lights, or a row of small ornaments along the back edge connects the tall end to the low end without filling the middle. Think of it as a horizon line. It should be low, no more than 10 centimetres tall, so it never blocks the mirror. It should run the full length, because a garland that stops halfway looks unfinished. And it should be the same greenery all the way along, because one continuous material is what makes three separate zones look like one display.
Dress the Dresser Like a Mantel: The Garland Run
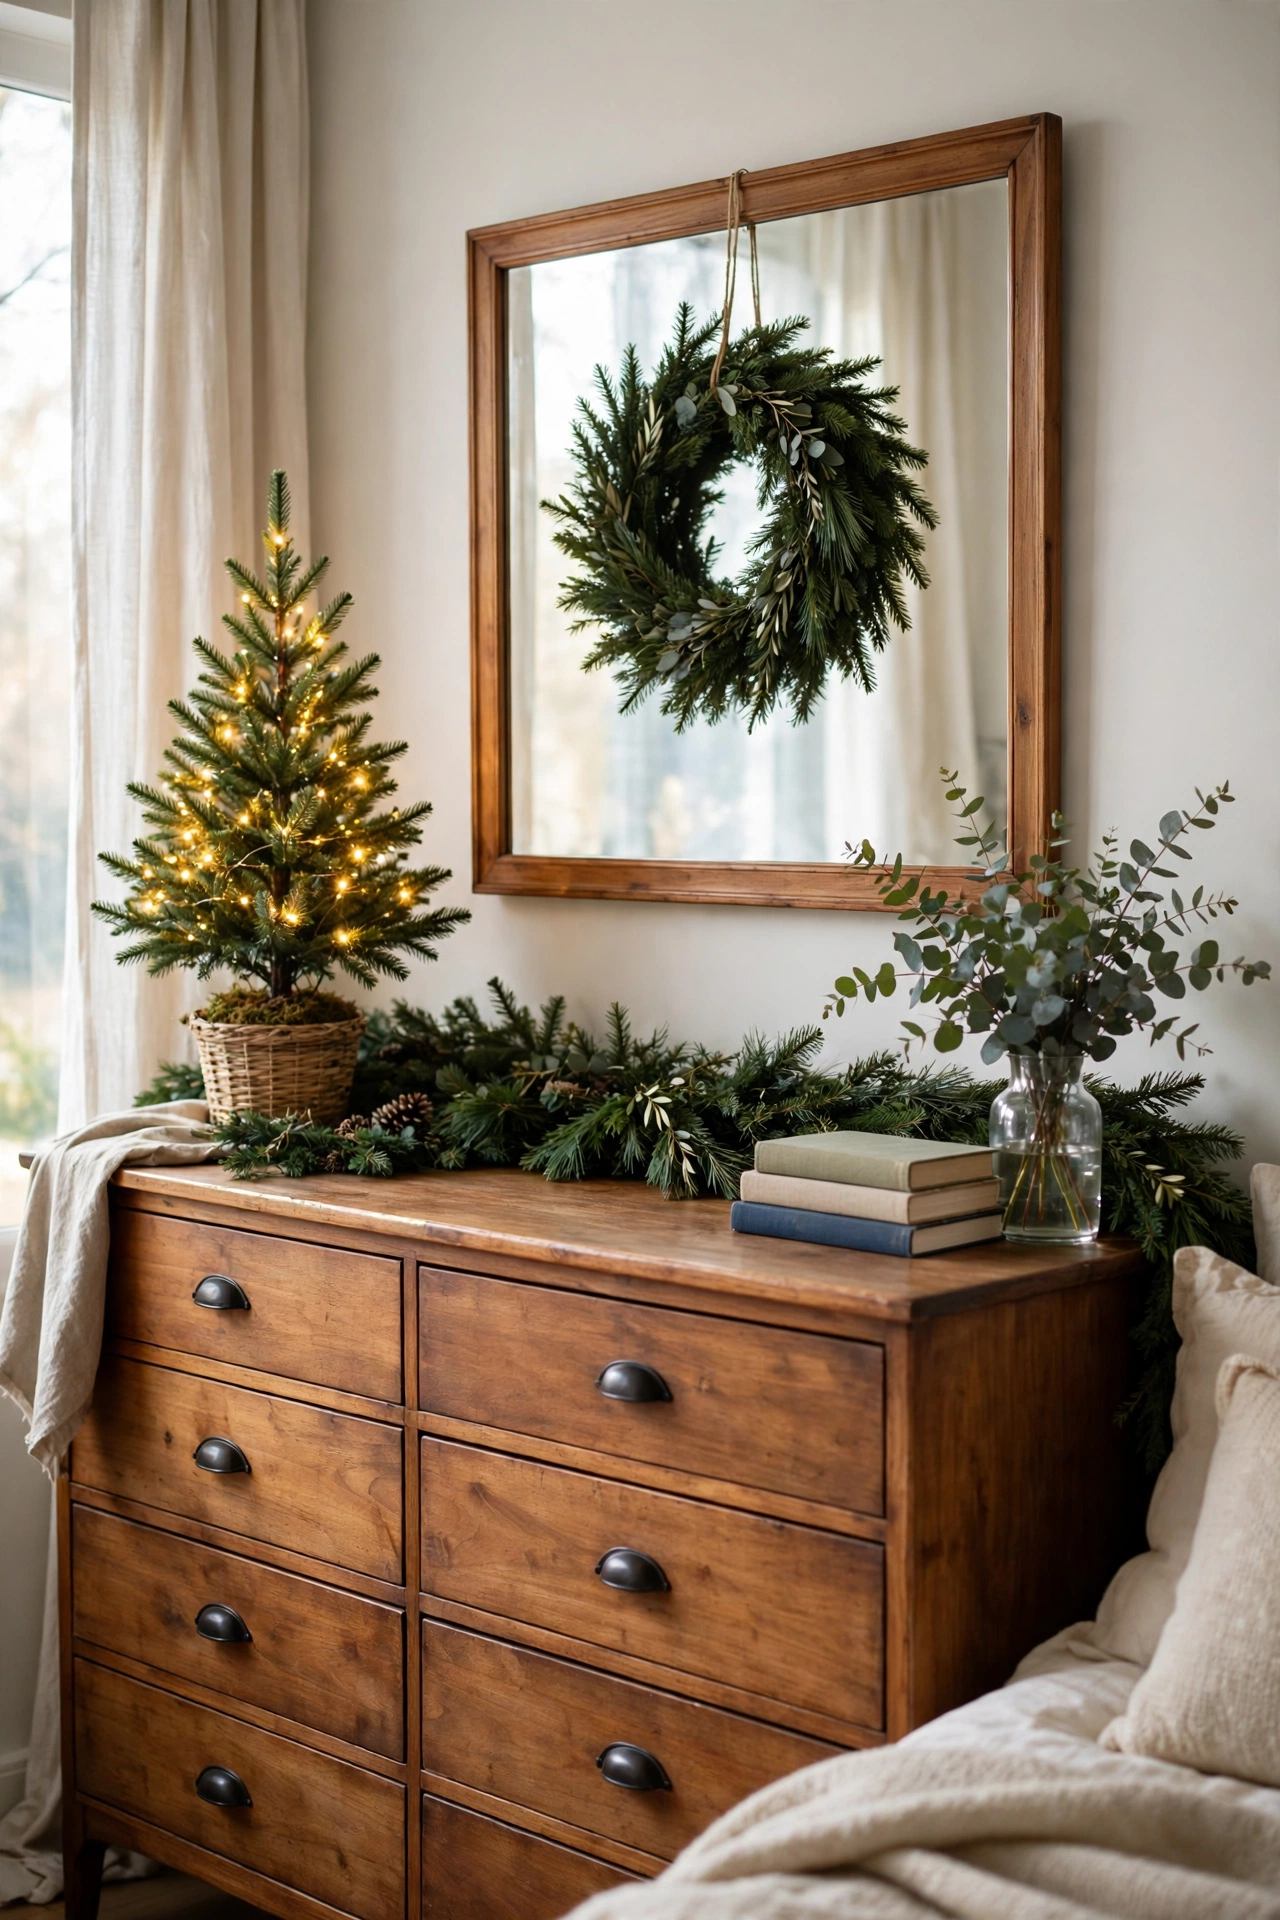
The dresser is the bedroom mantel, and the garland is the single most effective thing you can put on it. A six foot garland along the back edge turns a plain dresser into a Christmas display in about five minutes, and it costs less than almost any other decoration in this guide. The trick is to treat it like a mantel garland, low and full, not like a decoration draped across the middle of the surface.
Start with the right length. Measure the dresser top and add about 30 centimetres, so the garland has a little slack to drape at each end. A garland that is exactly the width of the dresser looks stretched tight and flat. A garland with a little extra length can dip gently at the ends, which is what makes it look relaxed instead of rigid. For a standard six drawer dresser, a 180 centimetre garland is usually right. If your garland is too short, do not stretch it. Use it on one half and put the mini tree on the other half instead.
Lay the garland along the back edge, right against the wall or the mirror frame. This is the most important placement rule in the whole guide. A garland across the middle of the dresser eats the working surface and gets in the way of everything. A garland along the back edge leaves the whole front of the dresser free, and it frames the mirror instead of blocking it. Push it back until it touches the wall, then pull the front edge of it forward just enough that it looks full from the front. You want to see the top of the garland from where you stand, not a flat line hidden behind the jewelry tray.
Fluff it before you add anything else. A garland straight out of its box looks thin and sad, and the difference between a sad garland and a full one is about three minutes of fluffing. Pull each branch tip outward and alternate the direction, left, right, up, down, so the garland looks deep instead of flat. Then weave the lights in. Battery fairy lights with a timer are the right choice here, because the dresser sits near bedding and curtains and nobody wants to reach behind furniture for a plug. One strand of 50 warm white lights is enough for a six foot garland. Weave it through the middle of the garland, not on top of it, so the lights glow from inside the greenery instead of sitting on it like a string.
Then add the ornaments, and add fewer than you think. Five or six small ornaments tucked into a six foot garland is plenty. Nestle them into the greenery so they look like they grew there, rather than hanging them on the front edge where they swing and catch on drawers. Small pinecones work well too, and they are free if you collect them. One colour family keeps it calm. Red and gold, silver and white, or all natural pinecones and wood. Mixed colours across a long garland look busy, and a bedroom dresser should feel calm in the morning.
The Mirror Trick: Wreath, Lights and Double the Glow
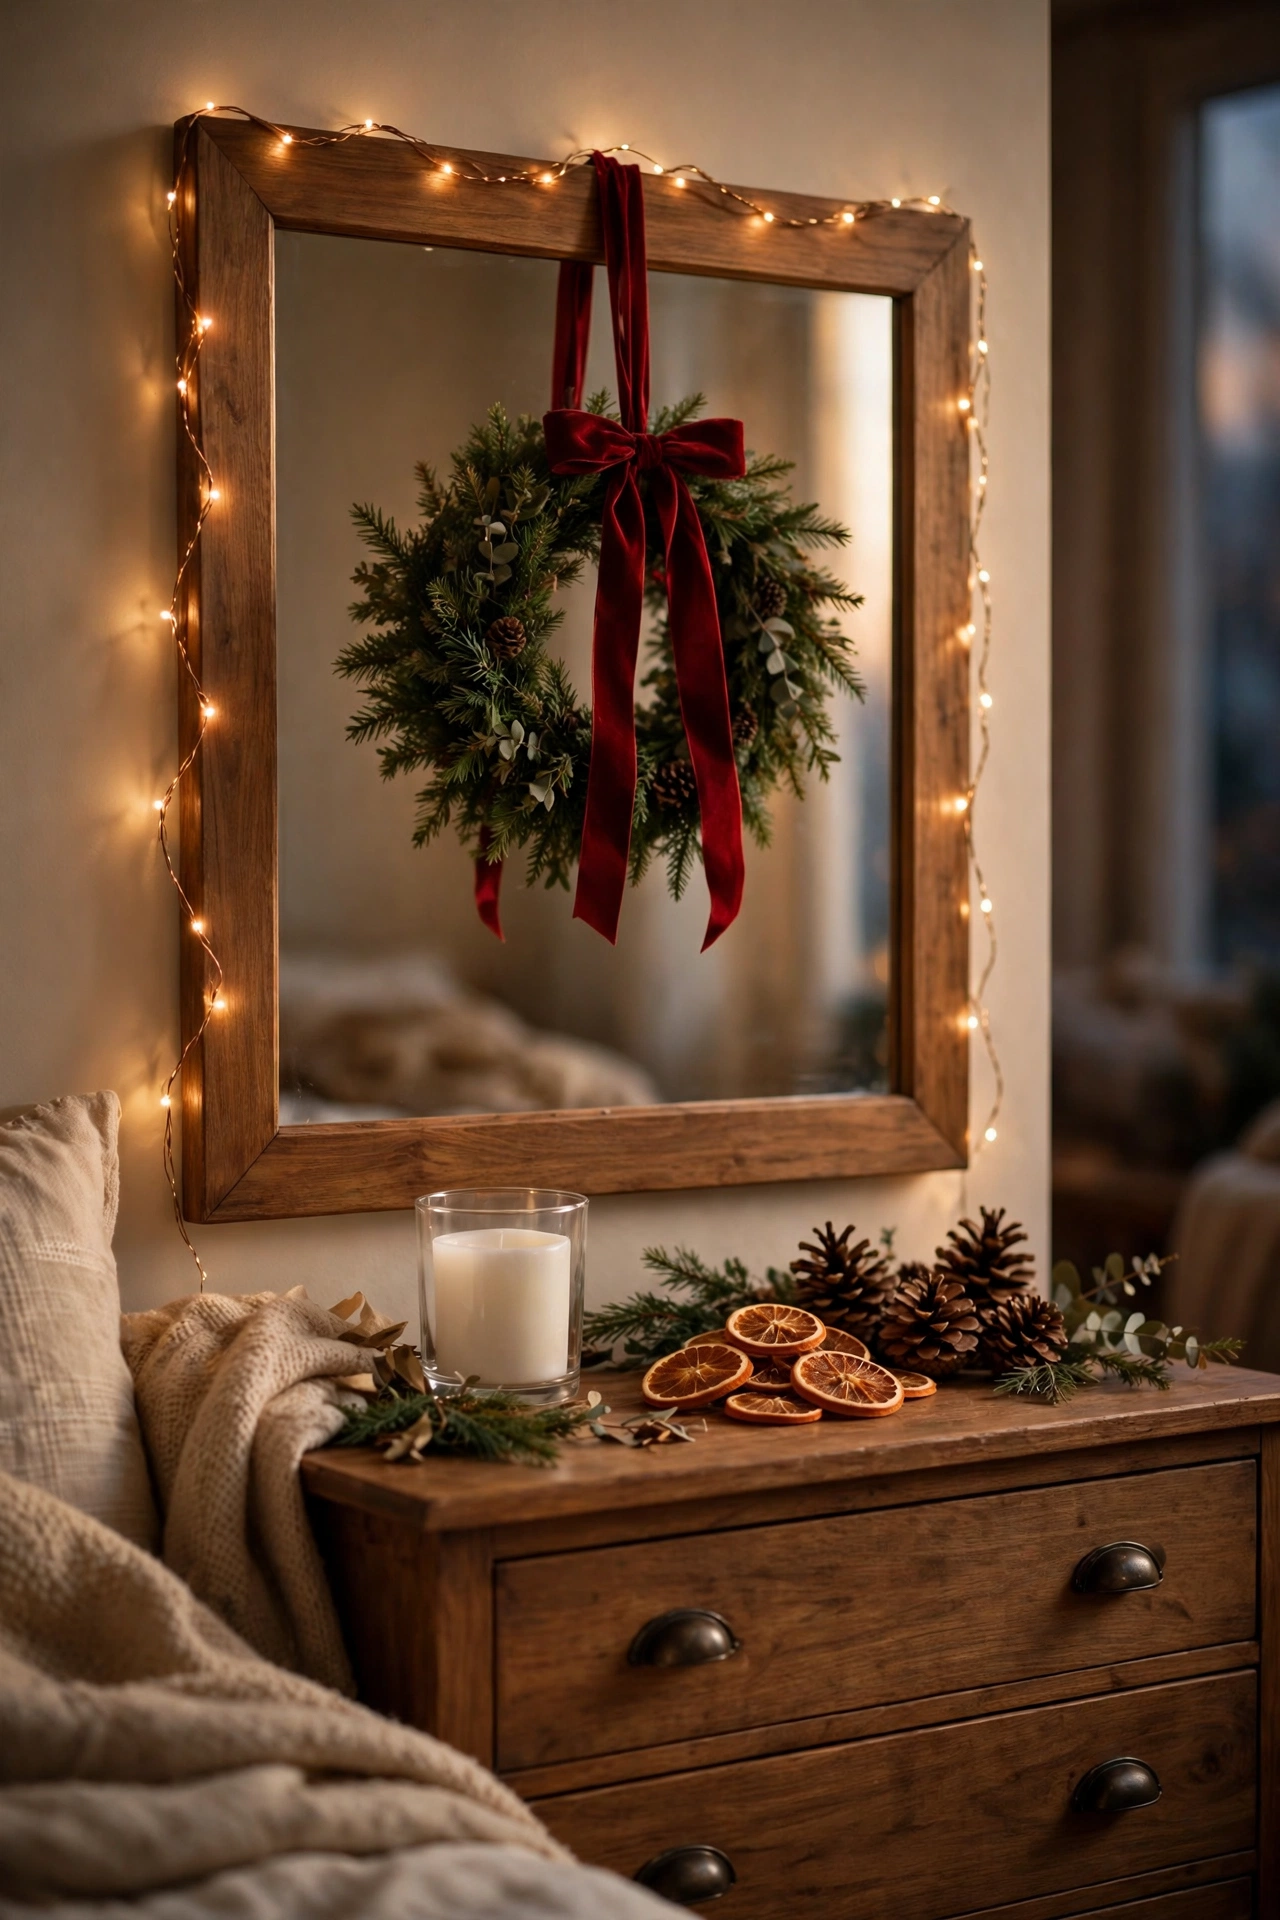
The mirror above the dresser is the best free decoration in the bedroom, because it doubles everything you put on the dresser top. A small wreath on the mirror, a strand of lights along its frame, or even just the reflection of the garland below it turns one display into two. The trick is to decorate the mirror lightly, because a mirror that is overdecorated stops being a mirror and starts being a wall hanging you cannot use.
The simplest mirror decoration is a small wreath hung from the top centre of the mirror with a velvet ribbon. Choose a wreath about 30 centimetres across, which is large enough to read as a decoration and small enough to leave most of the mirror usable. Hang it so the centre of the wreath sits at about eye level, not at the top of the mirror where nobody sees it properly. A ribbon looped over the top of the mirror frame holds it, and a small removable hook on the back of the mirror works too. Do not use a suction hook on a mirror unless you are sure it will hold, because a wreath that falls at 2am is a bad way to wake up.
If you do not have a wreath, a swag of greenery across the top of the mirror does the same job. A short piece of garland, about 60 centimetres, draped across the top corners of the mirror frame and tied with a bow at each end, frames the mirror without covering it. This is a good choice when the mirror is wide, because a single small wreath can look lost on a wide mirror, while a swag spans the whole width. Keep the swag thin and flat against the frame, so it reads as a frame decoration and not as a curtain.
Lights on the mirror frame are the third option, and they are the one that changes the room most at night. A strand of battery fairy lights taped or clipped along the top and sides of the mirror frame turns the mirror into a soft light source, and the reflection doubles the glow across the whole bedroom. Use warm white only, never cool white, because cool white on a mirror feels like a bathroom, not a bedroom. Keep the lights on the frame, not on the glass, so the mirror stays usable and the lights do not leave marks on the glass.
One safety note matters here more than anywhere else in this guide. Never put a real candle on a dresser under a mirror with a wreath or a swag above it. The mirror reflects the flame, the greenery above is dry, and the dresser is the surface you reach across half asleep in the dark. Battery candles give you the same glow with no flame at all, and they are the only candles that belong on a dresser. If you want the full candle rules, they are in the Christmas Candle Decor Ideas guide, and they are worth reading before you place anything that burns in a bedroom.
The Mini Tree on the Dresser: Size, Base and Balance
A mini tree is the fastest way to make a dresser feel like Christmas, and it takes almost no space if you get the size right. The rule is simple. The tree should be about one third of the height of the mirror above the dresser, and never taller than half of it. On a standard dresser with a mirror about 90 centimetres tall, that means a tree 30 to 45 centimetres tall. A tree in that range reads as a decoration. A tree taller than that starts to fight with the mirror and looks like a tree that does not fit its spot.
Choose a tree with a weighted base, and check the base before you buy or place it. A dresser top is a surface that gets bumped every day, by drawers opening, by elbows, by bags being set down, and a light tree with a narrow base will topple. A weighted base, a tree in a small pot, or a tree set inside a basket or a decorative container all solve the problem. If your tree came with a flimsy plastic stand, set the whole stand inside a low basket or a ceramic pot and pack the gap with tissue or fabric. It looks better and it will not fall over.
Place the tree at one end of the dresser, not in the middle. The middle is the clear zone, and a tree in the middle blocks the mirror for everyone. At one end, the tree frames the mirror instead of blocking it, and it balances the tray vignette at the other end. Which end does not matter much, but most people put the tree on the left if they are right handed, because the right end is where the jewelry tray and the daily things live, and the left hand reaches the tree less often.
Decorate the tree lightly. A mini tree on a dresser is not a full size tree, and it should not be dressed like one. Ten to fifteen tiny ornaments is plenty, and they should sit on the lower two thirds of the tree, where they are visible and where they will not make the tree top heavy. A short string of battery fairy lights with a timer is the best light for a dresser tree, because it switches itself off after you fall asleep and there is no cord trailing across the dresser to a plug. Skip the topper unless the tree is tall enough to carry one. A star or a bow on a 30 centimetre tree looks out of proportion, and a bare tip with one small ornament on it looks tidier.
One practical detail matters more than it sounds. Keep the tree off the very edge of the dresser. At least 10 centimetres back from the front edge, and at least 5 centimetres from the side edge. A tree near the edge gets knocked by sleeves and bags, and a tree that falls takes the ornaments, the lights and anything next to it down with it. Push it back, test it with a gentle nudge, and if it wobbles, move it further back or give it a heavier base.
The Tray Vignette: One Contained Christmas Moment
The tray vignette is the most practical Christmas idea on a dresser, because everything sits on one tray and the whole display lifts off in one move. When you need the surface, you lift the tray. When you are done, you put it straight back. No rearranging, no dusting around five separate objects, no ornaments rolling off the edge.
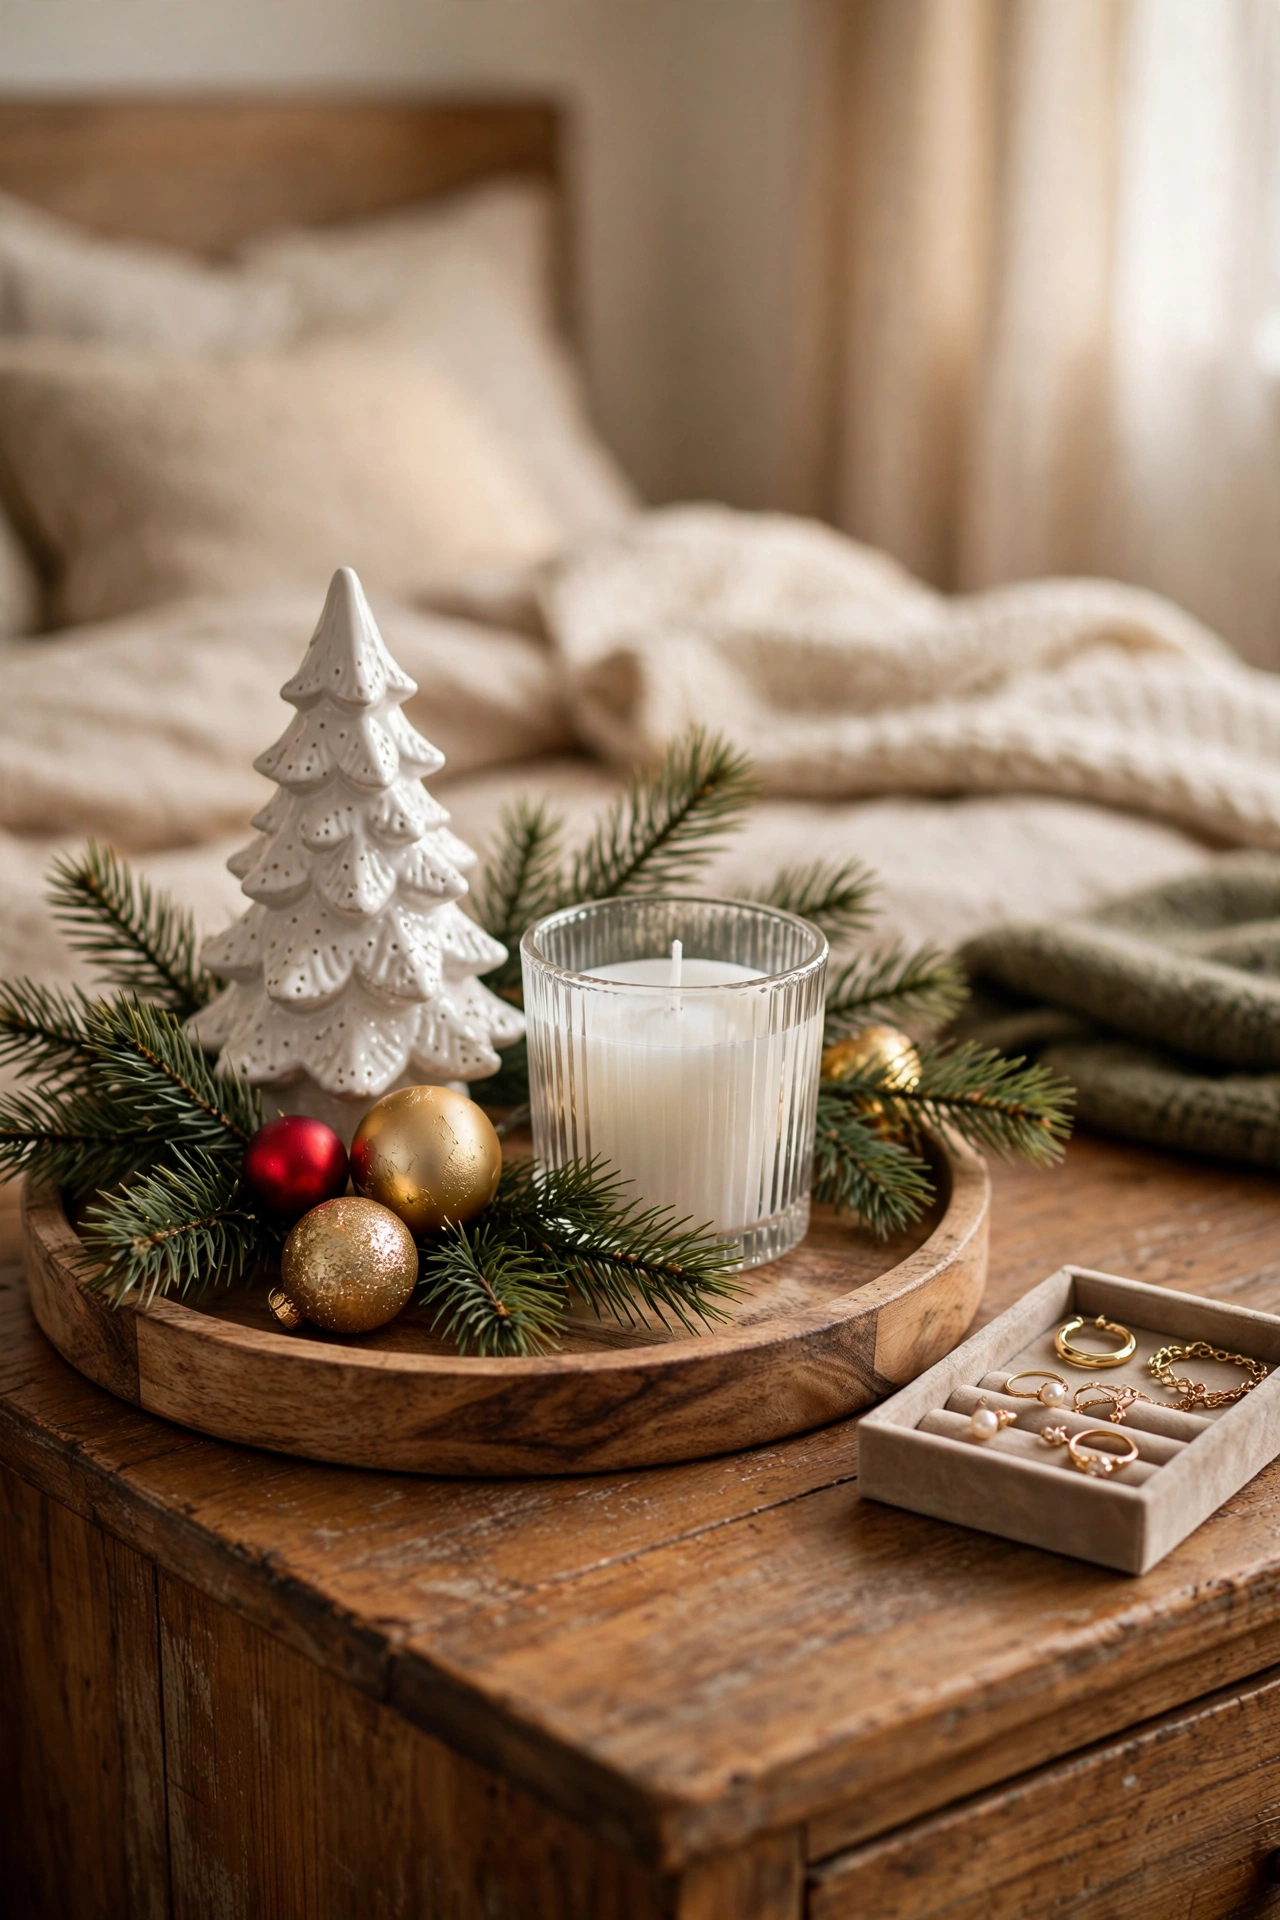
Start with the tray itself. A wooden tray, a round brass tray, a woven tray, or even a large serving platter all work, as long as the tray is big enough to hold three or four items without crowding them and small enough to leave the middle of the dresser clear. About 30 to 40 centimetres across is right for a standard dresser. A tray with a low rim is better than a deep one, because a deep rim hides the smaller items inside it and makes the vignette look like a box.
Build the vignette with three things. One tall thing, one warm thing, one green thing. The tall thing is usually a ceramic tree, a small bottle brush tree, or a framed Christmas print leaned against the mirror. The warm thing is a battery candle in a glass holder, which gives the vignette its evening glow. The green thing is a pine sprig, a sprig of cedar, or a tiny potted rosemary plant. Three things, grouped tight on the tray, with a few small ornaments scattered between them. That is the whole vignette, and it is enough.
The tray also solves the daily use problem in a way nothing else does. Your jewelry tray, your perfume and your brush can sit beside the vignette tray, and the two trays read as two deliberate groupings instead of a scattered surface. If you have a lot of daily things, put the vignette tray at one end and the daily things at the other end, and let the middle stay clear. If you have few daily things, the vignette tray can sit at one end and the jewelry tray at the other, and the dresser looks styled rather than stored.
Change the vignette once a week if you like, because that is the other advantage of a tray. Swap the ceramic tree for a small village house, swap the pine sprig for a cinnamon stick bundle, swap the ornaments for a different colour. The tray stays, the contents change, and the dresser feels fresh all December without any new purchases. Keep the swaps to the tray only, though. If you change the tray, the garland and the tree every week, the dresser never settles, and you spend December rearranging instead of enjoying it.
The Dresser Top Village: A Whole Scene in One Line
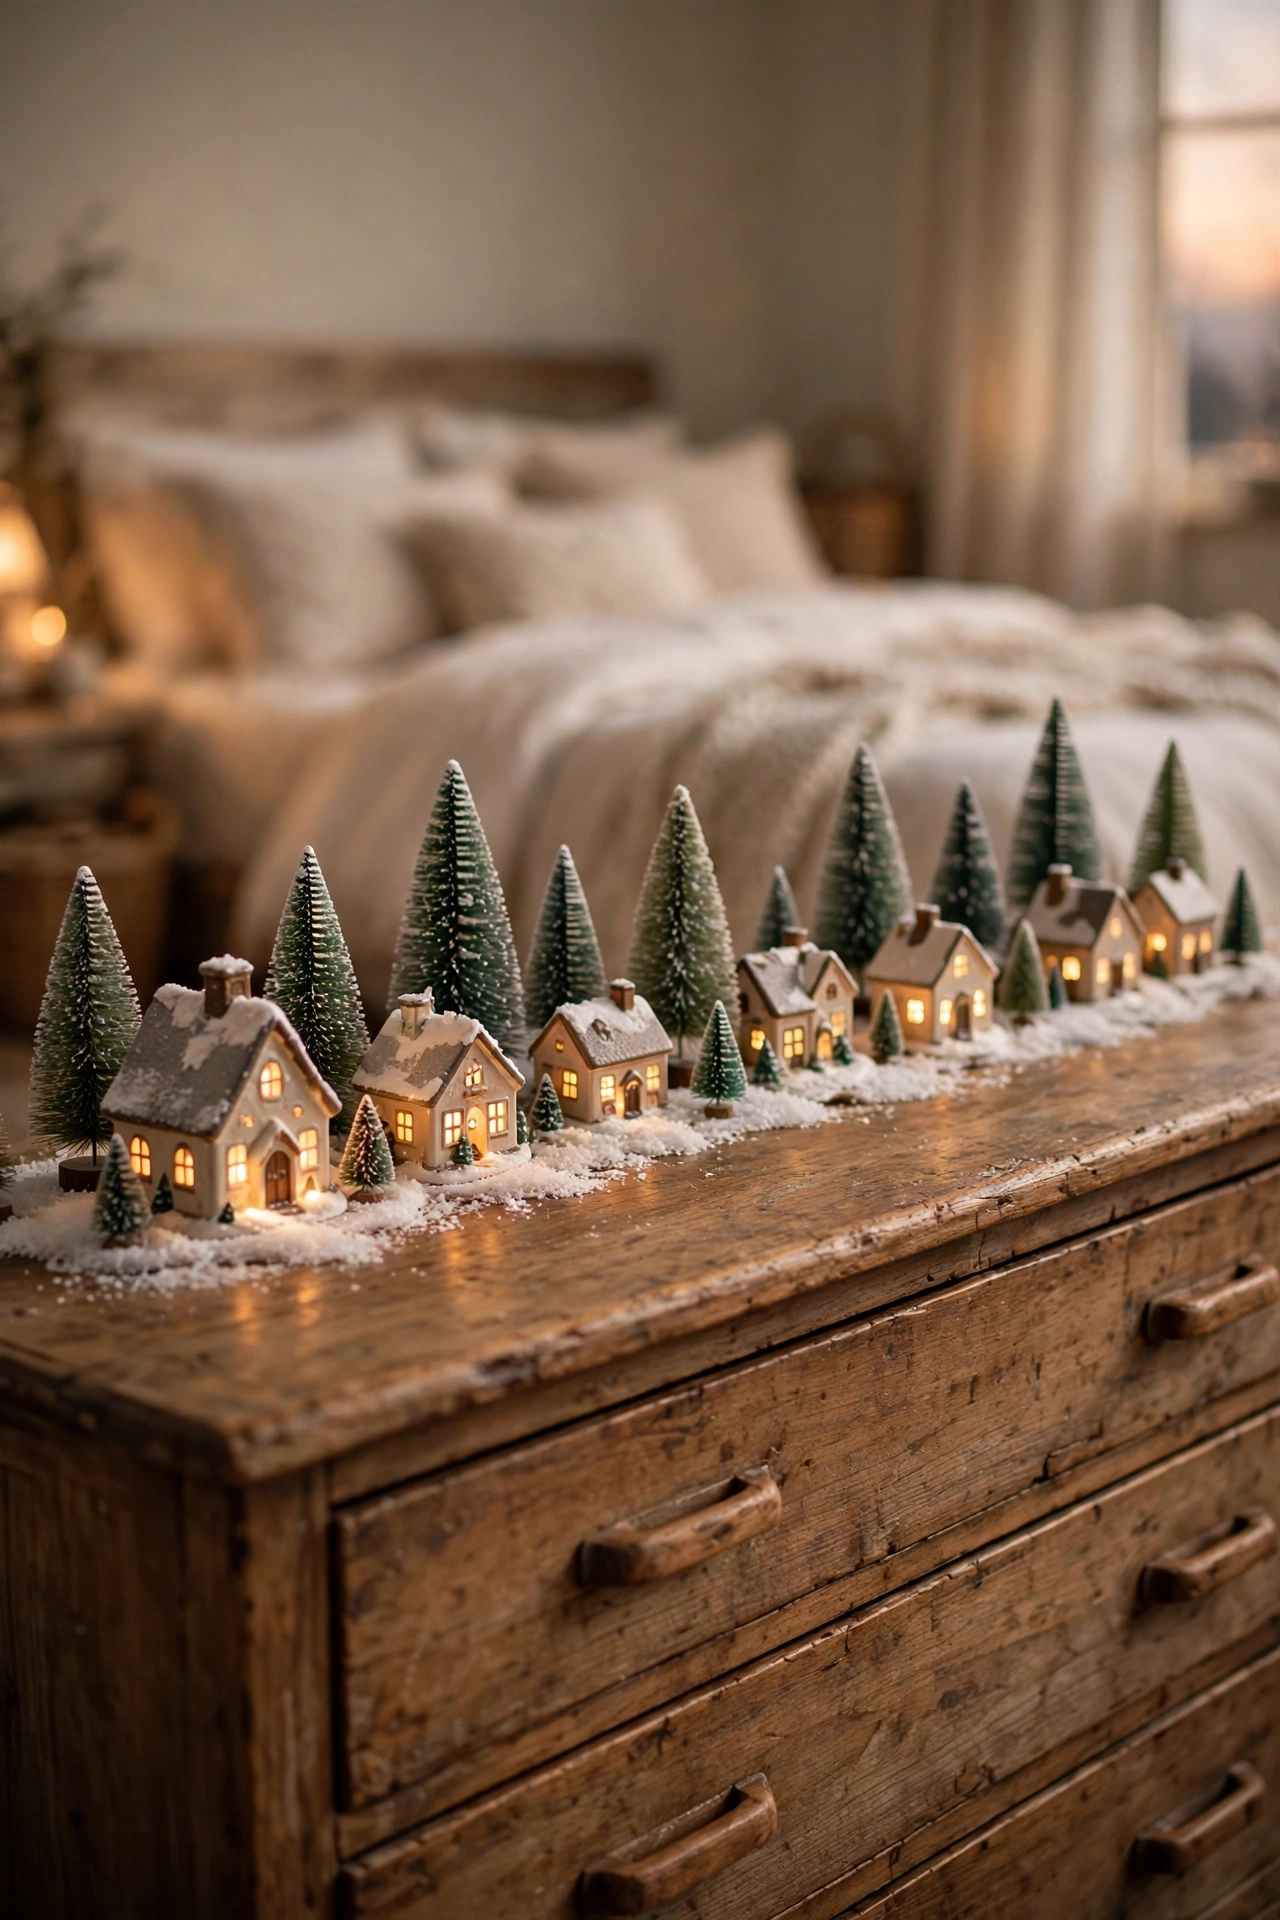
A Christmas village on a dresser top is the most charming idea in this guide, and it works because a dresser is the perfect shape for it. A village needs length, not depth, and a dresser top gives you 150 centimetres of length at eye level, which is exactly what a village scene wants. It is also the idea that impresses guests most, because a lit village along a dresser looks like a shop window, and it costs very little if you already own a few houses.
Start with a base. A length of white fabric, a piece of white batting, or even a white bed sheet folded to the width of the dresser gives the village its snow ground. Lay it along the back edge of the dresser, not across the middle, so the front of the dresser stays free for daily things. The base should run most of the length of the dresser, but it does not need to cover the ends where the tree and the tray vignette sit. The village lives between them, in the long middle stretch that is otherwise just garland.
Place the houses in a line, tallest in the middle, shorter at the ends, so the village has a skyline instead of a flat row. Three to five houses is enough for a dresser. More than that and the village starts to look like a shop shelf rather than a scene. Put the tallest house, usually the church or the tallest cottage, just off centre, because a perfectly centred tall house looks stiff, while one slightly off centre looks natural. Leave gaps between the houses for bottle brush trees, which are the village trees, and for small details like a tiny bench, a lamppost or a wrapped gift box.
Add the light last, and keep it simple. A single strand of battery fairy lights woven along the base, behind the houses, makes the whole village glow from within. If your houses have their own lights, use those instead and skip the extra strand, because two light sources in one small scene look busy. A little fake snow, a pinch of white glitter, or a few cotton balls pulled thin and laid as drifts finishes the scene. Keep the fake snow on the base only, not on the dresser wood, because it gets into drawers and is hard to clean out.
The village is the one display in this guide that needs a little weekly care. Dust settles on the houses, a tree falls over, a light goes out. Spend two minutes once a week straightening it, and it will look good all December. And when January comes, the village packs away into one small box, houses wrapped in tissue, trees in a bag, base folded, and the dresser goes back to being a dresser in ten minutes.
Colour, Light and Safety: The Finishing Rules
The last section is the one that makes the other seven work, because a dresser styled in five colours with three kinds of light looks busy no matter how good the individual ideas are. The finishing rules are simple, and they are worth following even if you ignore everything else in this guide.
Pick one colour family and stay in it. Red and gold is the classic choice, and it works with warm wood and brass hardware. Silver and white is calmer, and it works with painted dressers and grey bedrooms. All natural, pinecones, wood, kraft paper and cream, is the cheapest, because most of it comes from outside or from things you already own. What does not work is all three at once. If the garland is red and gold, the tree ornaments are silver, and the tray has a blue ceramic house, the dresser looks like three different displays sharing one surface. Choose one family, repeat it in the garland, the tree and the tray, and the whole dresser reads as one plan.
Pick one light temperature and stay in it too. Warm white, about 2700K, is the right light for a bedroom dresser. It matches the bedside lamp, it flatters wood, and it makes greenery look deep green instead of washed out. Cool white fairy lights on a dresser feel like a shop display, and they fight with the warm lamp beside the bed. Check the box before you buy, because fairy lights that look warm in the shop can read cool at home. If you already own cool white lights, use them in the hallway or the kitchen instead, and buy one warm white strand for the bedroom.
Safety is the last rule, and it is the one that matters most. A dresser sits in a bedroom, near bedding, curtains and clothes, and it is the surface you reach across in the dark. Use battery candles only, never real flames, on or near a dresser. Keep fairy light cords tucked behind the garland, not trailing across the surface where they catch on drawers. Keep all decorations at least 10 centimetres back from the front edge, so nothing falls on your feet in the morning. And keep the top drawer test from Section 1 as a weekly habit. Open every drawer slowly after you style the top, and again each week, because garlands settle and ornaments shift, and a drawer that opened freely on Monday can catch a garland strand by Friday.
Conclusion
A Christmas dresser is not a big project. It is a garland along the back edge, a mini tree at one end, a tray vignette at the other, a small wreath on the mirror, and a village in the middle if you feel like it. The whole thing takes one afternoon, most of it uses things you already own, and it changes the bedroom more than any other single surface, because the dresser is the surface you see every morning.
The rule to remember is the first one. Keep the working top working. Style the back edge and the two ends, keep the middle clear, keep everything back from the front edge, and test the drawers. Do that, and the dresser will feel like Christmas every morning without ever getting in your way. Skip it, and the display will be cleared within a week, decorations and all, and you will have spent an afternoon on a display that lasted six days.
Start with the garland, because it is the fastest win. Add the tree at one end and the tray at the other. Hang the wreath on the mirror last, and step back. If the dresser looks calm, if the mirror still works, if the middle is clear and the drawers open, you are done. Enjoy it, change the tray once a week if you like, and pack it all away in one box in January.
FAQ
How do I decorate a dresser for Christmas without losing drawer space?
Style the back edge and the two ends, keep the middle clear for daily things, and keep every decoration at least 10 centimetres back from the front edge so the drawers open freely. Test every drawer after you style the top.
What size mini tree fits on a dresser?
A tree 30 to 45 centimetres tall suits a standard dresser with a mirror about 90 centimetres tall. It should be about one third of the mirror height, never more than half, and it needs a weighted base so it does not topple when a drawer opens.
Can I put a real candle on a Christmas dresser?
No, use battery candles only. A dresser sits in a bedroom near bedding and curtains, often under a mirror with a wreath above it, and it is the surface you reach across in the dark. Battery candles with timers give the same glow with no flame.
How long should a garland be for a dresser?
Measure the dresser top and add about 30 centimetres, so the garland has a little slack to drape at the ends. For a standard six drawer dresser, a 180 centimetre garland is usually right. Lay it along the back edge, against the wall or mirror frame.
What is the easiest Christmas dresser idea for a small bedroom?
The three item tray vignette. One tray, one ceramic tree, one battery candle, a pine sprig. It takes ten minutes, it lifts off in one move when you need the surface, and it looks deliberate rather than cluttered.
How do I stop my Christmas dresser looking cluttered?
Pick one colour family, keep the middle of the dresser clear, keep at least a third of the surface visibly empty, and let the mirror double a calm display instead of reflecting clutter. Three zones, one garland, one tree, one tray, and stop there.
| Item | Cost if bought new | Cost if reused |
|---|---|---|
| 180 cm faux garland | 12 to 18 | 0, reuse from the living room |
| Battery fairy lights, 50 warm white, timer | 6 to 10 | 0, reuse from last year |
| Mini tree 30 to 45 cm | 10 to 20 | 0, reuse from the nightstand |
| Small wreath for the mirror | 5 to 12 | 0, reuse from the front door |
| Wooden tray plus ceramic tree and candle | 10 to 18 | 0, tray and candle from home |
| Village houses, 3 to 5 | 15 to 30 | 0, reuse from the mantel |
| Total for the full dresser | 58 to 108 | 0 to 15 |