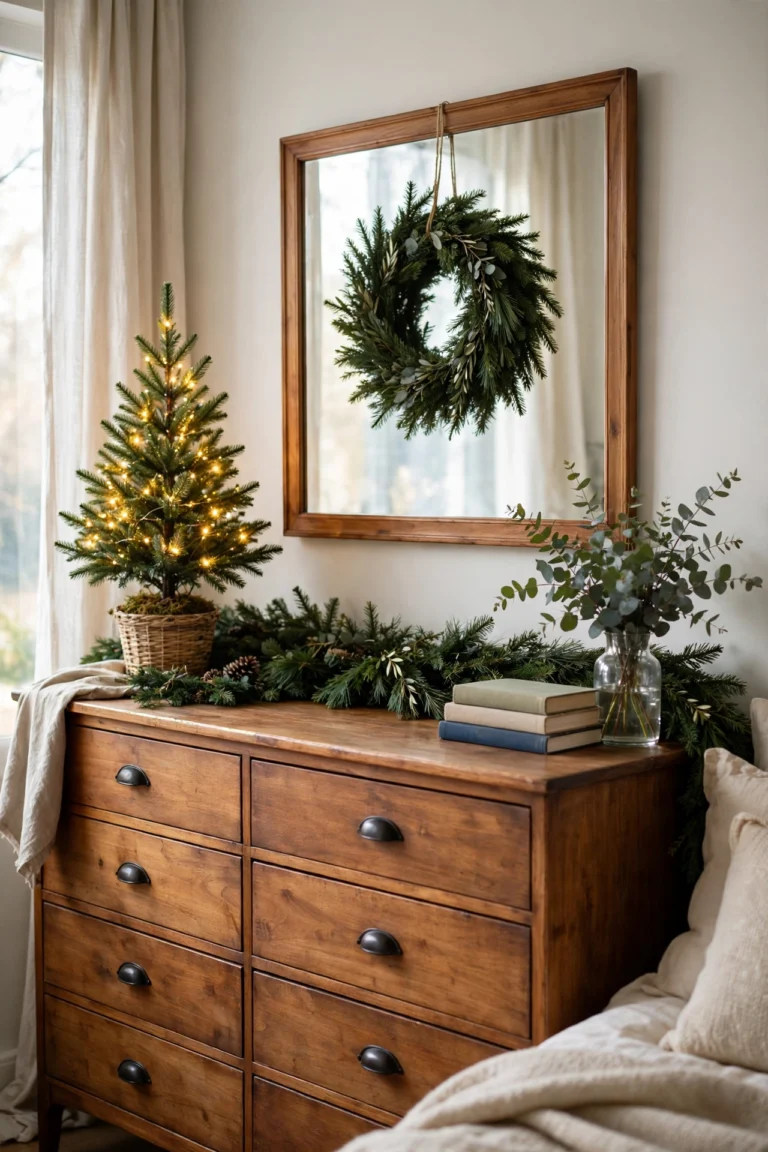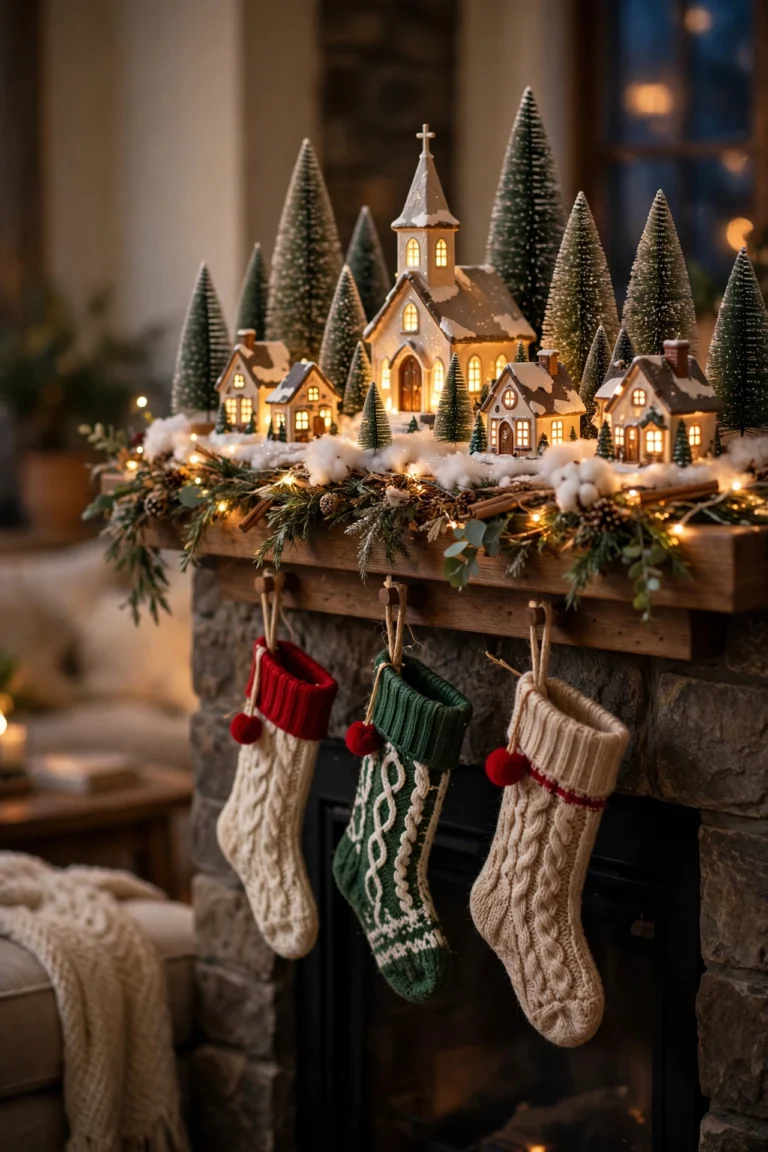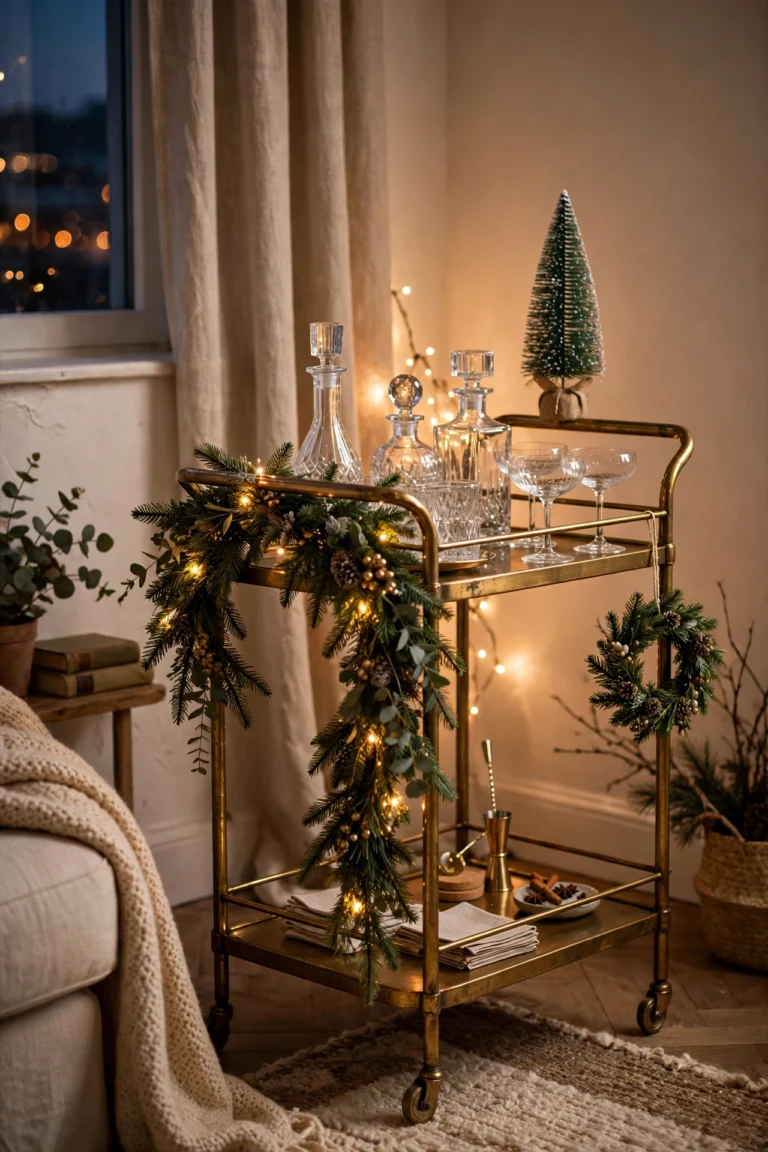
Christmas Kitchen Island Decor Ideas That Keep Room to Cook
The kitchen island is the hardest working surface in the house at Christmas. It is where the dough gets rolled, the cookies get iced, the parcels get wrapped, and the guests lean while they talk. That double job is what makes christmas kitchen island decor ideas different from every other Christmas decoration in the house. A mantel can be dressed to the edges because nobody cooks on it. An island has to look festive and still leave room for a chopping board, a mixing bowl, and a hot tray coming out of the oven. Get that balance right and the island becomes the heart of the Christmas kitchen. Get it wrong and the decorations end up in a pile on the counter by the second week of December.
The good news is that a decorated island does not need a lot of pieces. A garland across the front edge gives you colour without taking any worktop space at all. A single tray in the middle holds the whole centrepiece and lifts it away in one move when you need the island back.
Size changes the plan, not the idea. An island under 3 feet wide is a small island, and it can carry one idea well, usually a single tray or a short garland, and nothing else. An island between 3 and 5 feet wide is the average island, and it can carry two ideas, such as a tray in the middle and garland on the front edge. An island over 5 feet wide is a large island, and it can carry three ideas, as long as each one stays in its own zone and at least 12 inches of clear space stays at each end for prep.
If you are dressing the whole kitchen for Christmas, these guides fit together. Start with Christmas Kitchen Decor Ideas for the whole room, then use Christmas Tiered Tray Decor Ideas for the small layered tray that works on a shelf or a side counter, and finish with Christmas Lantern Decor Ideas for the lanterns that glow safely on an island, a mantel, or a porch.
The Function First Rule: Keep the Middle Clear for Cooking
Every good christmas kitchen island centerpiece starts with a simple rule. The middle of the island is for cooking first and for decorating second. That sounds obvious, but it is the rule most people break first, because the middle of the island is also the easiest place to put a decoration. You set a pretty bowl in the centre, you add a small tree beside it, you tuck a candle next to the tree, and by the time the baking starts there is nowhere to roll the dough. The fix is to decide, before you decorate, which part of the island is the work zone and which part is the decoration zone. Then protect the work zone.
Start by standing at the island the way you cook. Most people work at one side, usually the side facing the stove or the sink, and the far side is where the family sits or leans. The work zone is the side you cook on, and it should stay clear for at least 24 inches of depth, from the front edge to the middle of the island. On a standard island 36 inches deep, that leaves the back 12 inches for decor. On a narrow island 24 inches deep, the work zone takes the whole depth, and the decor has to live on the front edge, in the air above, or on a tray you can lift away. Measure your island before you buy anything, and write the width and the depth on a card to take to the shop, because every idea in this guide scales to those two numbers.
The second measurement is height. Island decor should stay under 12 inches tall. That number is not a guess. At 12 inches, you can see over the decor to the person on the other side, and you can reach over it to pass a plate. At 15 or 18 inches, the decor becomes a wall, and the island stops being a place where people gather. A centrepiece that is 10 to 12 inches tall, such as a mini tree in a small pot, a lantern, or a cloche over cookies, is the sweet spot.
The third rule is the 12 inch rule at each end. Leave at least 12 inches of clear island at each end for prep. That is the space for the chopping board, the mixing bowl, or the tray of cookies cooling on a rack. On an island 5 feet wide, that leaves 36 inches in the middle for decor, which is plenty. On an island 3 feet wide, it leaves 12 inches in the middle, which is enough for one small tray and nothing else. If you cannot leave 12 inches at each end, you have too much decor, and the island is telling you so. Take one piece away and the island will work again.
Garland Across the Front Edge
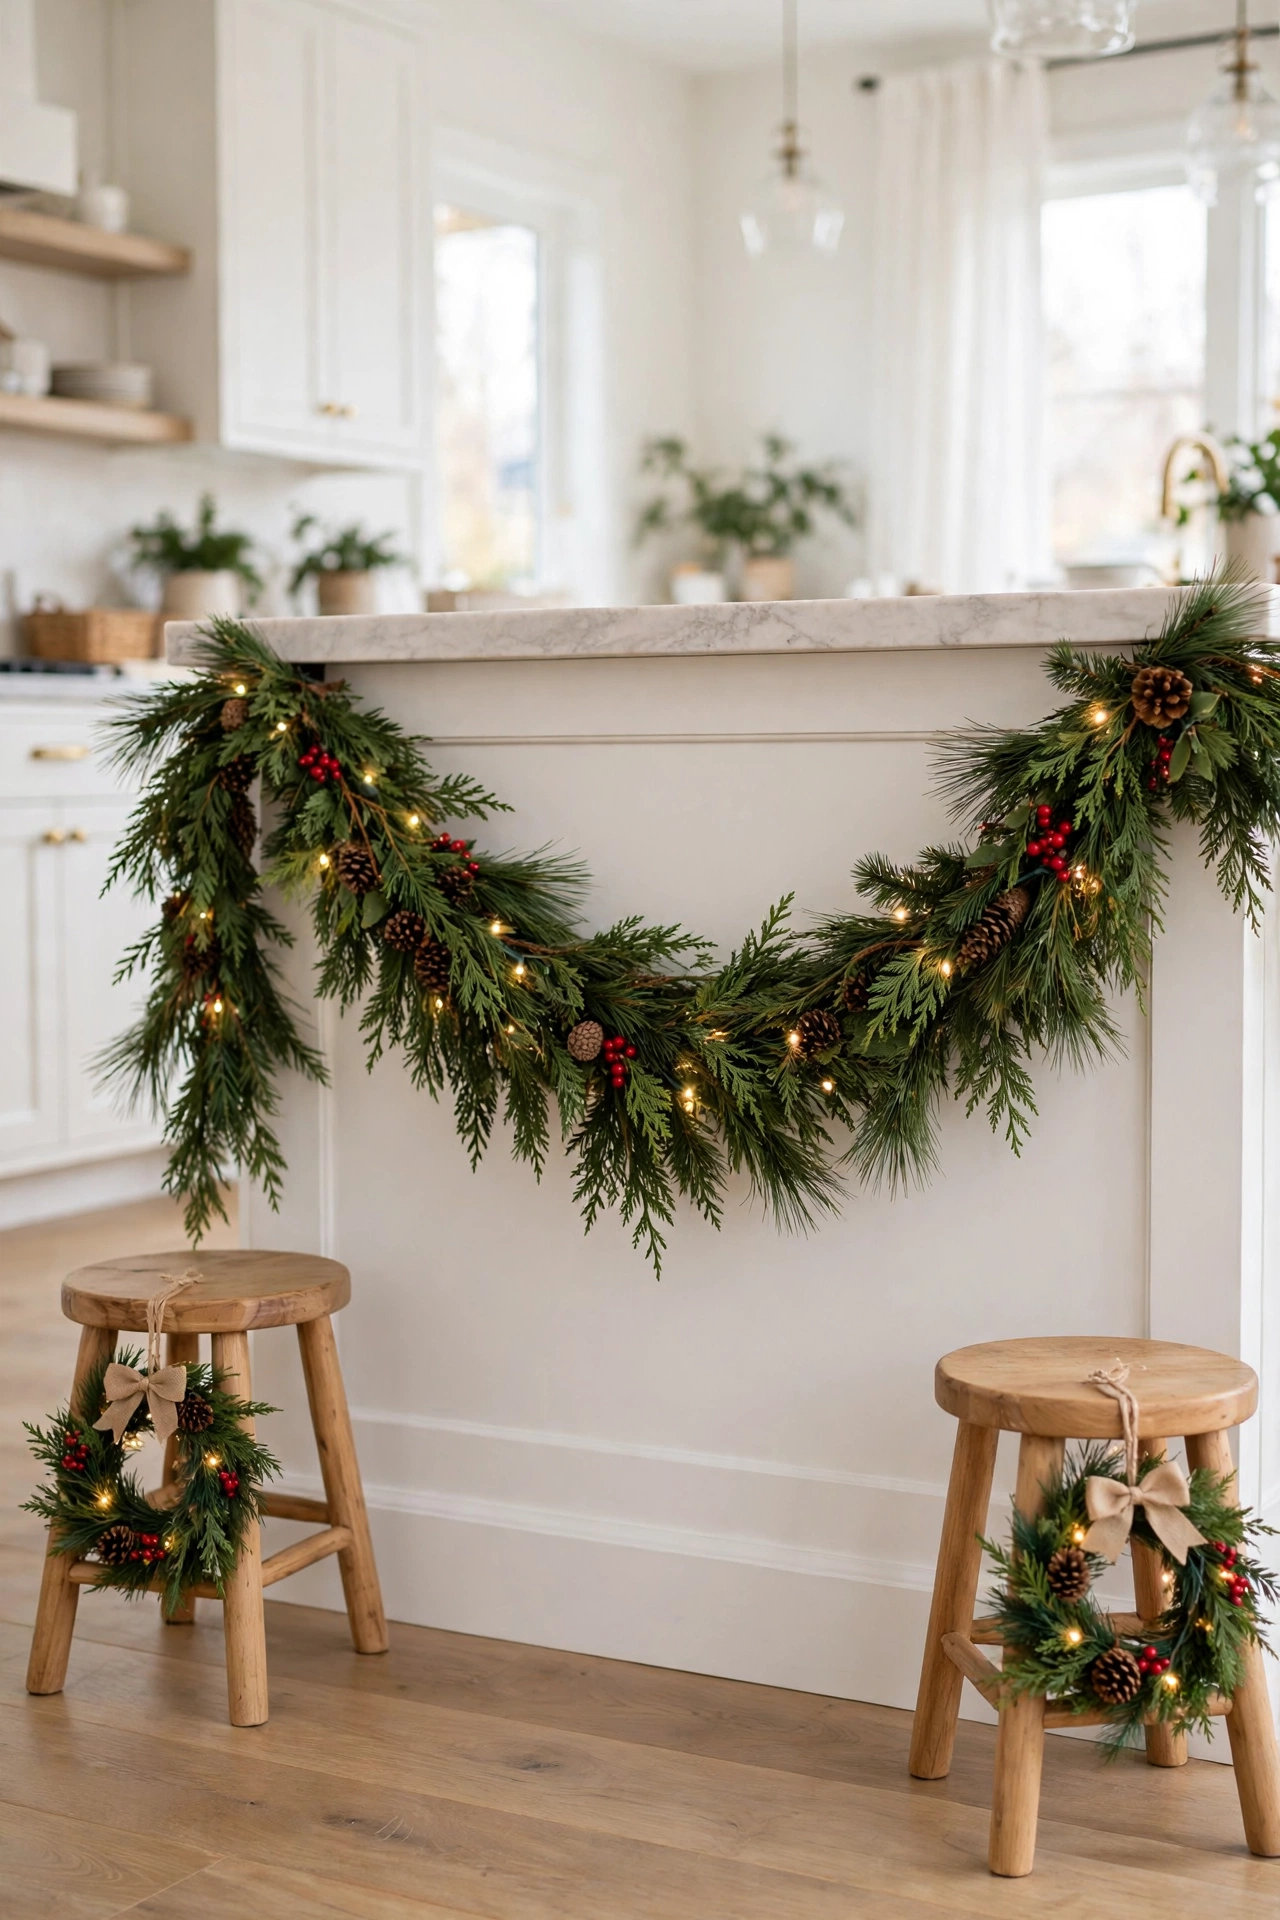
Garland across the front edge is the most popular of all christmas kitchen island decor ideas, and the reason is simple. It adds a long line of Christmas colour to the island without taking a single inch of worktop space. The garland hangs on the side of the island that faces the room, usually the side with the stools or the side you see when you walk in, and it turns a plain island front into a decorated one.
Choose faux garland for an island front, not fresh. Fresh garland is heavy, it dries out in a warm kitchen, and it sheds needles onto the floor where people walk in socks. Faux garland is light, it holds its shape, and you can bend it around the corners of the island without it snapping. Buy a garland 6 to 9 feet long for an average island, and measure before you shop. For an island 4 to 5 feet wide, a 6 foot garland gives you a gentle swag across the front with a small dip in the middle. For an island 6 to 8 feet wide, a 9 foot garland gives you the same gentle swag. The garland should run the full width of the front and wrap 3 to 4 inches around each end, so it looks finished from the side. A 6 foot faux garland costs $15 to $25, and a 9 foot garland costs $25 to $40.
Hang the garland with small clear adhesive hooks, not nails and not tape. Stick two or three hooks along the top edge of the island front, spaced evenly, and drape the garland over them so it swags gently between the hooks. A swag that dips 4 to 6 inches between hooks looks relaxed and natural. A garland pulled tight across the front looks stiff, and a garland that sags 10 inches or more will catch on a stool or a passing hip. Small clear adhesive hooks cost $5 to $8 for a pack, and they peel off in January without marking the island.
Tuck the extras into the garland after it is hung. Wire 3 to 5 small pinecones, each 2 to 3 inches long, into the swags, and add two or three small bunches of red berries the same way. A bag of pinecones costs $5 to $8, and a berry bunch costs $4 to $6. If your island has stools, keep the garland high enough that it clears the stool seats by at least 2 inches, so nobody sits on it. The total cost for a garland dressed island front, with pinecones, berries, and lights, usually runs $30 to $70. The mistake to avoid is hanging the garland on the cooking side of the island, where it will be splashed, snagged, and in the way by the second day. Hang it on the room side, where it is seen and never touched, and check it on the second morning for any swag that has dropped more than an inch.
The Tray Trick: One Tray Holds the Whole Look
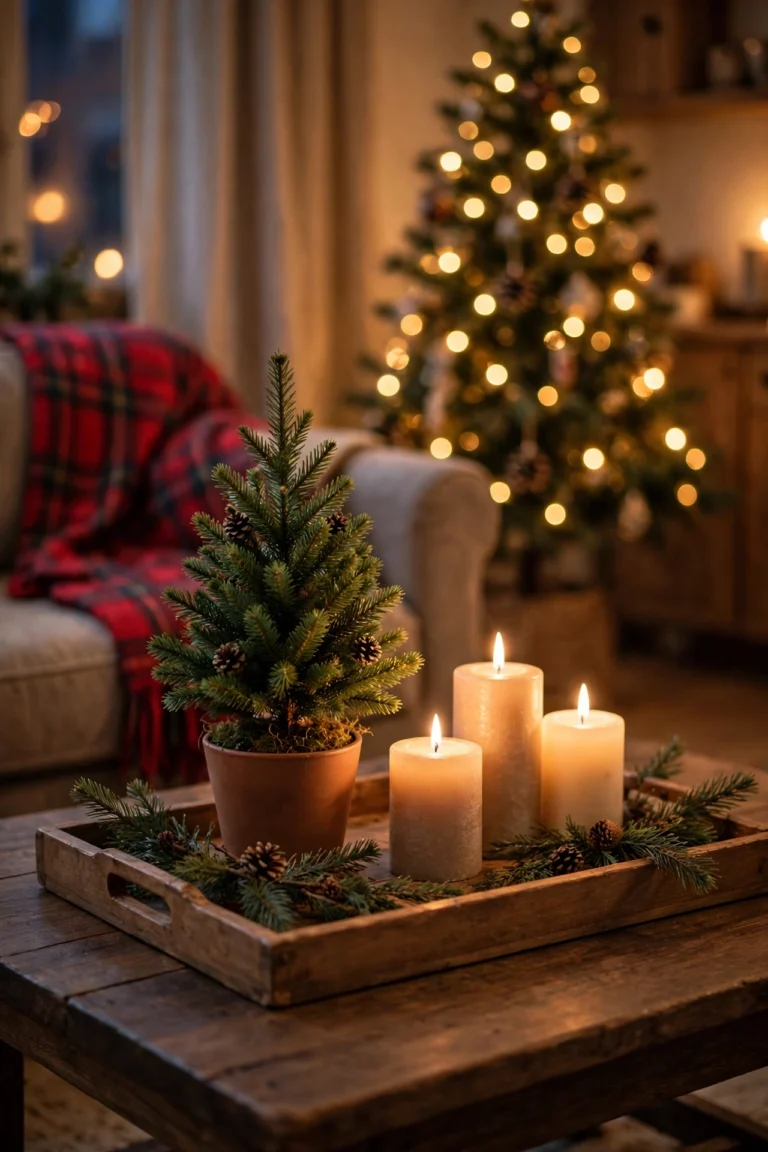
A tray is the single most useful piece of christmas kitchen island decor, because it turns five loose decorations into one object that you can lift and move. Without a tray, the island gathers pieces one by one. A small tree here, a candle there, a bowl of ornaments beside it, and by the third week the island looks cluttered and nobody can find a clear spot to set a plate. With a tray, everything sits inside one border. The tray says where the decoration starts and where it ends, and the rest of the island stays clear for cooking. When you need the whole island, you lift the tray with both hands and set it on the side counter. The decoration moves in one motion, and the island is free.
Choose a wood tray for a kitchen island, because wood suits a kitchen and it does not slide around on a smooth worktop the way a metal tray does. A wood tray with handles is the easiest to lift, and a tray with a low rim, 1 to 2 inches high, holds the pieces in place without hiding them. Pick the tray size from your island width. On a small island under 3 feet wide, use a tray 12 to 14 inches long. On an average island 3 to 5 feet wide, use a tray 18 to 24 inches long. On a large island over 5 feet wide, use a tray 24 to 30 inches long, or use two trays 16 to 18 inches long, one at each end, with clear space between them. A round tray 14 to 16 inches across suits a square island. A wood tray costs $12 to $25, and a tray with handles costs $18 to $30.
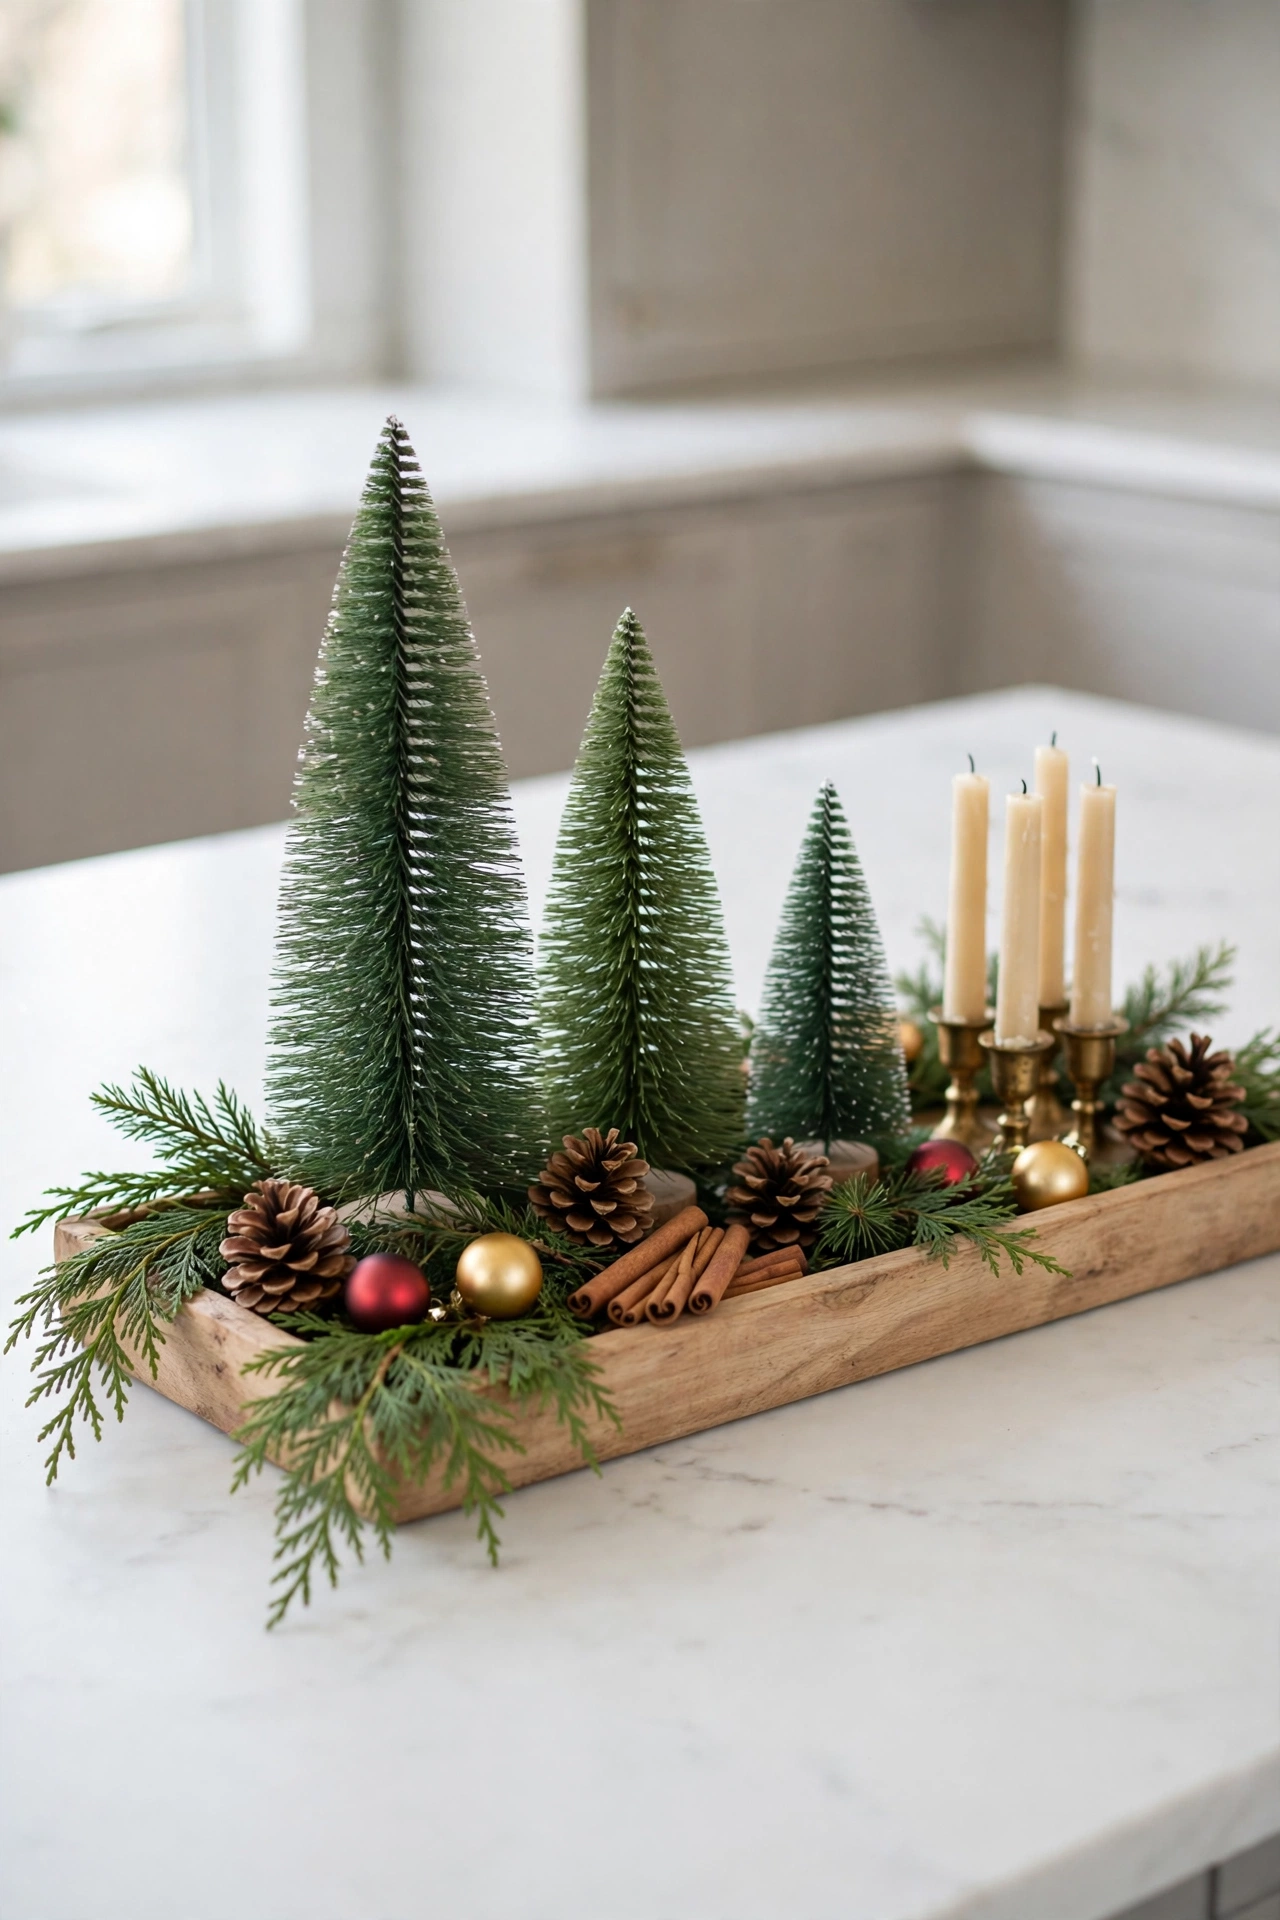
Build the tray in three layers, and keep every layer under 12 inches tall. The bottom layer is the base, and it should be something flat and natural, such as a folded tea towel in red and white, a piece of burlap, or a few sprigs of cedar laid flat. The middle layer is the tallest piece, and it should be 8 to 12 inches high, such as a mini tree in a small pot, a lantern, or a small gingerbread house. The top layer is the small fill, and it should be low and soft, such as a handful of shatterproof baubles, a few pinecones, a short string of battery fairy lights, or a scattering of cinnamon sticks. The rule is one tall piece, two or three medium pieces, and a little low fill. A finished tray usually costs $35 to $55 in total.
The mistake to avoid is building a tray you cannot lift. If the tray is too heavy, too wide, or too fragile to carry with both hands, it stops being a tray and becomes a permanent fixture, and the island loses its work zone. Test the tray before you fill it. Pick it up, walk it to the side counter, and set it down. If you can do that comfortably with both hands, the tray works. If you cannot, choose a smaller tray or fewer pieces.
Velvet Bows on the Pendant Lights
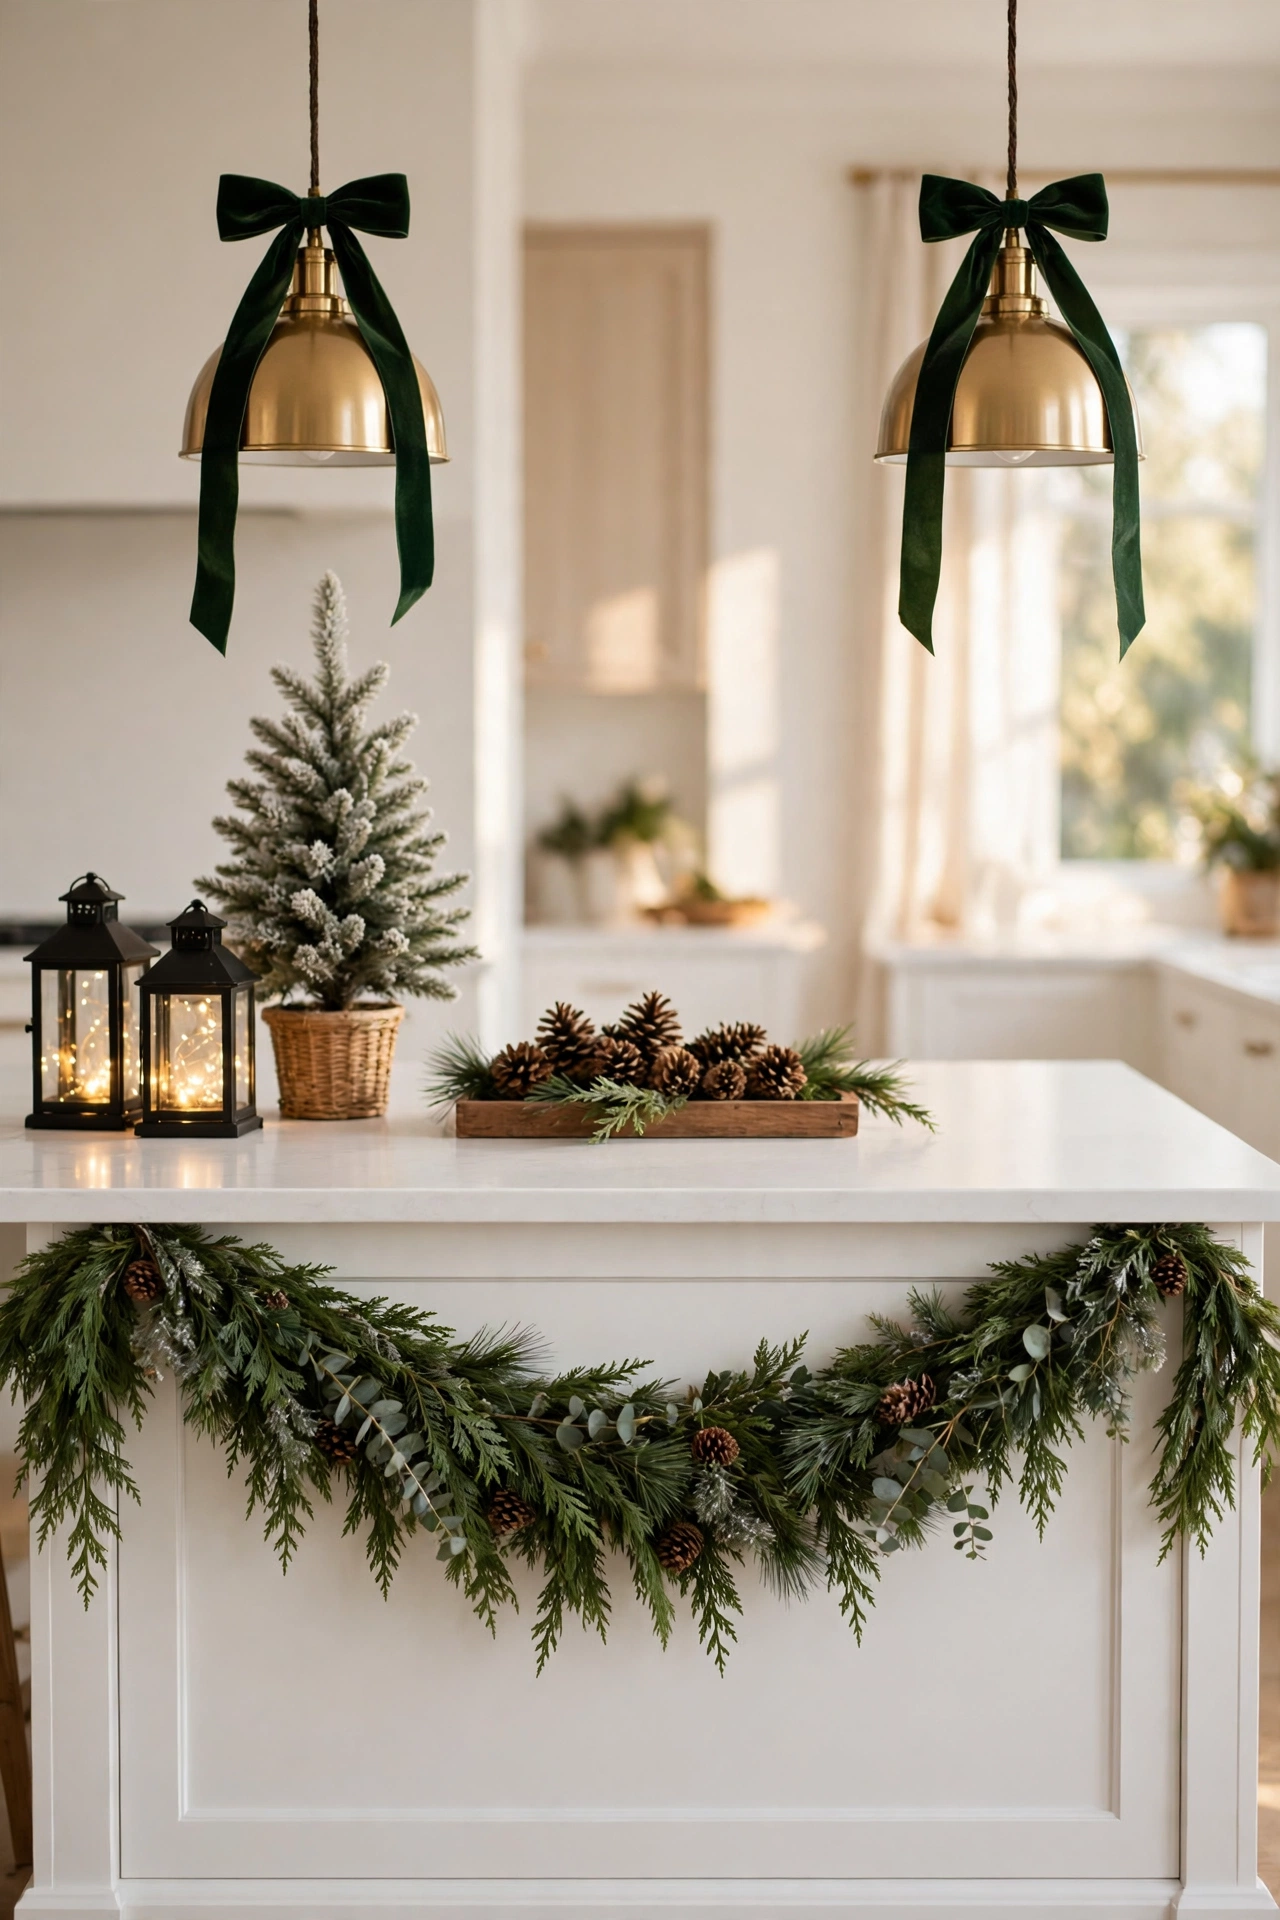
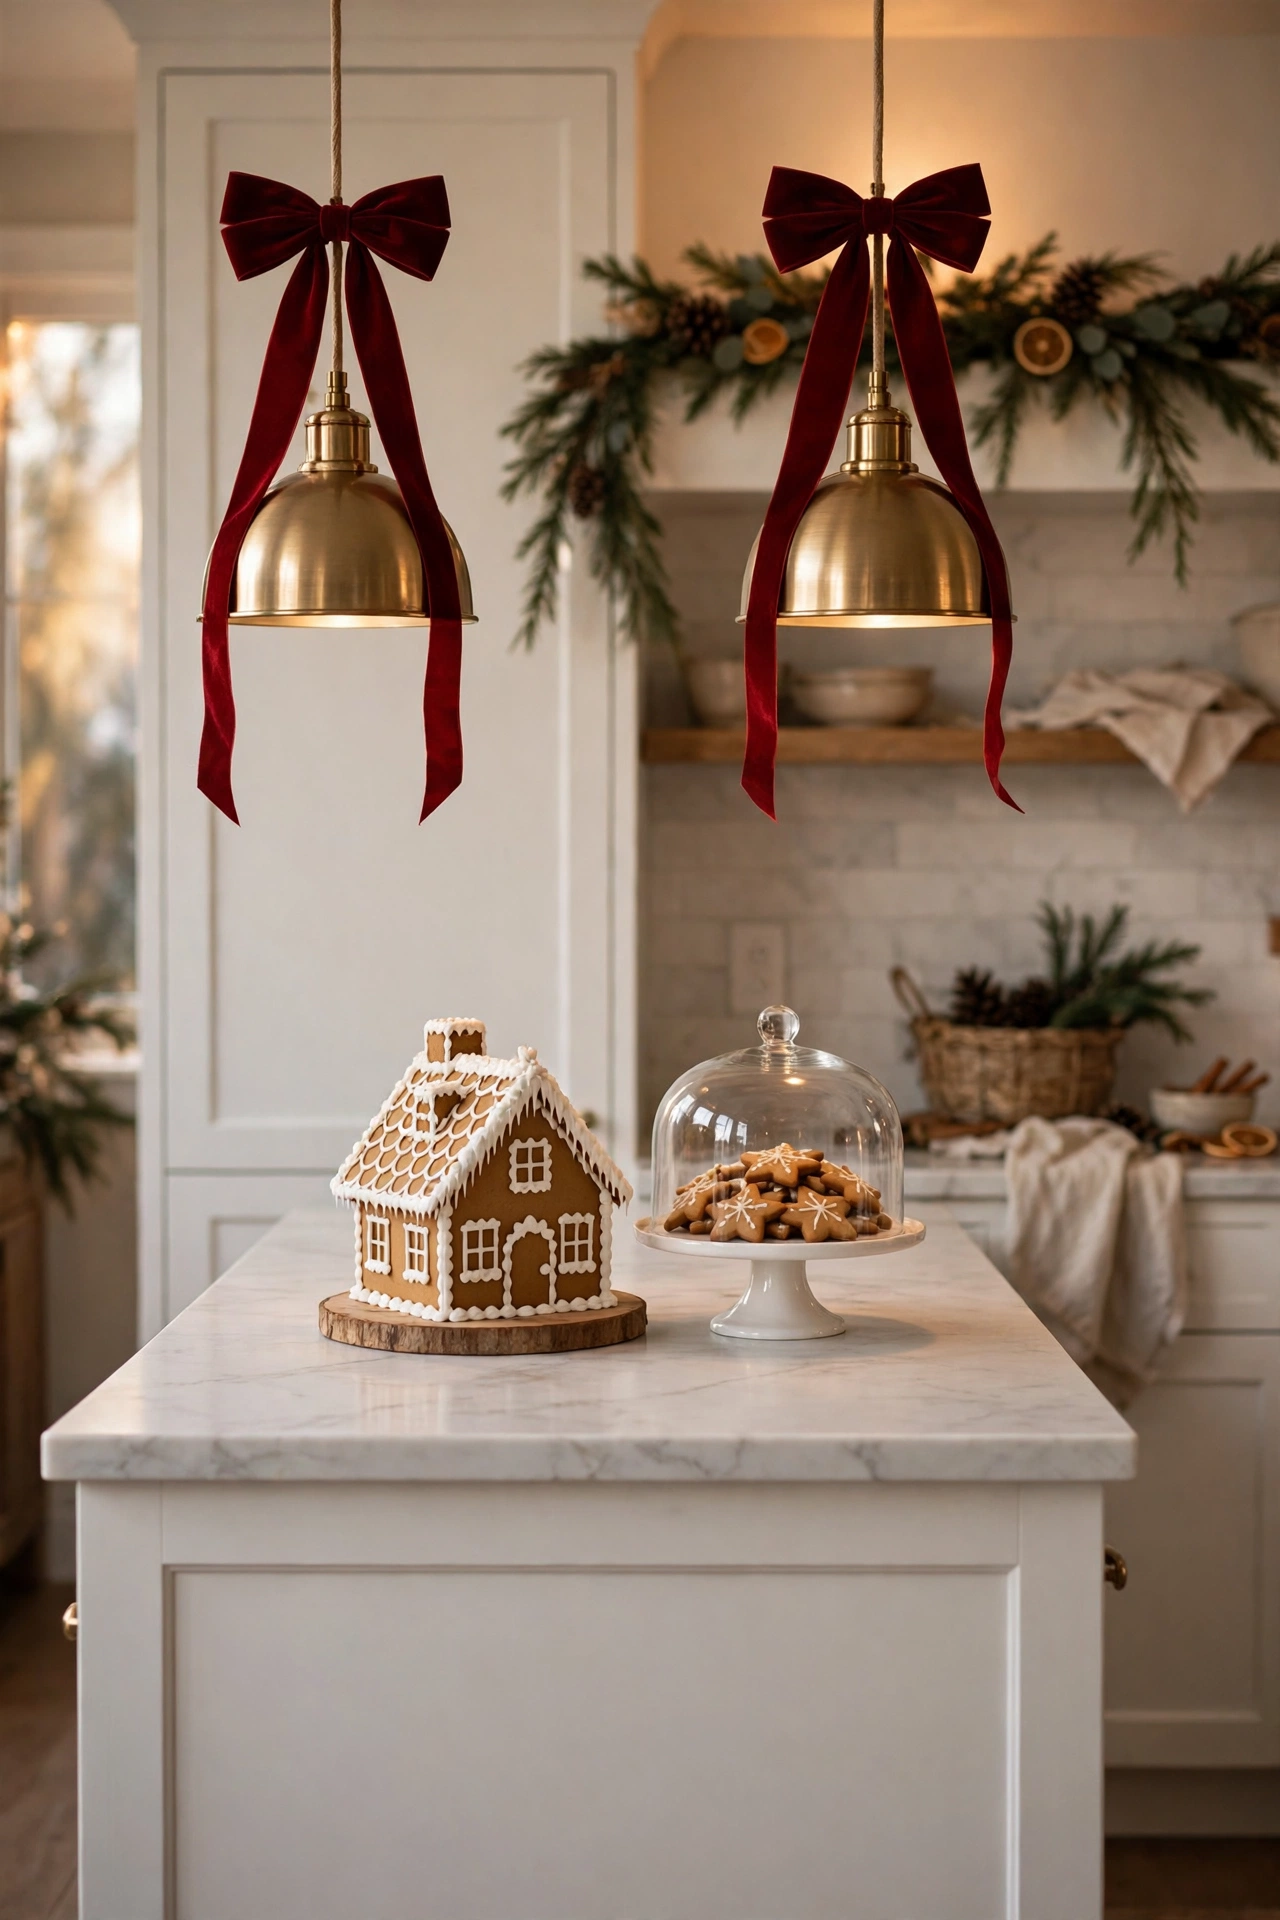
Velvet bows on the pendant lights are the cleverest of the christmas kitchen island decor ideas, because they add Christmas to the island without touching the island at all. The pendants already hang above the island, and a bow tied around each one turns that light into a decoration. The worktop stays completely clear, the sightline across the island stays open, and the room still reads as Christmas from the doorway.
Choose wide velvet ribbon, 2.5 inches wide, for the best result. Narrow ribbon under 1.5 inches looks thin on a pendant, and it will not hold a full bow. Velvet holds its shape, it does not slip on a smooth cord or a metal shade, and it catches the light softly. Satin is shinier, but it slides, and a satin bow on a smooth pendant cord will creep down during the day. Buy one spool of 3 yards for two pendants, and two spools for three or four pendants. That gives you a bow on each pendant with tails of 12 to 18 inches, plus a little spare. A 3 yard spool of velvet ribbon costs $5 to $10.
Tie the bow at the top of the pendant, around the cord or the neck of the shade, never around the bulb and never around a glass shade. Loop the ribbon once around the cord, tie a firm knot, then form the bow with two loops of about 5 to 6 inches each and tails of 12 to 18 inches. Cut the tail ends in a V shape, which looks finished and stops the ribbon from fraying. The bow should sit high on the pendant, at least 12 inches above the island surface, so the tails never brush the worktop and never dip into food or drink. Keep every tail at least 2 inches clear of any bulb, and at least 6 inches clear of the island surface. A row of three pendants with three matching bows, all the same size and the same colour, looks planned. A row with one big bow, one small bow, and one bow in a different colour looks like an accident. Dressing three pendants costs $10 to $20 in total, and it takes 15 to 20 minutes.
The mistake to avoid is tying the bow to the bulb or to a hot shade. The heat loosens the knot, the ribbon slides, and a bow can end up resting on a hot bulb, which is a fire risk. Tie to the cord or the metal neck only, and check the bows every few days for slipping. The second mistake is mixing ribbon colours and widths on one row of pendants. A red bow on one pendant, a green bow on the next, and a gold bow on the third looks like three different decorations that met by accident. One colour, one width, and one bow size, repeated evenly, is what makes it look planned. When January comes, untie the bows and keep the ribbon, because a spool of velvet ribbon will serve you for years.
Mini Trees and Bottle Brush Trees That Stay Low
Mini trees are the classic island centrepiece, and the rule that makes them work is height. A mini tree on a kitchen island should be 6 to 12 inches tall, including its pot. At 6 inches, it is a small accent that sits beside a tray or a lantern. At 10 to 12 inches, it is the tallest piece on the island, and it still lets you see over it to the person on the other side. A tree taller than 12 inches becomes a wall, and a tree taller than 18 inches on an island is a hazard, because it will be knocked over by an elbow, a chopping board, or a passing tray. Measure the tree with the pot included.
Bottle brush trees are the best choice for a kitchen island. They are small, they are light, they are cheap, and they come in the classic Christmas greens, plus white, red, and gold. A set of three bottle brush trees, 6, 8, and 10 inches tall, costs $12 to $20, and a single larger bottle brush tree 12 inches tall costs $8 to $15. Set them in a row down the centre of the island, spaced 8 to 10 inches apart, or cluster them on a tray with a lantern and a few pinecones. A row of three trees in mixed heights, 6, 8, and 10 inches, looks natural, because real trees are never the same height. A row of three trees all 10 inches tall looks like a fence. Mix the heights, and keep the tallest tree in the middle of the group.
Decorate a mini tree lightly, because a small tree cannot carry much weight. Three or four tiny shatterproof baubles, each 1 inch across, and a short strand of battery fairy lights, 10 to 15 micro lights, is enough. A set of tiny baubles costs $5 to $8, and a short strand of battery lights costs $5 to $8. Do not hang glass baubles on a mini tree, and do not hang anything heavy, because a mini tree in a small pot will topple if the top gets heavy. Set the tree on a non-slip mat or a small piece of shelf liner, which costs $3 to $5, so it does not slide when someone bumps the island. A tree that slides is a tree that falls into the food.
A row of mini trees works well with a plaid runner underneath, because the runner draws the eye down the length of the island and ties the trees together. The total cost for three bottle brush trees, tiny baubles, and a short strand of lights usually runs $20 to $40. The mistake to avoid is buying a tree that is too tall for the island. A 18 inch tree looks wonderful in the shop and terrible on the island, because it blocks the view, it catches elbows, and it has to be moved every time you cook. Buy the tree to the height, measure it with the pot, and if it is over 12 inches, choose a smaller one.
Gingerbread Houses, Cookie Domes and Glass Domes
A gingerbread house on a kitchen island is Christmas you can eat, and it is the most charming centrepiece in this guide. A gingerbread house 6 to 8 inches tall, set on a wood slab, looks like it belongs in a kitchen, because a kitchen is where it was made. The wood slab is part of the look. A round wood slab 10 to 12 inches across, or a rectangular board 12 by 8 inches, gives the house a base that keeps the crumbs in one place and lets you lift the whole display in one motion. A wood slab costs $8 to $15, and a gingerbread house kit costs $12 to $20.
Build the house on the slab, not on the island directly. Set the slab in the middle of the island, or on a tray, and build the house on top of it. That way the icing, the candy, and the crumbs stay on the slab, and the island stays clean. Keep the house under 12 inches tall, including the roof and any chimney. A house 6 to 8 inches tall is the right size for an island. A house taller than 12 inches will block the view across the island, and it will be knocked over by the first elbow. Add a few small details around the base, such as a tiny bottle brush tree, a small pile of fake snow or white shredded paper, and two or three candy canes stuck in the ground. Keep the details low, under 4 inches, so the house stays the star.
A glass dome of cookies is the second idea in this section, and it is the prettiest way to show off your baking. A glass dome, also called a cloche, 8 to 10 inches tall and 8 to 10 inches across, set over a plate of Christmas cookies, turns your baking into a decoration. The dome keeps the cookies fresh, it keeps the dust off, and it looks wonderful on an island, because the cookies are the colour. A glass dome on a wood base costs $15 to $30, and a glass dome on a plain plate costs $12 to $20. Set the dome in the middle of the island, or on a tray, and fill it with cookies, gingerbread men, or a small pile of candy canes. Change the cookies every few days, because a dome of stale cookies is worse than no dome at all.
The total cost for a gingerbread house on a wood slab usually runs $25 to $40, and a glass dome of cookies usually runs $20 to $45, including the dome and the plate. Never use spray snow or glitter near food, and never put a real candle near a gingerbread house or a glass dome. Use battery fairy lights only, kept outside the dome, around the base. The mistake to avoid is building the house too tall, or putting the dome at the end of the island where the prep happens. The house and the dome belong in the middle, on a slab or a tray, with at least 12 inches clear at each end.
Bowls That Work: Citrus, Nuts and Ornaments in Jars
A bowl on a kitchen island is the oldest Christmas decoration there is, and it works because it is decoration and food at the same time. A bowl of citrus and cinnamon, a wooden bowl of nuts, or a jar of ornaments does not pretend to be a centrepiece. It is a bowl, it sits on the island, people reach into it, and it looks wonderful while they do.
A bowl of citrus and cinnamon is the most fragrant idea in this guide, and it costs almost nothing. Fill a wide, shallow bowl, 10 to 12 inches across, with oranges, clementines, and lemons, and tuck 6 to 8 cinnamon sticks, each 4 to 6 inches long, and a few sprigs of cedar between the fruit. A bowl costs $8 to $15, the fruit costs $5 to $8, and a bag of cinnamon sticks costs $4 to $6. The bowl should be wide and low, no more than 4 inches tall, so you can see over it and reach into it easily. A tall, narrow bowl will be knocked over, and a deep bowl will hide the fruit. Keep the bowl in the middle of the island, on a tray or a runner, and refill the fruit as it gets eaten.
A wooden bowl of nuts is the second idea, and it suits a kitchen that already has a lot of wood. Fill a wooden bowl 10 to 12 inches across with walnuts, hazelnuts, and almonds in their shells, and add a small nutcracker beside it. A wooden bowl costs $10 to $20, and the nuts cost $6 to $10. The bowl should sit on a tray or a runner, so the shells have somewhere to go, and the nutcracker should be small, so it does not take up half the island.
Jars of ornaments are the third idea, and they are the best use of the baubles you already own. Fill a large glass jar, 8 to 10 inches tall, with shatterproof baubles in one colour family, such as gold, deep red, or ivory, and set the jar in the middle of the island. A large glass jar costs $8 to $15, and a set of 12 shatterproof baubles costs $10 to $20. Use shatterproof baubles only, never glass, because a glass bauble in a jar on a kitchen island will be knocked over, and glass and food do not mix.
The total cost for a bowl or jar centrepiece usually runs $15 to $35, which makes it one of the cheapest ideas in this guide. The mistake to avoid is using a bowl that is too tall or too narrow for the island. A tall bowl will be knocked over, and a narrow bowl will hide the contents. Use a wide, low bowl, keep it in the middle, and keep it on a tray or a runner. The second mistake is using glass baubles, tinsel, or spray snow near food. Tinsel sheds, spray snow drifts, and glass breaks, and all three will end up in the food. Use shatterproof baubles, real fruit, real nuts, and real cinnamon, and the bowl will be safe to eat from and beautiful to look at.
Light Without Flame: Lanterns, Fairy Lights and Paperwhites
Light is what makes a Christmas kitchen island glow in the evening, and the rule for island light is short. Battery LED only, never a real flame. A kitchen island is a place with food, with paper, with tea towels, and with people leaning over it, and a real candle on an island is a fire risk that you do not need.
A pair of lanterns is the classic island light, and it works best as a pair. Two lanterns, one 10 to 12 inches tall and one 8 to 10 inches tall, set at opposite ends of the decoration zone, frame the centrepiece and give the island a balanced glow. A pair of battery lanterns costs $18 to $35, and a single large lantern 12 inches tall costs $12 to $20. Keep the lanterns in the middle of the island, not at the ends, because the ends are for prep.
Battery fairy lights are the second light in this section, and they are the most flexible. A strand of 20 to 30 micro lights, 6 to 10 feet long, costs $8 to $15, and it can be woven through a garland, coiled inside a jar of baubles, laid around the base of a glass dome, or tucked into a tray. Use warm white only, at 2200K to 2700K, because cool white looks blue against greenery and makes the kitchen feel cold. Set the timer to 6 hours on and 18 hours off, so the lights come on in the evening and turn themselves off at night.
Paperwhites are the third light in this section, in the sense that they are a living light. Three jars of paperwhites, as described in the bowls section, bring a soft white flower to the island, and they bloom in the dark weeks of December when the kitchen needs colour most. Three small glass jars, 4 to 6 inches tall, with three paperwhite bulbs, cost $15 to $25 in total. Set them in a row down the centre of the island, or cluster them on a tray with a lantern. Keep them away from the stove, change the water every few days, and they will bloom in 3 to 4 weeks. The scent is sweet and strong, so three jars are enough. Five or six jars will overpower a small kitchen.
The cost for island light usually runs $25 to $55 in total, for a pair of lanterns, a strand of fairy lights, and three jars of paperwhites. The mistake to avoid is using real candles on an island. A real candle next to a tea towel, a paper bag, or a pile of wrapping paper is a fire, and a real candle on an island where people cook and lean is a fire waiting to happen. Use battery candles only, and keep them in lanterns or glass holders, so the light is contained.
Conclusion
Christmas kitchen island decor works best when you do less, not more. The function first rule will serve you well on almost every island. Keep the middle clear for cooking, keep the decor under 12 inches tall, and leave at least 12 inches clear at each end for prep. Start with the measurements, then choose the ideas that suit your island. A garland across the front edge, a tray in the middle, velvet bows on the pendant lights, and a pair of battery lanterns will dress almost any island for $40 to $90, and the whole look lifts away in one motion when the cooking starts.
The order matters too. Decorate the island before you start the Christmas baking, because the island sets the colour and the mood for the whole kitchen. A red bow on the pendants calls for red napkins on the table, and a cedar garland on the island front calls for cedar sprigs in the centrepiece. When the island and the table share one ribbon colour and one greenery, the whole kitchen looks planned, even if you bought the pieces in different shops on different days.
How tall can island decor be?
Keep island decor under 12 inches tall, including the pot, the tray, and any base. At 12 inches, you can see over the decor to the person on the other side, and you can reach over it to pass a plate. Anything taller becomes a wall, and it will be knocked over by an elbow or a chopping board.
Can I use real candles on a kitchen island?
No, never use real candles on a kitchen island. A kitchen island holds food, paper, tea towels, and people leaning over it, and a real flame next to those things is a fire risk. Use battery candles in lanterns or glass holders instead, or battery fairy lights woven through a garland or coiled inside a jar. They give you the same warm glow with no flame and no risk.
How do I keep the island usable for cooking?
Use a tray. Put the whole centrepiece on one tray, 18 to 24 inches long for an average island, and lift the tray to the side counter when you need the island. Keep at least 12 inches clear at each end for prep, and keep the work zone, the side facing the stove or sink, clear for 24 inches of depth. If you can pick up the whole look with both hands, the island will stay usable all December.
What if my island is narrow?
If your island is under 3 feet wide, use one idea only. A single tray 12 to 14 inches long in the middle, or a garland across the front edge, or velvet bows on the pendant lights, is enough. The front edge and the pendant lights are your best friends on a narrow island, because they add Christmas without taking any worktop space.
How do I decorate pendant lights safely?
Tie velvet bows around the cord or the metal neck of the pendant, never around the bulb and never around a glass shade. Keep every tail at least 2 inches clear of any bulb and at least 6 inches clear of the island surface. Use one ribbon colour, 2.5 inches wide, on every pendant, and check the bows every few days for slipping. If a bow has slipped more than an inch, retie it before it reaches a hot bulb.
How much should I spend on island decor?
Plan on $40 to $90 for a finished island look. A tray costs $12 to $25, a garland costs $15 to $40, velvet ribbon costs $5 to $10 a spool, three mini trees cost $12 to $25, and a pair of battery lanterns costs $18 to $35. You do not need every item in this guide. Two or three ideas, done well, will dress almost any island.
Budget Table
| Item | Low Cost | High Cost | Where It Goes |
|---|---|---|---|
| Faux garland, 6 to 9 feet | $15 | $40 | Across the island front edge |
| Wood tray with handles | $12 | $30 | Centre of the island |
| Velvet ribbon, 3 yard spool | $5 | $10 | Bows on the pendant lights |
| Bottle brush mini trees, set of 3 | $12 | $25 | In a row or on the tray |
| Gingerbread house kit | $12 | $20 | On a wood slab in the middle |
| Glass dome of cookies | $12 | $30 | Centre of the island or on a tray |
| Bowl of citrus and cinnamon | $12 | $25 | Middle of the island, on a tray |
| Wooden bowl of nuts | $16 | $30 | Middle of the island, on a runner |
| Jar of shatterproof baubles | $18 | $35 | Middle of the island |
| Three jars of paperwhites | $15 | $25 | In a row down the centre |
| Battery lanterns, pair | $18 | $35 | Opposite ends of the decoration zone |
| Battery fairy lights, 20 to 30 lights | $8 | $15 | Garland, jars, tray, or lanterns |
| Plaid runner, 72 inches | $15 | $25 | Down the centre, under the tray |
| Pinecones and red berries | $9 | $14 | Tucked into the garland |
| Total | $179 | $354 |
Note: Most islands need only 3 to 4 of these items, so a finished look usually costs $40 to $90, not the full total above.