Christmas Hot Cocoa Bar Ideas for Cozy Hosting
A hot cocoa bar is the easiest party trick of the season, and it is the one your guests will remember longest. One pot of good cocoa, a row of toppings in little jars, a stack of mugs, and suddenly the kitchen is the warmest room in the house. Everyone is standing around it instead of sitting on the sofa. It costs almost nothing, it takes an afternoon to set up, and it works for a crowd of twenty, a family movie night of four, or one quiet evening alone with a book.
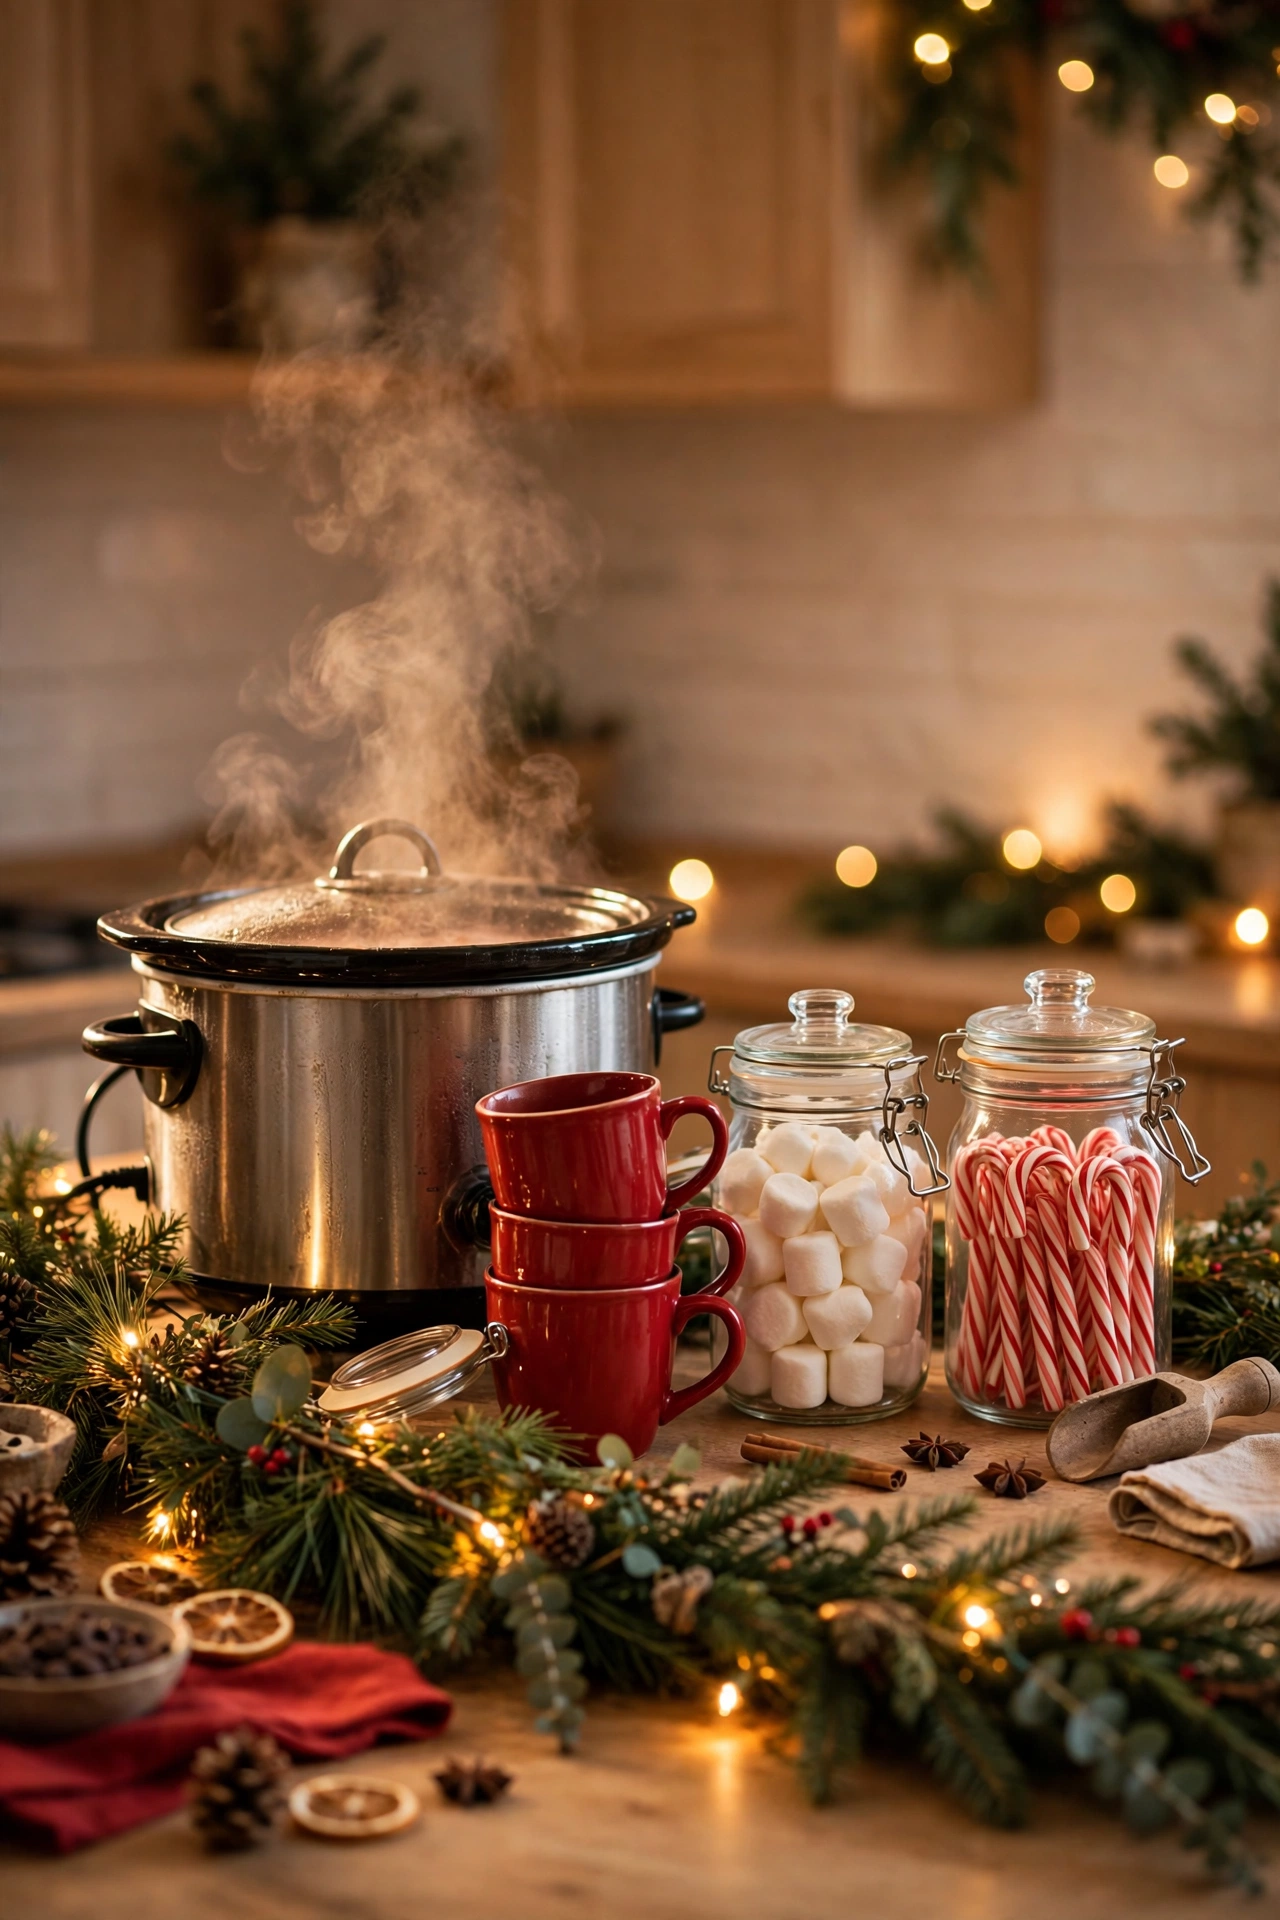
The reason it works is that a cocoa bar does two things at once, and both of them matter. The first thing is practical: people serve themselves, so the host is not stuck in the kitchen making drinks one by one while the party happens in the other room. The second thing is decorative: a row of glass jars, a stack of red mugs, a slow cooker steaming gently, a short garland and a string of warm lights make the counter look styled without any extra decorating. The bar is the decoration, and the decoration is useful. That is the best kind of Christmas decorating there is.
Most cocoa bars go wrong in one of two ways. The first is the topping avalanche, where twenty toppings in twenty jars crowd the counter until nobody can find the cocoa, the mugs are buried, and the whole thing looks like a shop display rather than a drink station. The second is the single pot with nothing else, a slow cooker on a bare counter with a bag of marshmallows beside it, which is a drink, not a bar, and it will not make anyone reach for their phone. A good cocoa bar sits between those two: one pot, one clear line of mugs, a short list of toppings that feels generous, and one or two decorative touches that make it photograph well.
This guide builds a Christmas hot cocoa bar the way you would actually use it. You will start with the formula that keeps any bar looking intentional, then where to put it, on a counter, a sideboard, a cart or a single tray. Then the cocoa itself, the slow cooker, stovetop or dispenser, with a recipe that serves a crowd. Then the mugs, which matter more than most people think. Then the toppings, a short list that feels generous instead of chaotic. Then four themes you can copy in one shopping trip: classic red and white, gingerbread, Scandi cozy, and vintage. Then the small space and small budget version, the one tray bar that fits in any kitchen. And finally the party night itself, flow, safety, kids, and the morning after cleanup. You do not need a new slow cooker to start, and you do not need twenty toppings. A pot you already own, five or six jars from your cupboard, one tray, one string of battery lights and a short piece of garland will carry the whole look.
The Hot Cocoa Bar Formula, One Pot, One Line, One Look
Every good cocoa bar follows the same formula, and once you know it you can set one up on any surface without a second thought. One pot, one line, one look. The pot is the single source of hot cocoa, a slow cooker, a stovetop pot, or an insulated dispenser, never two. The line is the order guests move in: mugs first, cocoa second, toppings third, finishing touches last. The look is one decorating idea, carried through the whole bar in small touches, so the station reads as one thing instead of a pile of Christmas items that happened to land on the same counter.
The formula works because a cocoa bar is a small serving station, and small stations punish excess. A counter three to four feet wide holds less than you think. The moment you add a second pot or a second theme, the bar stops reading as a design and starts reading as a cupboard that has been emptied onto the counter. Pick the pot before you touch anything else. If you own a slow cooker, that is the pot, because it keeps the cocoa warm for hours on its lowest setting and it frees the stove. If you do not own one, a large stovetop pot with a ladle works, and you can pour the cocoa into a thermal carafe when it is ready so it stays hot without a flame. An insulated beverage dispenser is the third option, and it suits a big party best, because guests pour for themselves and the host never touches a ladle. One pot, one heat source, one ladle or tap. That is the whole drinks side of the bar.
The line comes next, and the rule is that it runs in one direction, like a one way street. Mugs and napkins first, because a guest with no mug cannot do anything else. Cocoa second, because the drink is the point. Spoons and stirrers third. Toppings fourth, in small jars, in the order people will use them: marshmallows, then chocolate shavings, then crushed candy cane, then sauces. Finishing touches last: whipped cream, caramel drizzle, a cinnamon stick. Napkins at the very end, where hands are free to take one. If the bar is set up left to right, the line runs left to right. If it is set up on a sideboard against a wall, the line runs from one end to the other. The direction does not matter. What matters is that nobody has to walk backwards, reach across someone, or carry a full mug past the toppings to get a napkin. For a party with children, toppings last is also a gentle rule that helps: cocoa first, sprinkles second, so the small hands do not start with the fun part and forget the drink.
The look is the cheapest part of the formula and the one people overdo most often, which is a mistake, because one look repeated in small ways beats five looks competing for attention. Pick one theme before you start, and let it show in three places only: the ribbon on the jars, the color of the mugs, and one small decoration, a garland, a sign, or a tiny tree. A classic red and white bar gets red mugs, red ribbon on the jars, and a candy cane in a tall glass. A gingerbread bar gets brown and cream mugs, a gingerbread house on a small plate, and cinnamon sticks in a jar. A Scandi bar gets plain white mugs, kraft paper labels, and one sprig of evergreen. That is enough. A bar with red mugs, green mugs, a Santa sign, a snowman, a gingerbread house, a wreath and a bowl of pinecones is not a theme, it is a shelf that needs clearing.
Finally, step back and look at the bar from the doorway, not from two feet away. A cocoa bar is viewed from across the kitchen, in warm light, by people holding a mug and talking. From that distance the formula should read clearly: one pot steaming gently, one neat line of jars, one color story, and everything else calm and tidy behind it. If you cannot see the pot from the doorway, it is buried. Move it to the center of the bar. If the bar looks busy from the doorway, remove the smallest third of what is on it. The doorway test takes ten seconds and it never lies.
Pick the Spot, Counter, Sideboard, Cart or Tray
Before you set out a single jar, look at the surface. The surface decides what the bar can be. The best cocoa bars live where guests already gather, and the worst ones live where guests have to go looking for them. A kitchen counter is the classic spot: it is near the stove, near the sink, and near the mugs, which is exactly where a drinks station wants to be. Give the bar three to four feet of clear counter, enough for two people to stand shoulder to shoulder, and keep it away from the stove and out of the main cooking lane, so the cook is not dodging cocoa drinkers while dinner is on. The Christmas Kitchen Decor Ideas guide on this site shows how a tray vignette keeps a counter working all December, and a cocoa bar uses the same idea: one tray, one clear zone, and the rest of the counter stays free for cooking.
A sideboard or buffet in the dining room is the second best spot, and it is the right one for a dinner party, because the bar is in the room where people eat and it does not crowd the kitchen. A sideboard bar needs a tray underneath everything, a wooden board, a marble slab, or a thrifted silver platter, because spills happen and a tray keeps them off the furniture. Put the pot at one end, the mugs at the other, and the toppings in the middle, and leave a clear landing spot at each end for a mug that is being set down. The bar cart you already styled for Christmas works here too: the Christmas Bar Cart Decor Ideas guide on this site shows how a cart carries glasses and a decanter, and a cocoa bar is the same cart with the bottles swapped for jars and the decanter swapped for a slow cooker, which is why a family that does not drink often prefers the cocoa version.
A bar cart is the third spot, and it is the best one for a small home, because the cart rolls. Set the cocoa bar on the cart, roll it to the living room for movie night, roll it back to the kitchen for the morning, and roll it to the dining room door for a party. A cart bar needs the lightest setup of all: one pot or one thermal carafe, four mugs, three jars of toppings, and one garland, because a cart is narrow and a heavy bar will tip the balance. Lock the wheels once the cart is in place, and never put a hot slow cooker on a cart that can roll away from you. If the cart has a rail, the rail is your friend: it stops the jars sliding when the cart moves.
The fourth spot is the one tray bar, and it is the spot for a small kitchen, a single person, or a household that only wants cocoa for one evening a week. One wooden tray, about 12 by 18 inches, holds two mugs, one jar of marshmallows, one jar of cocoa mix, and a candy cane or two. It lives on the counter by the coffee maker, or on a small table near the sofa, and it lifts off in one move when the counter is needed for cooking. Section 7 builds this version properly, because the tray bar is the version most people will actually use all winter, long after the big party bar is packed away.
Wherever the bar lives, it needs three things that have nothing to do with decorating. First, a power socket within reach of the slow cooker, with the cord tucked behind the bar and never crossing a walkway. Second, a clear route to the sink, because mugs will need rinsing and the pot will need washing, and a bar that is far from water is a bar that gets left dirty. Third, light: a string of battery fairy lights behind the bar, or one low lamp nearby, so the bar glows in the evening and people can actually see what they are pouring. A cocoa bar in a dark corner is a cocoa bar nobody uses, however pretty its jars are.
The Cocoa Itself, Slow Cooker, Stovetop or Dispenser
The bar lives or dies on the cocoa, so this is the section to get right, and the good news is that good cocoa is simple. Skip the watery version made with water and a packet. For a crowd, make it on the stove: whisk cocoa powder, sugar, and a pinch of salt with a little hot water into a smooth paste, then whisk in whole milk and a splash of cream, and warm it gently without boiling. A handful of real chopped chocolate stirred in at the end makes it taste like a cafe made it. Keep it warm in a slow cooker on the lowest setting, with a ladle beside it, and the slow cooker earns its place: this is its finest hour. A recipe for eight is 1 cup cocoa, 3 quarters of a cup sugar, 8 cups milk, 1 cup cream, 4 ounces chopped chocolate, 2 teaspoons vanilla, and a pinch of salt. Double it for sixteen, and plan 8 to 10 ounces per person if cocoa is one of several drinks, and 12 ounces per person if it is the star of the show.
The slow cooker is the party go to for a reason. It holds the heat, it frees the stove, and it lets guests serve themselves for hours without the cocoa cooling or scorching. Use the low setting only, and stir once an hour, because cocoa left too long on high will develop a skin and a burnt taste that no topping can hide. Put a small towel under the lid if your slow cooker spits, and keep a second ladle nearby so two people can serve at once during the first rush. A slow cooker bar also needs a small sign, handwritten on a card, that says what the drink is and what is in it, because a guest with a dairy allergy or a child with a nut allergy needs to know before they pour, and a sign is kinder than a question.
The stovetop method suits a small household and a quiet evening. Make the cocoa in a large pot, pour it into a thermal carafe or a pretty jug, and set the jug on the bar with a stack of mugs. The carafe keeps the cocoa hot for about two hours, which is enough for a family evening, and the pot goes straight into the sink, so there is almost no cleanup. The stovetop method is also the cheapest, because it needs no slow cooker and no dispenser, and it is the one to choose if the bar is a one night experiment rather than a season long station.
The insulated beverage dispenser is the third option, and it suits a big party best, because guests pour for themselves from a tap and the host never touches a ladle. Fill it with cocoa made on the stove, set it at the start of the line, and put a small sign above the tap that says push slowly, because a fast tap makes a splash and a splash makes a mess. A dispenser bar needs a drip tray underneath, a folded towel or a shallow baking tray, because every tap drips a little, and a drip tray is the difference between a wipe and a stain. The dispenser also works for a second drink, a pot of mulled cider beside the cocoa, so the bar serves the guests who do not want chocolate and the guests who do, without a second station.
Whatever the method, make the cocoa the day of the party, not the day before, and taste it before the guests arrive. Cocoa made too sweet cannot be fixed, but cocoa made a little under sweet can be fixed with a jar of sugar on the bar, which is a topping in its own right. Keep a small jug of extra milk on the bar for the guest who likes it lighter, and a small pot of chili flakes or cinnamon for the guest who likes it with a little heat. Those two extras cost nothing, they take up no space, and they are the touches that make a guest feel the bar was made for them.
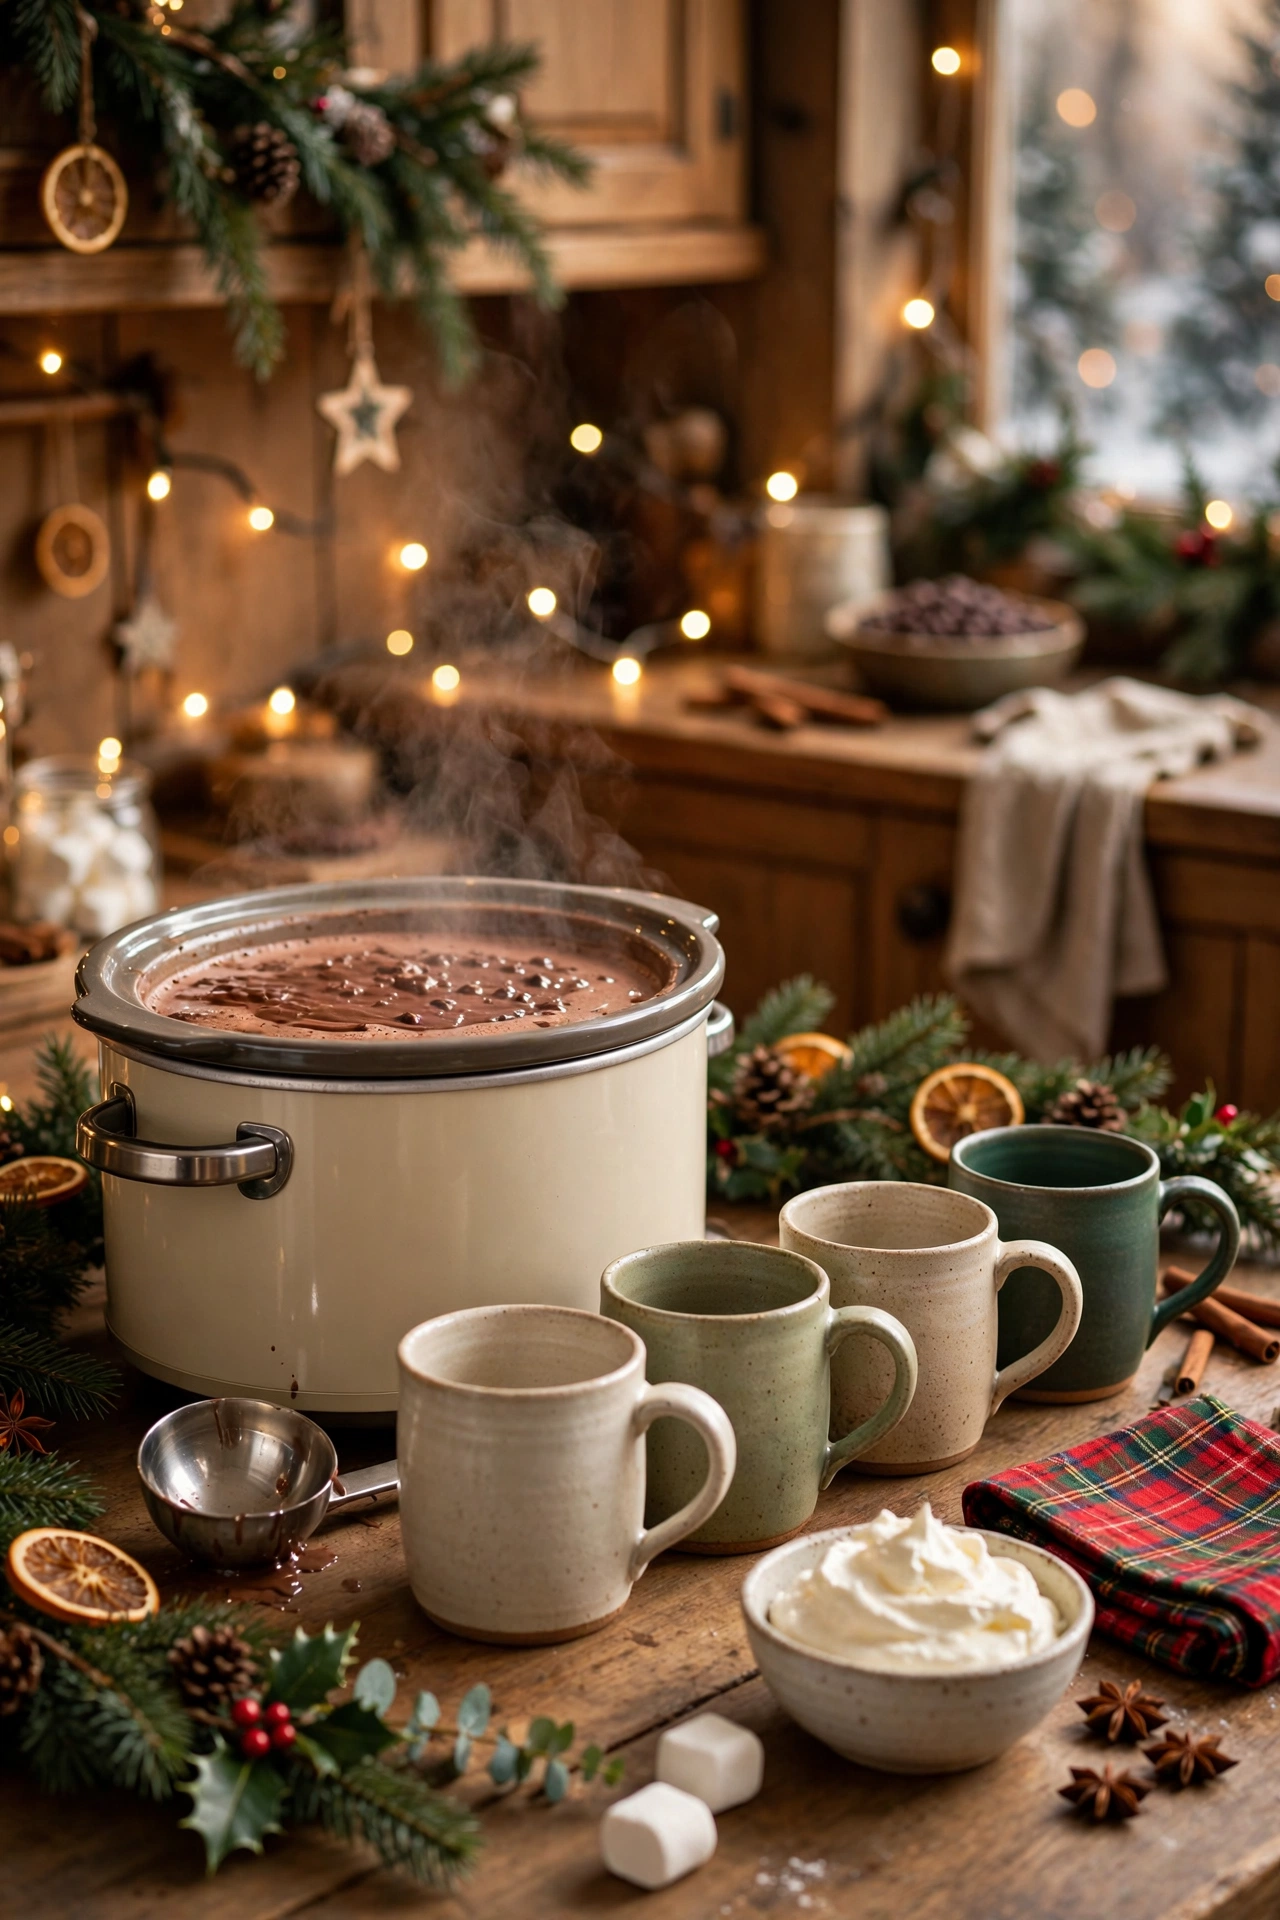
Mugs, the Quiet Hero of the Bar
Mugs are the quiet hero of a cocoa bar, and they matter more than the toppings, because the mug is what the guest holds, photographs, and remembers. A stack of matching mugs in one color reads as intentional. A stack of six different mugs in six different sizes reads as a cupboard clear out, however good the cocoa is. Pick one set, four to eight mugs, all the same size, all the same color family, and stack them in a neat pile at the start of the line, handles all facing the same way, so a guest can take one without knocking the pile.
Red mugs are the classic Christmas choice, and they work with every theme in this guide, because red reads as festive against cream, green, brown and white alike. White mugs are the second choice, and they suit a Scandi or minimalist bar best, because they let the cocoa and the toppings do the color work. Green mugs suit a farmhouse bar. Santa mugs, snowman mugs, and mugs with a Christmas scene on them suit a family bar, and children will fight over the one with the reindeer, which is a sign the mugs are working. What matters is not the picture on the mug, it is that the mugs match each other and that they are big enough: a cocoa mug should hold 10 to 12 ounces, so the drink stays hot while the guest adds toppings, and a small tea cup will leave everyone going back for a second pour within minutes.
Put out twice as many mugs as guests, because people set cups down in improbable places and forget which one was theirs, and a second clean mug is cheaper than a hunt through the house for a lost one. Keep the spare mugs stacked beside the bar, not on it, so the bar itself stays tidy. If you own a mug tree, a small stand with hooks, use it: it lifts the mugs off the counter, it frees real space, and it looks like a deliberate part of the bar. A mug tree also solves the drying problem, because washed mugs can hang on it while the next round is poured.
The mug is also the place for a small personal touch that costs nothing. A handwritten name tag tied to the handle with ribbon, for a party where guests stay all evening, stops the lost mug problem entirely and doubles as a place card. A candy cane hooked over the rim of each mug, ready to stir, is a decoration and a stirrer in one, and it photographs beautifully. A small paper straw in each mug, for the children, keeps the hot drink away from small lips and gives the bar a finished look. None of these touches need buying: ribbon, paper, and candy canes are already on the bar.
Finally, think about the mugs after the party, because a cocoa bar that is hard to clean is a cocoa bar that gets used once. Mugs go in the dishwasher or the sink, the slow cooker pot goes in the sink to soak, and the jars get a quick rinse and a wipe before they go back in the cupboard. A bar that takes ten minutes to clear is a bar you will set up again next weekend. A bar that takes an hour to clear is a bar you will remember with dread, and the mugs are the biggest part of that cleanup, so keep the count honest: enough mugs for everyone, plus a few spares, and no more.
Toppings, the Short List That Feels Generous
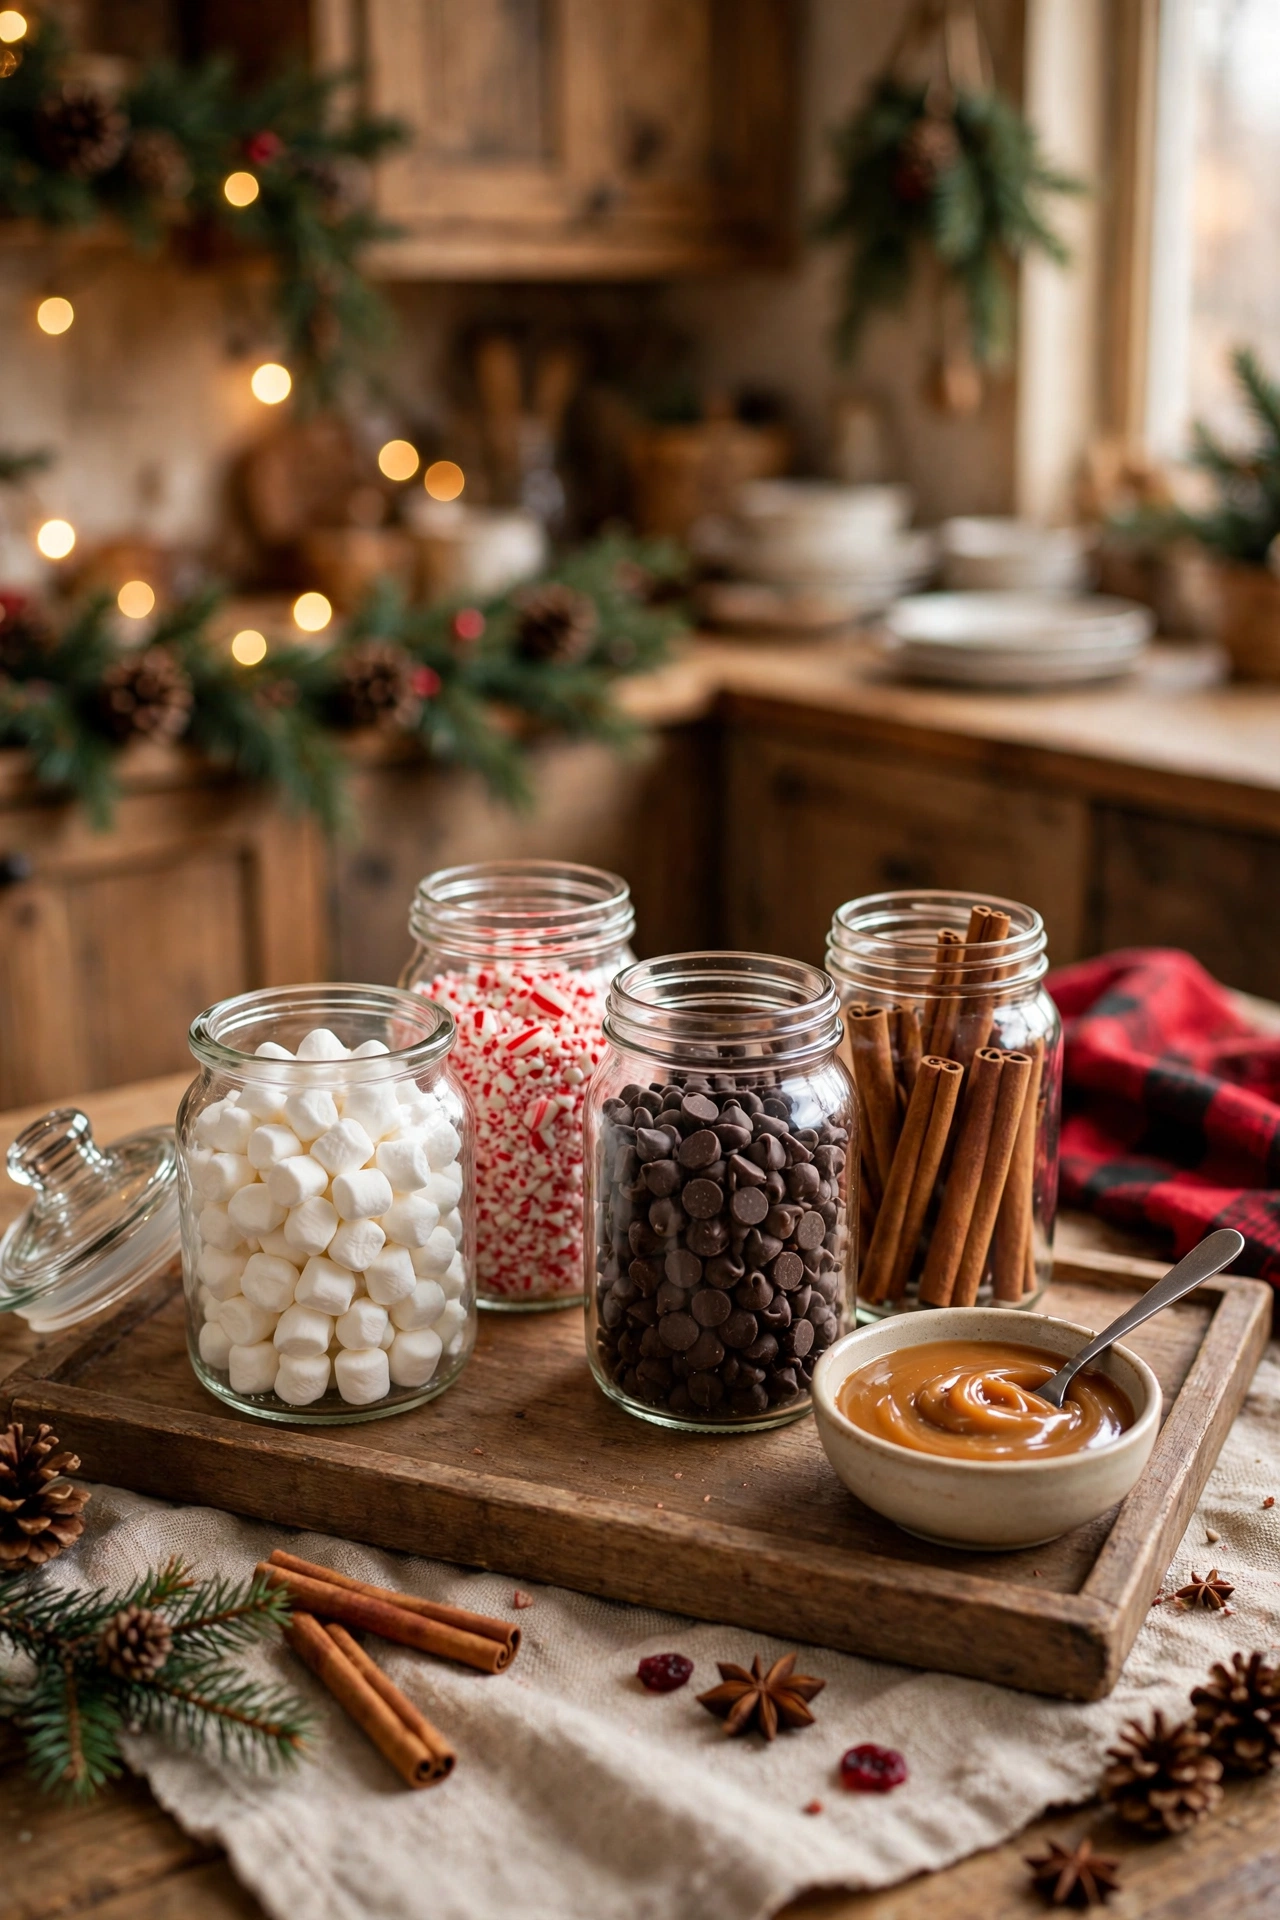
You do not need twenty toppings. You need a few that feel generous, cover different tastes, and look beautiful in jars. The rule is five or six, never more. The essentials are marshmallows, mini and jumbo, because this is not the time for restraint, and a marshmallow is the topping everyone expects. Fresh whipped cream is the second essential, in a bowl with a spoon, or in a canister if you are serving a crowd, because a dollop of cream is the difference between a drink and a dessert. Chocolate shavings are the third, and they cost nothing: a bar of dark chocolate and a vegetable peeler make a pile of curls in two minutes. Crushed candy canes are the fourth, and they bring the red and white color that makes the bar photograph well, plus a peppermint flavor that suits cocoa perfectly. Caramel sauce is the fifth, in a small jug with a spoon, because a drizzle of caramel turns a plain cocoa into something a guest will talk about. Cinnamon sticks are the sixth, because they are a stirrer, a decoration, and a flavor in one, and a jar of cinnamon sticks looks like a deliberate part of the bar.
Put the toppings in your smallest pretty bowls and jars, because a small jar full to the brim looks generous, and a large jar half empty looks neglected. Glass jars are the best choice, because guests can see what is inside without lifting a lid, and the colors of the toppings do the decorating for you: white marshmallows, red candy cane, brown chocolate, cream whipped cream, gold caramel. Two or three colors that match your theme are enough. Peppermint red plus marshmallow white plus cocoa brown reads instantly as holiday in a photograph without looking busy. Add a handwritten label to each jar, on kraft paper with a ribbon tie, because a label stops the guessing, it tells a guest with an allergy what is safe, and it makes the bar look finished.
The fun stuff comes after the essentials, and only if there is space: chocolate chips, sprinkles, a little dish of flaky sea salt for the salted caramel people, mini gingerbread cookies for dunking, and a small bowl of crushed cookies. Pick two of these, not all five, because the bar has to stay usable, and every extra jar is an extra thing to wash, an extra thing to refill, and an extra thing crowding the counter. The grown up corner, if your party has one, sits a little apart from the rest, clearly labeled, with peppermint schnapps, Irish cream, and amaretto, so adults can spike their own cup if they like. Keep it optional, never the default, and keep it out of the reach of children, because a cocoa bar is a family bar first and the grown up corner is a small addition, not the point.
The topping that most people forget is the one that costs nothing and matters most: the spoon. Every topping jar needs its own small spoon, or a pair of tongs, so guests do not use their fingers and do not cross the toppings into each other. A jar of marshmallows with no spoon will be empty in ten minutes and sticky for the rest of the night. A jar with a spoon stays tidy for hours. Put the spoons in the jars, handles up, before the guests arrive, and put a spare spoon or two beside the bar for the topping that runs out first, because the marshmallows always run out first, and the guest who refills them will thank you for the spare spoon.
Four Themes You Can Copy in One Shopping Trip
A theme is a shortcut, not a rule, and the four below are the ones that work best on a cocoa bar, because each one needs only three or four items and each one photographs well. Pick one, buy only what it lists, and stop. The classic red and white theme is the first, and it is the easiest: red mugs, white marshmallows, crushed candy canes in a glass jar, a red ribbon on every jar, and a short piece of evergreen garland behind the bar. Add one vintage touch, a thrifted silver tray or a Santa mug for the host, and the bar reads as Christmas in one glance. The red and white theme suits a dining room bar best, because it matches the Christmas Dining Table Decor Ideas guide on this site, and the two pieces read as one room when they share the same ribbon and the same red.
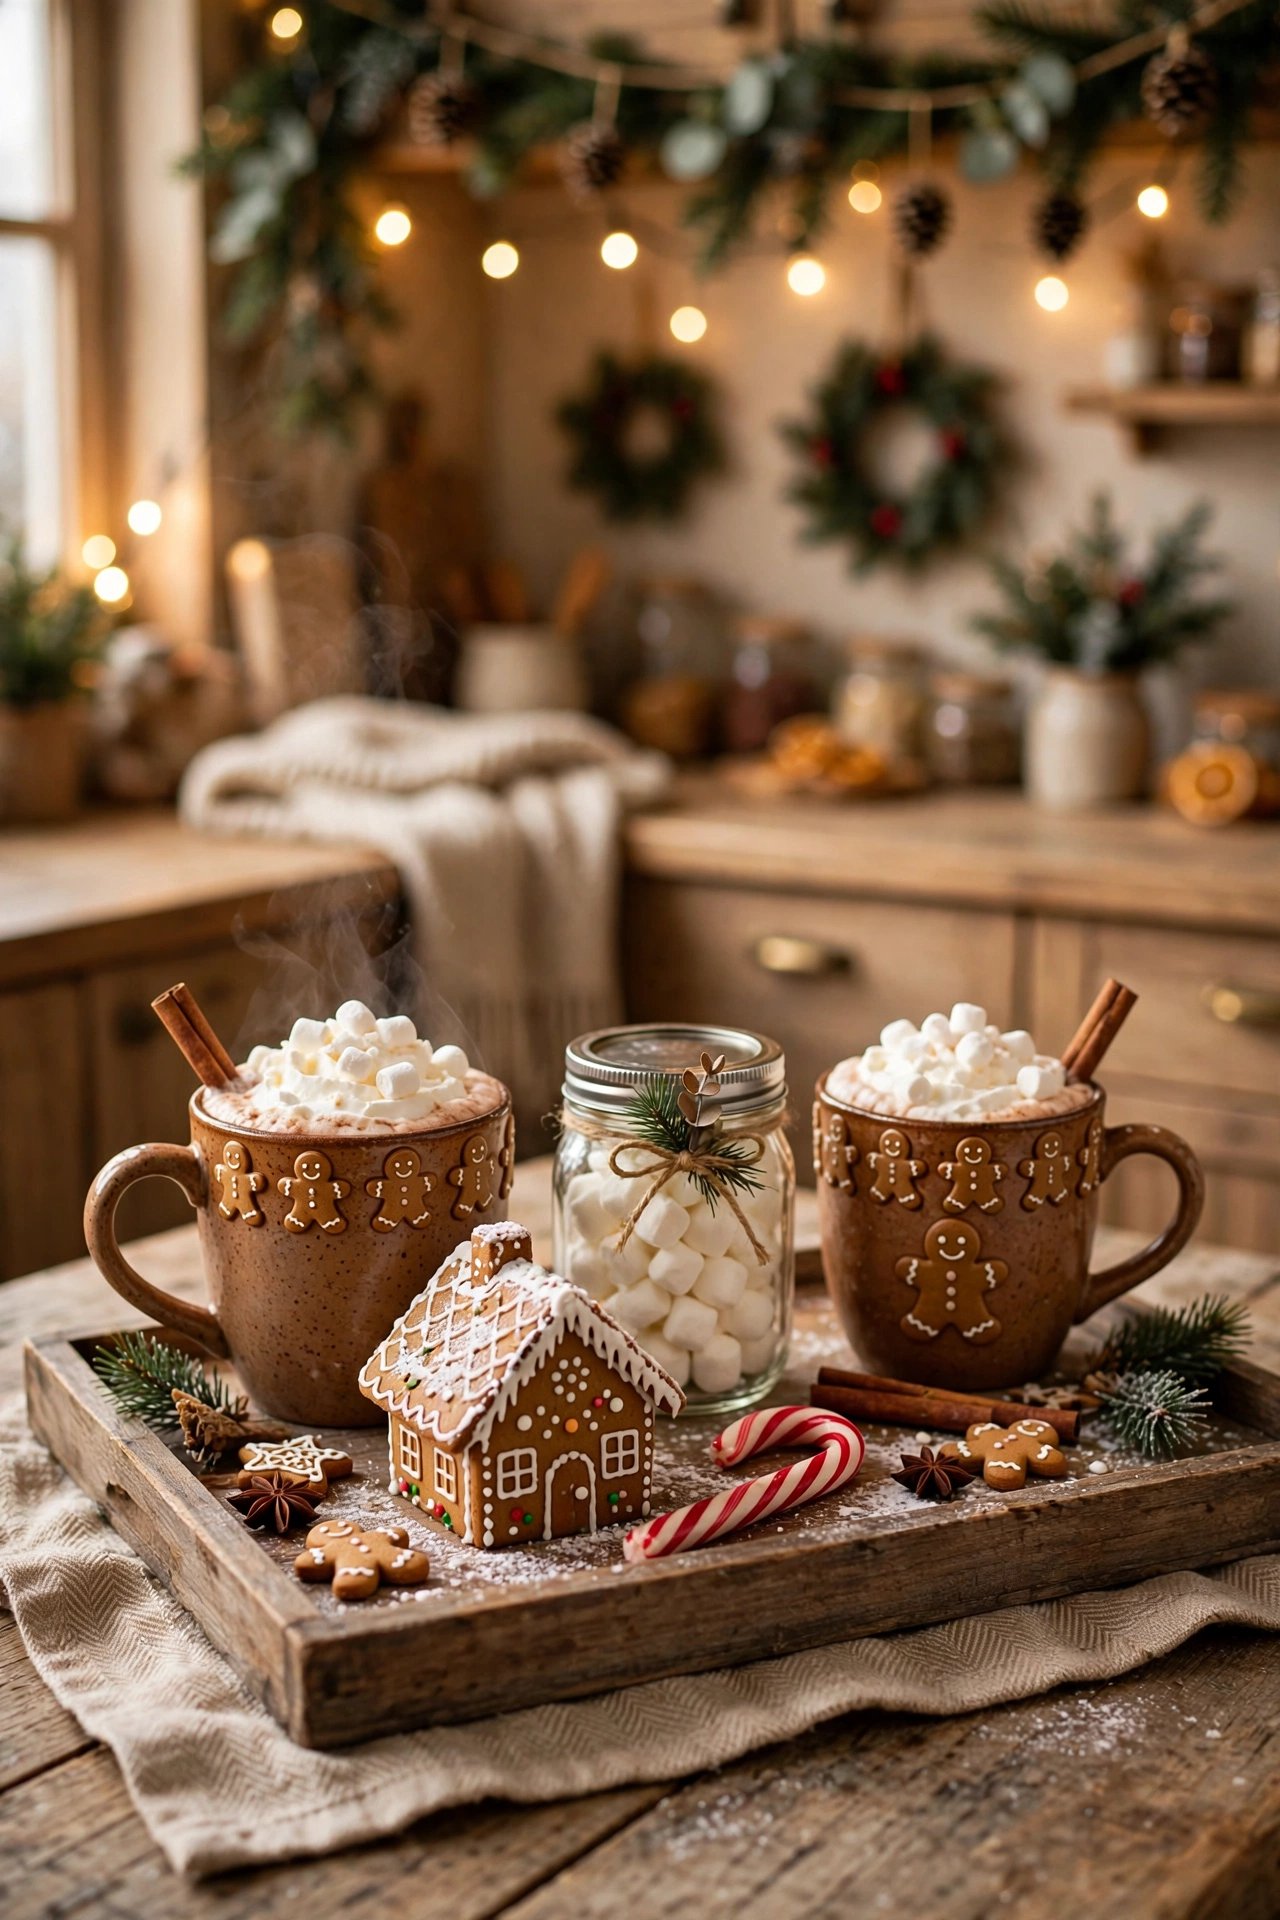
The gingerbread theme is the second, and it is the one children love most. Brown and cream mugs, a gingerbread house on a small plate, gingerbread men on a second plate for dunking, cinnamon sticks in a jar, and a small sign that says gingerbread cocoa bar. A wooden gingerbread display, two levels, gives you a second shelf for the mugs and the toppings without taking more counter. The gingerbread theme suits a small kitchen best, because it is warm, brown, and compact, and it works on a single tray, which is the version in Section 7. If you only buy one thing for this theme, buy a small gingerbread hot cocoa bar sign and tuck it behind the mugs, because the sign does the decorating and the rest of the bar can stay simple.
The Scandi cozy theme is the third, and it is the one for a home that does not like red. Plain white or cream mugs, a wooden board under everything, kraft paper labels tied with twine, cinnamon sticks, shaved dark chocolate, and one sprig of fresh evergreen in a small glass. No garland, no lights, no sign, just wood, cream, and green, and the bar looks calm and expensive. The Scandi theme suits a kitchen with light wood and white walls best, and it is the cheapest theme of the four, because it needs nothing you do not already own except the kraft paper and the twine.
The vintage theme is the fourth, and it is the one for a home with old things worth showing. Jadeite dishes, the soft milky green glass that has become a farmhouse favorite, ironstone plates as risers, Santa mugs with a classic design, a hand painted gingerbread house, vintage style ornaments, bottle brush trees, and a pine garland. The vintage theme suits a sideboard bar best, because a sideboard gives the old pieces room to breathe, and it pairs naturally with the vintage Christmas looks in the Vintage Christmas Decor Ideas guide on this site. The vintage theme is also the slowest to build, because it depends on pieces you already own or find second hand, so start it a week before the party, not the day of it.
Whatever theme you pick, apply it to three places only: the mugs, the ribbon on the jars, and one decoration. A theme applied in three places reads as a design. A theme applied in ten places reads as a shop window. And if the theme is not working, the fix is almost always subtraction: take the smallest third of the decorations off the bar, and the theme will suddenly read clearly, because the eye can finally find it.
Small Spaces and Small Budgets, the One Tray Bar
A small kitchen is not a problem for a cocoa bar, it is a size to respect, and the one tray bar is the answer. One wooden tray, about 12 by 18 inches, holds two mugs, one jar of marshmallows, one jar of cocoa mix, a candy cane or two, and a small bowl of chocolate chips. It lives on the counter by the coffee maker, or on a small table near the sofa, and it lifts off in one move when the counter is needed for cooking. The tray is the bar, and the bar is the tray, which means the whole station can be set up in five minutes and cleared in two, and that is why the tray bar is the version most people will actually use all winter, long after the big party bar is packed away.
Build the tray bar vertically, because a small surface needs height, not width. A cake stand for the toppings and a mug tree for the mugs instantly frees real space, and a small riser, even a flipped loaf pan under a towel, behind the mugs gives you a second level for the jars. Put the tallest thing at the back, the cocoa mix or the candy canes in a tall glass, and the shortest thing at the front, the marshmallows, so the bar reads as a stepped display instead of a flat pile. A tray bar with a cake stand, a mug tree, and a riser holds as much as a counter bar twice its size, and it looks more deliberate, because every item has a height and a place.
The budget version of the tray bar costs almost nothing, and it is worth building even if you own a slow cooker and a sideboard, because it is the version you will use on a Tuesday. A Dollar Tree tray, two mugs from the cupboard, three small glass jars from the recycling, a bag of mini marshmallows, a bag of candy canes, and a jar of cocoa mix: the whole bar comes in under 20 dollars, and most of it is food you would buy anyway. The Dollar Tree version works because the jars are the decoration: glass jars full of white, red, and brown look festive with no ribbon, no garland, and no sign, and a string of battery fairy lights behind the tray, the one thing worth buying if you buy anything, makes the whole tray glow in the evening.
A small bar also needs a small guest list, and that is a feature, not a limit. Two people, a mug each, a shared pot of cocoa, and a quiet evening is the cocoa bar at its best, and the tray bar is built for exactly that. Set it up on a Friday, leave it on the counter all weekend, and let the family serve themselves whenever they want a cup. Refill the marshmallows on Sunday, wash the mugs on Monday, and put the tray away until next Friday. A bar that lives on the counter all December, in a small and tidy form, gives the house more joy than a big party bar that appears once and disappears, because the small bar is used, and the used bar is the one that matters.
If the kitchen has no spare counter at all, the tray bar goes on the dining table, the coffee table, or a small side table by the sofa, and the same rules apply: one tray, one pot or one carafe, two mugs, three jars, one light. A tray bar on a coffee table is the version for a movie night, and it pairs with a bowl of popcorn and a stack of blankets, which is a whole evening for the price of a bag of marshmallows. A tray bar on a dining table is the version for a family breakfast, and it pairs with pancakes and a slow morning, which is a whole memory for the price of a jar of cocoa mix.
Parties, Movie Nights and the Morning After
The party night is where the bar earns its keep, and the secret is that the host should not be at the bar. Set the bar up an hour before the guests arrive, light the fairy lights, put the cocoa on low, set out the toppings, and then walk away. The bar is self serve, and a self serve bar is a host who gets to enjoy the party. Check the bar once an hour: refill the marshmallows, stir the cocoa, wipe the drips, and put out a fresh stack of napkins. That is the whole job. A host who stands behind the bar making drinks one by one has built a cafe, not a cocoa bar, and the guests will feel it, because they will queue instead of talking.
A movie night is the simplest party a cocoa bar can serve, and it is the one to start with. A tray bar on the coffee table, a pot of cocoa on the counter, a bowl of popcorn, and a film with a famous hot chocolate scene, The Polar Express is the obvious one, and the children will demand a recreation of it. Set the bar up before the film starts, and let the family serve themselves during the opening credits, so nobody misses the film to make a drink. A movie night bar needs fewer toppings than a party bar, three is enough, because the film is the entertainment and the bar is the supporting act.
A Christmas party is the biggest party the bar will serve, and it needs the full version: a slow cooker or a dispenser, eight mugs, six toppings, a grown up corner, and a clear line. Plan the numbers before the night: 8 to 10 ounces per person if cocoa is one of several drinks, 12 ounces per person if it is the star, and twice as many mugs as guests. Put the bar where guests already gather, near the living room and away from the kitchen traffic, and put a small sign at the start of the line that says how it works, because a guest who knows the order will move through the bar in thirty seconds and a guest who does not will stand in front of it wondering. The sign can be handwritten on a card, and it is the cheapest party planning you will ever do.
Safety is the part of the party that matters most and gets mentioned least. A slow cooker full of hot liquid is a burn risk, so keep it at the back of the bar, out of the reach of small children, with the cord tucked behind and the ladle resting on a small plate, never in the pot where a child can pull it. Keep the whipped cream and the milk in the fridge until the party starts, and put them back within two hours, because dairy left out all evening is a risk, not a decoration. Keep the bar away from the stove, away from open flames, and away from the edge of a table where a small hand can pull it down. And label the grown up corner clearly, because a child should never mistake a spiked cocoa for a plain one, and a clear label is the simplest way to make sure they never do.
The morning after is the test of the whole bar. A good bar clears in ten minutes: mugs in the dishwasher, the slow cooker pot in the sink to soak, the jars rinsed and wiped, the tray wiped, the garland folded and put away, and the leftover toppings in sealed jars for next time. A bad bar takes an hour, because the toppings were in bowls with no lids, the cocoa dried in the pot, and the mugs are scattered through the house. The difference is the setup, not the cleanup: lids on the jars, a tray under everything, a ladle on a plate, and a spare stack of napkins beside the bar. Set the bar up as if you have to clean it, and the morning after will take ten minutes, which is the real reason to build a cocoa bar properly. The bar is not a one night project. It is a station that lives on your counter all December, and a station that is easy to clean is a station you will use again, and again, and again.
Conclusion
A Christmas hot cocoa bar is the smallest party you can throw and the warmest room you can make. One pot, one line, one look, and a short list of toppings in small jars, and the kitchen becomes the place everyone wants to stand. It costs almost nothing, it takes an afternoon to set up, and it works for a crowd, a family, or a single quiet evening. Start with the tray bar this weekend, a tray, two mugs, three jars, and a string of lights, and see how it feels. If the family gathers around it, build the bigger version for the party. If the party works, leave the small version on the counter all December, and let the cocoa bar do what it does best: make the house feel warm, make the guests feel welcome, and make the host feel like they are at their own party. That is the whole point of a hot cocoa bar, and it is the whole point of Christmas decorating too.