Christmas Mailbox Decor Ideas
Introduction
The mailbox is the first Christmas decoration most people see, and it is the last one they pass on the way home. The tree is inside the house, the wreath is on the door, but the mailbox stands alone at the curb, where every neighbor, every delivery driver, and every car slowing down for the lights can see it. A dressed mailbox looks like the whole house is ready for the season, even if nothing else outside has changed. One mailbox, decorated well, does the work of a whole front yard display for a fraction of the cost, and it takes less than an hour to finish.
The best christmas mailbox decor ideas follow one rule before any other rule. The mail must still get through. The mailbox door has to open fully, the red flag has to lift without catching on ribbon or greenery, and the house numbers have to stay easy to read from the street. The postal service asks that decorations never block delivery, and a carrier who cannot open the door or find the flag will leave the mail behind. Every idea in this guide is built around that rule. Greenery goes on the sides and the top, never across the door. Bows sit below the door or on the post, never over the latch. Lights wrap the post, never the opening. Decorate around the working parts, and the mailbox stays both festive and useful.
This guide is written for a standard curbside mailbox, the kind mounted on a wooden post about 41 to 45 inches above the ground, with a metal box about 19 inches long, 7 inches wide, and 9 inches tall. It also works for a small mailbox, because one section gives a formula that fits even a short box on a narrow post. If the whole front of the house needs a plan first, start with Christmas Front Porch Decor Ideas, which covers the porch as a whole. For the wider yard and garden, the full outdoor plan is in Christmas Outdoor Decor Ideas. If the door itself needs dressing, see Christmas Front Door Decor Ideas.
Everything below comes with real numbers: post heights in inches, garland lengths in feet, prices in US dollars, and the order to do things in. Start with the swag, because green is what makes the mailbox look alive, and everything else, bows, berries, and lights, builds on that green.
1. The Classic Evergreen Swag and Bow
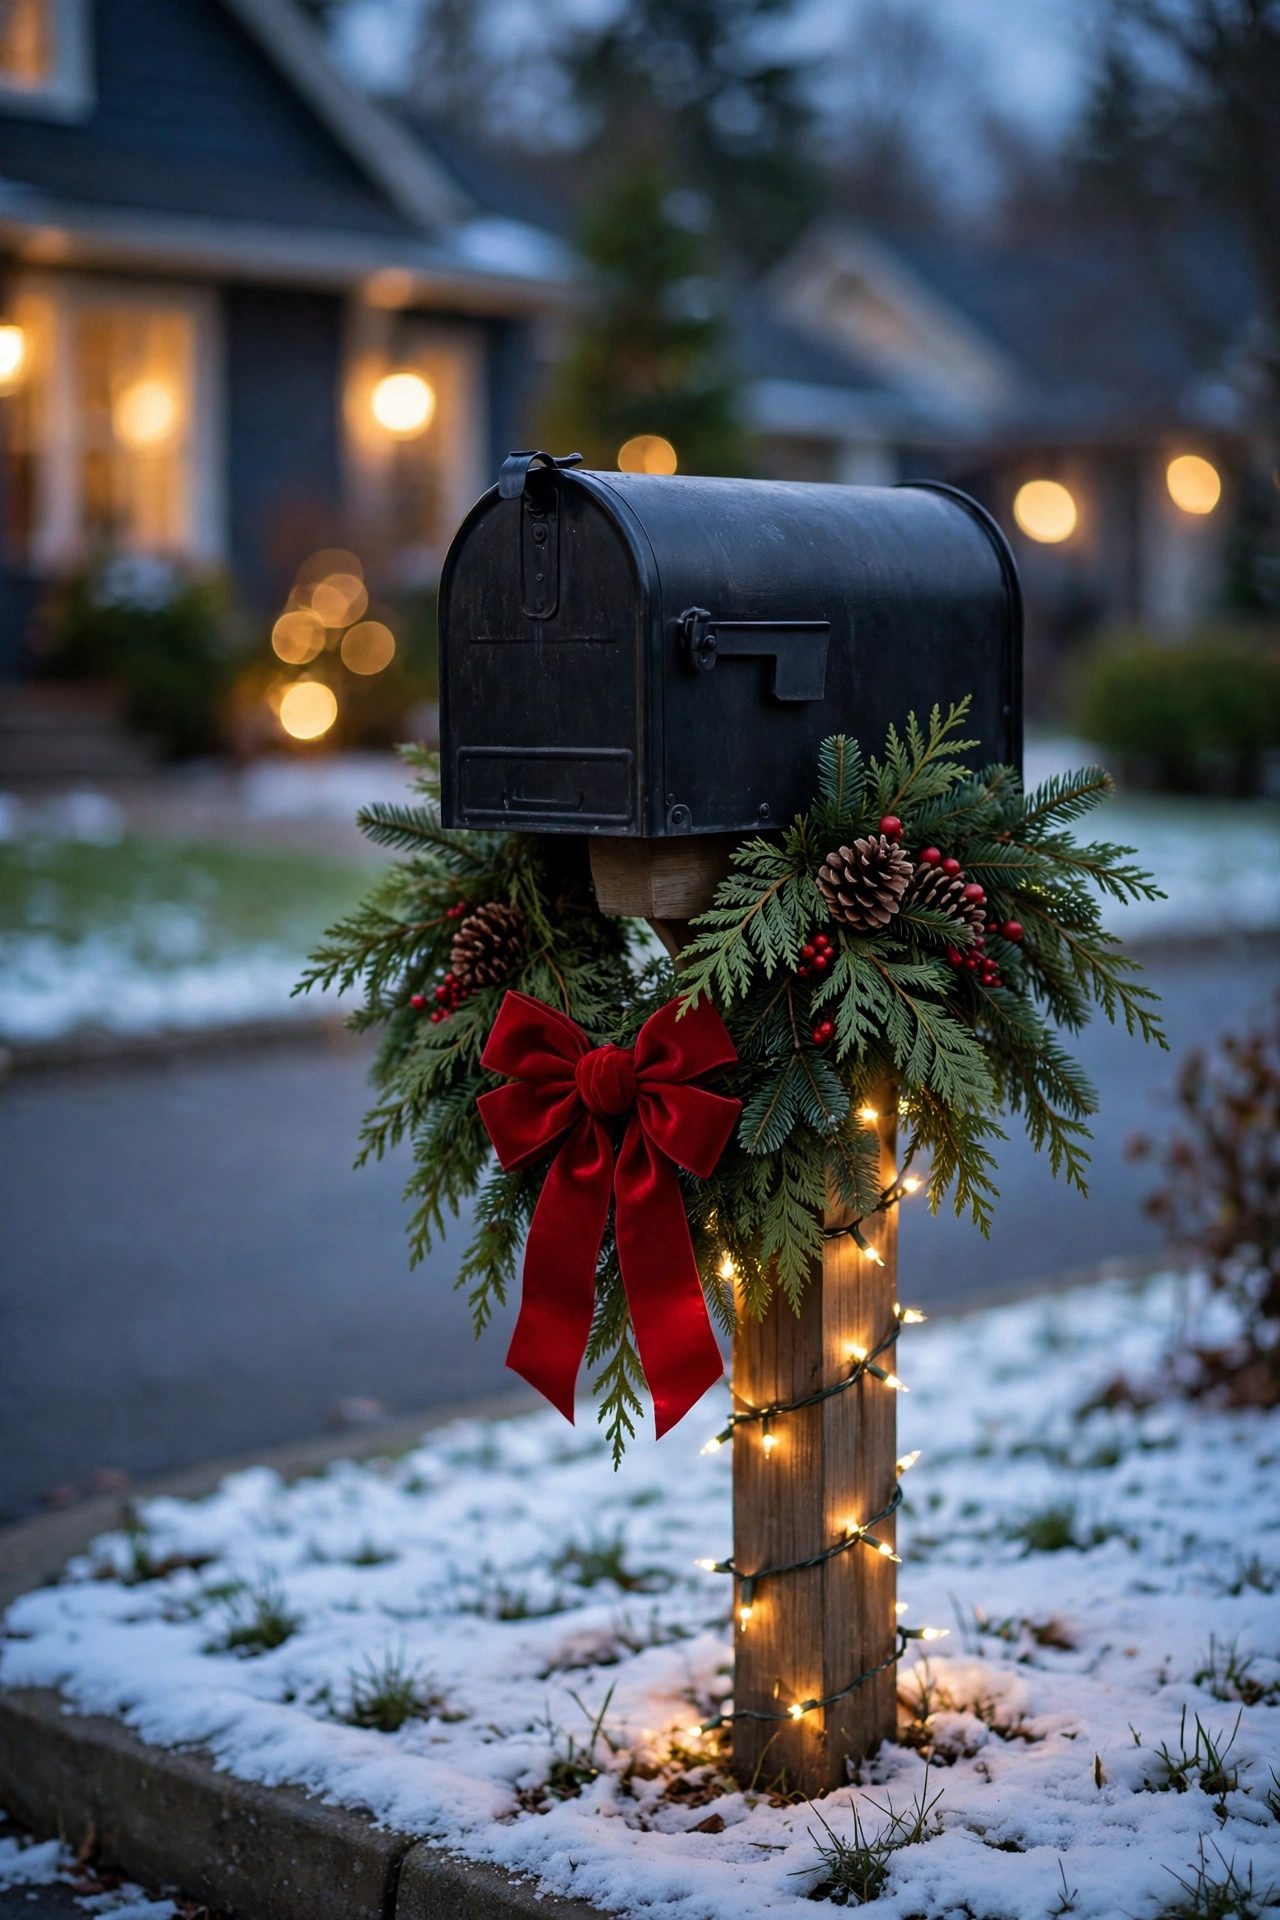
The classic swag is the oldest mailbox decoration, and it is still the best place to start. A swag is a short, fan-shaped bunch of evergreen laid across the top or the side of the mailbox, tied at the centre and finished with a bow. It takes fifteen minutes, it costs very little, and it makes a plain metal box look like part of the season. The reason it works is shape. A mailbox is a hard rectangle, and a swag softens it with a loose, natural fan of green that follows the curve of the box without hiding the door.
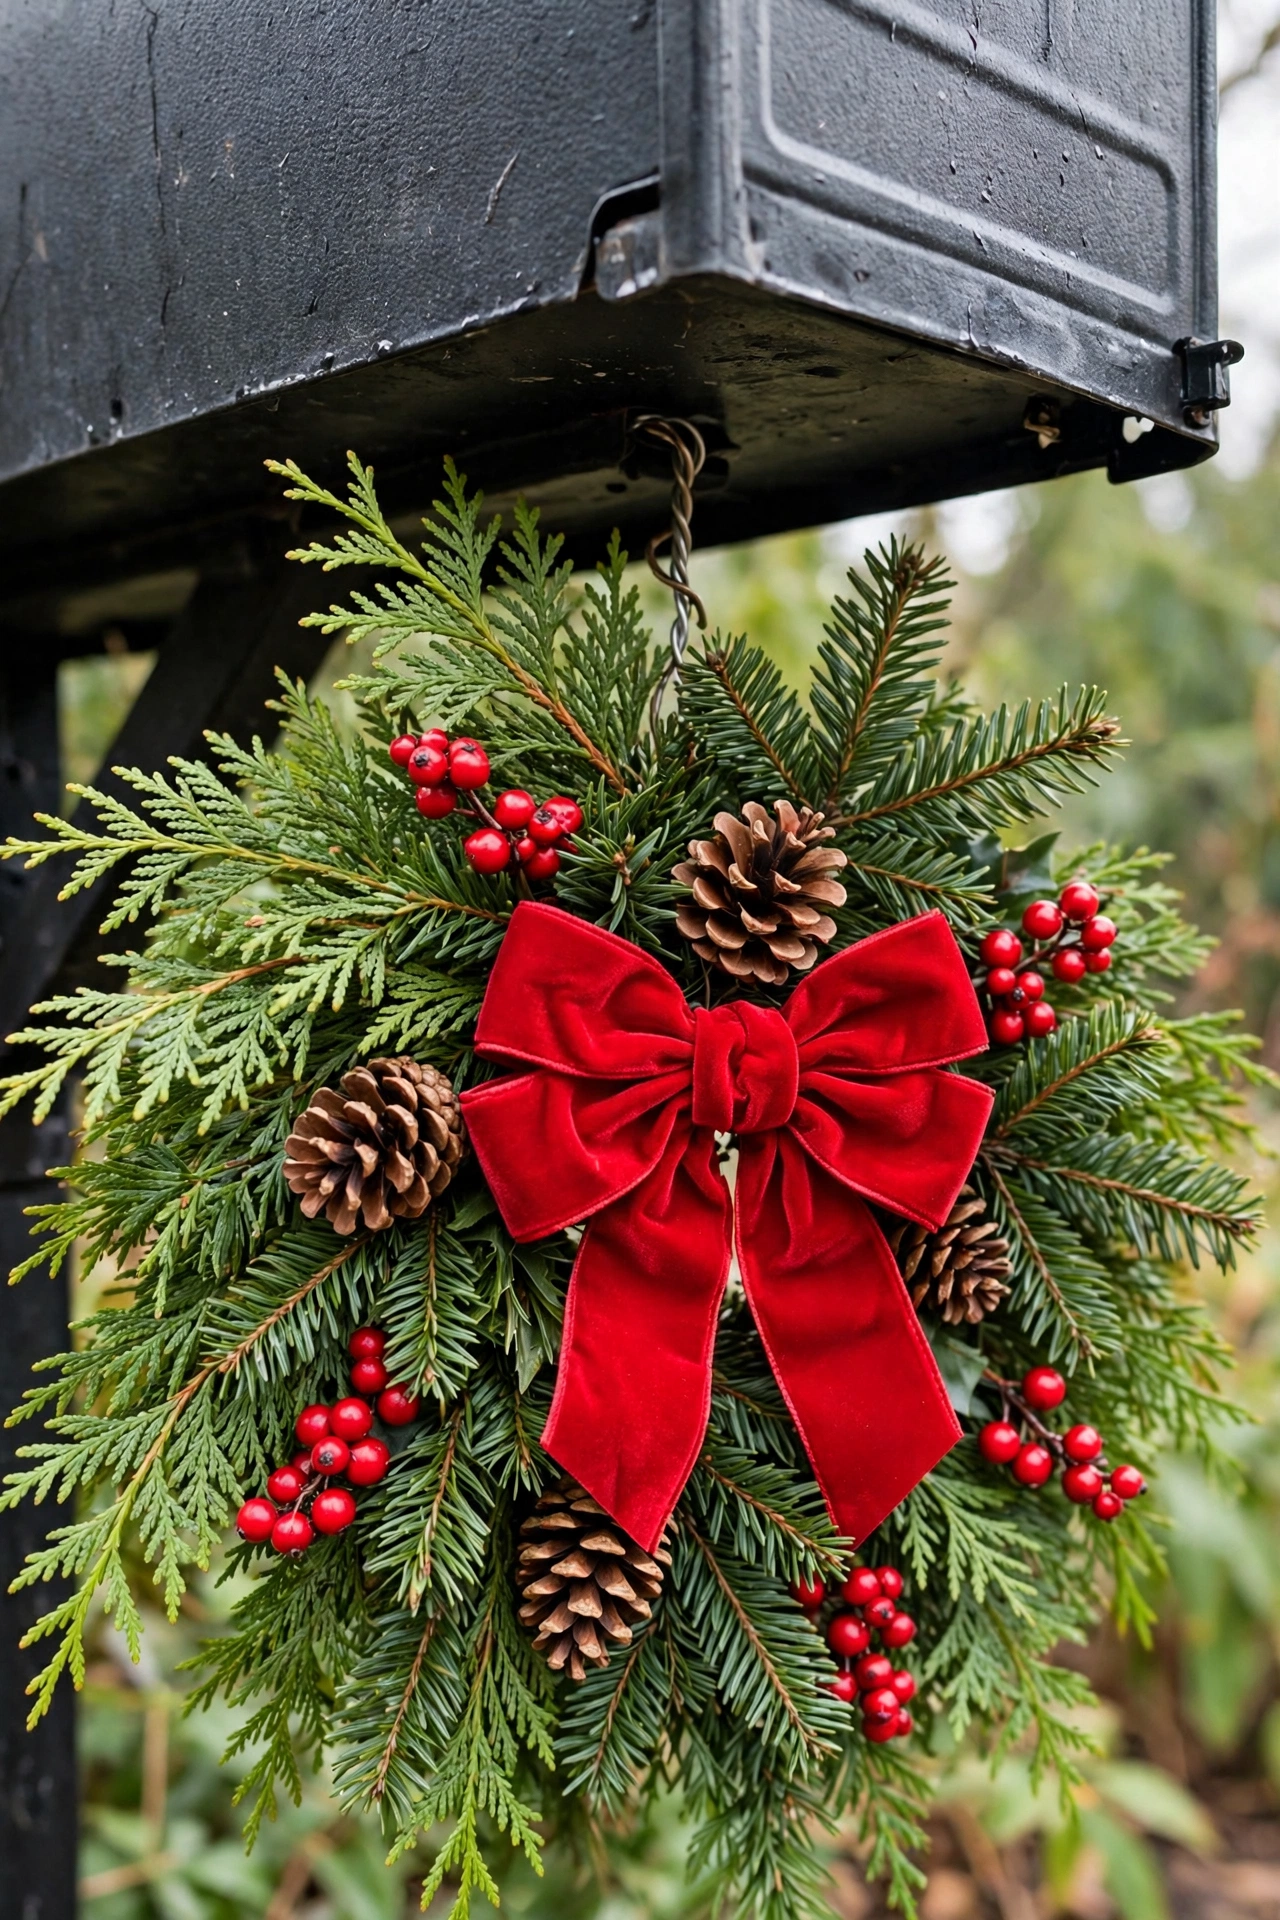
Start with the greenery. A ready-made evergreen swag costs 12 to 18 dollars at a garden centre or a craft store, and it is usually 24 to 30 inches long, which is longer than the 19-inch box. That extra length is fine, because the ends of the swag drape past the ends of the box by 3 to 5 inches on each side, which looks generous rather than short. If you build the swag yourself, use fir branches cut to 12 to 16 inches long and cedar branches cut to 10 to 12 inches long, layered in a fan with the longest branches at the bottom and the shortest at the top, and bind the centre tightly with florist wire. A bundle of mixed fresh cuttings costs 10 to 15 dollars and makes two swags, so one bundle covers the mailbox and leaves enough for a small planter by the door.
Attach the swag to the top of the mailbox, not the front. Lay it flat along the top, with the tied centre sitting over the middle of the box and the fan ends pointing toward the ends of the box. Fix it with two strong magnets, which cost 4 to 6 dollars for a pack of four, or with two strips of outdoor hook-and-loop tape, which costs 5 to 7 dollars a roll. Magnets are the easiest choice on a metal mailbox, because they hold firm in wind and come off clean in January with no marks left behind. Do not tape the swag across the door, because tape fails in rain and the swag will slide down over the latch.
Check the working parts before you step back. Open the mailbox door fully and let it drop open the way the carrier opens it. The swag should not touch the door at any point. Lift the red flag all the way up and let it fall back down. The swag ends should hang clear of the flag by at least 2 inches. Read the house numbers from the curb. If any branch covers a number, trim that branch back by 3 inches. A swag that clears the door, the flag, and the numbers is the whole secret of christmas mailbox decor ideas that last through December, because a decoration the carrier has to fight will be pulled off or crushed by the second week. This first idea costs 18 to 28 dollars with a ready-made swag, or 15 to 22 dollars if you build it from cuttings, and it sets the green base that every other idea in this guide builds on.
2. Garland Wrapped Around the Post
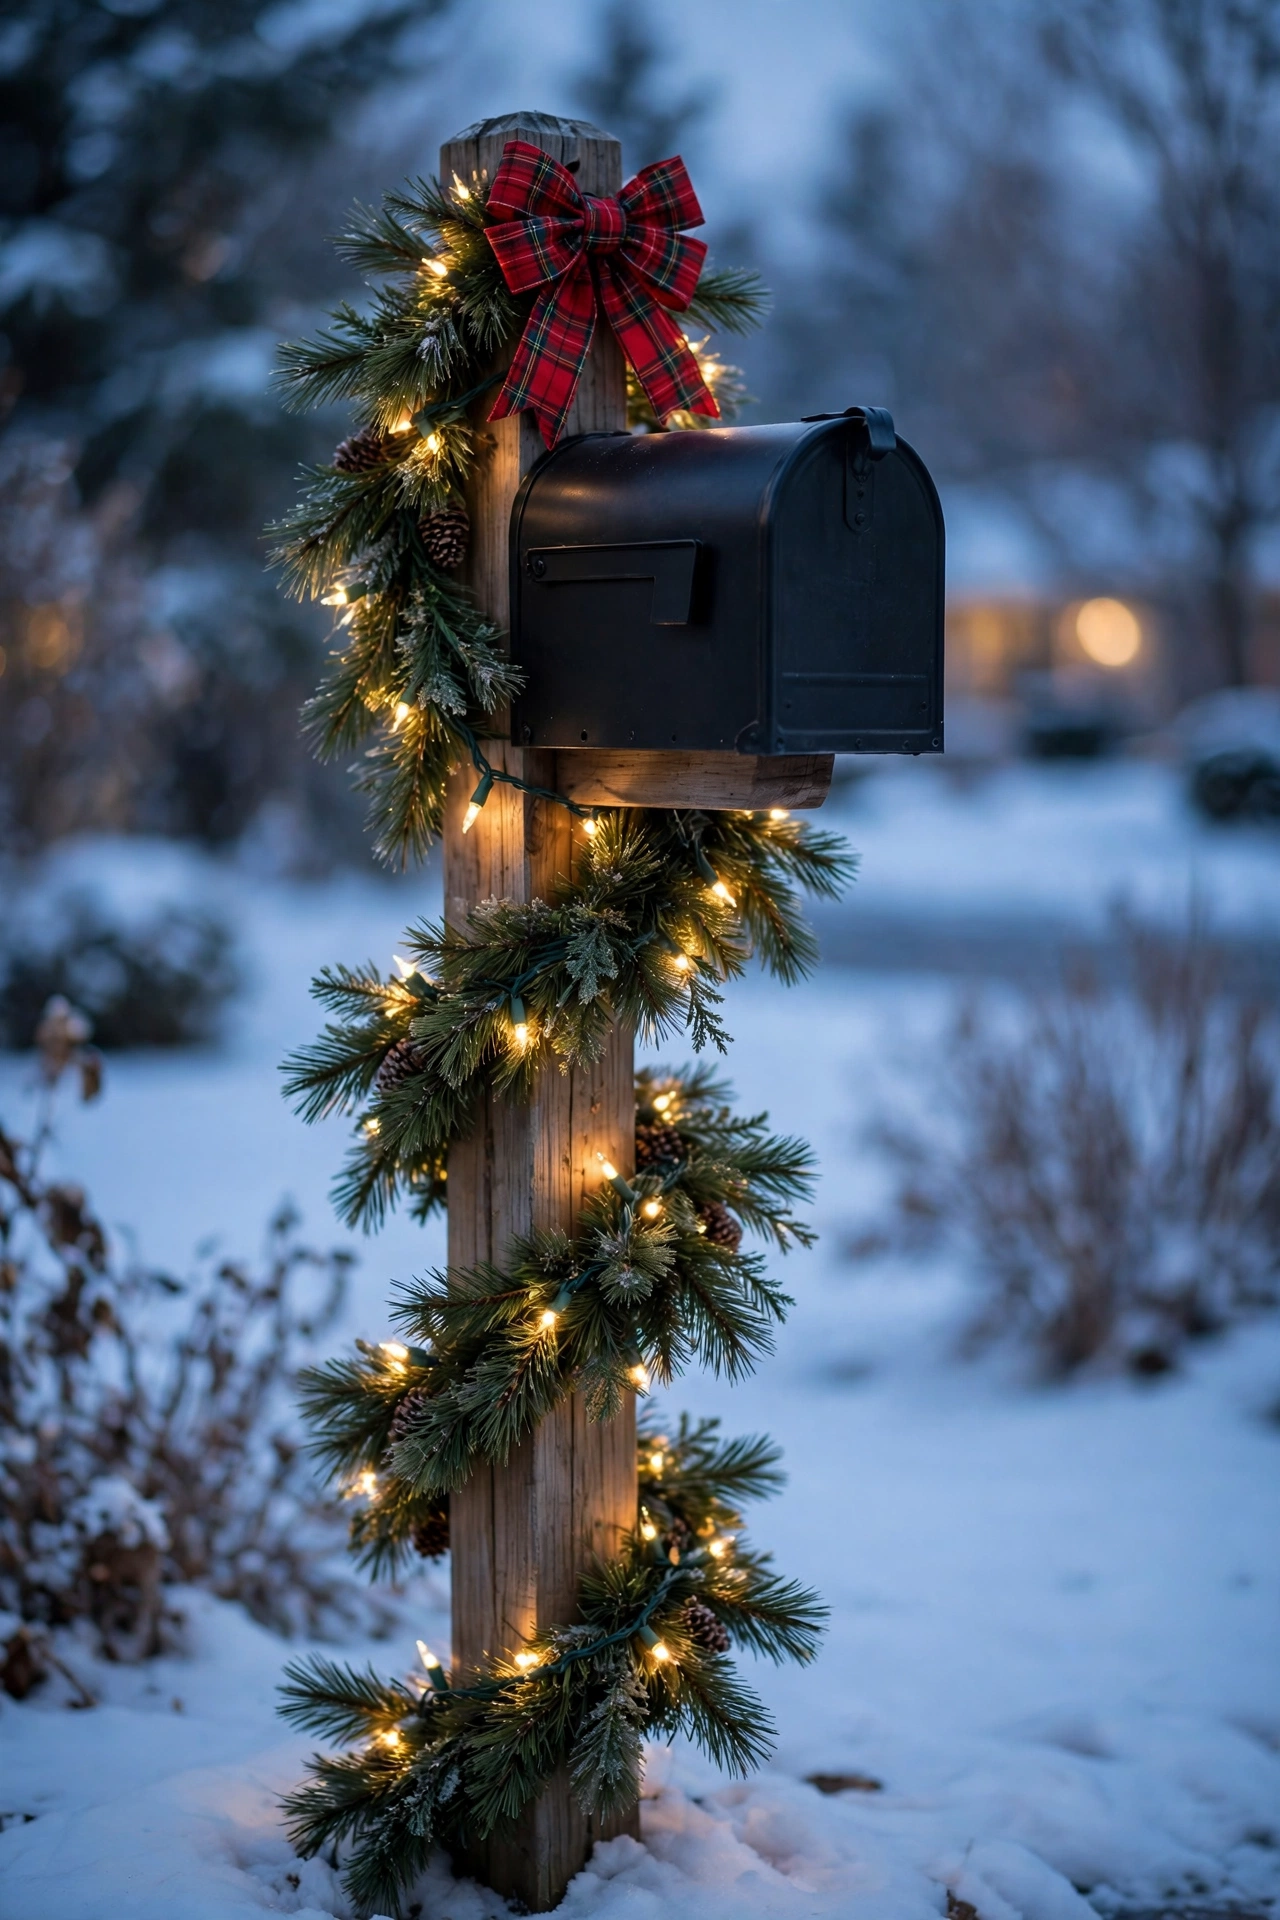
A garland-wrapped post turns the plain wooden upright under the mailbox into a Christmas column, and it is the idea that makes the whole mailbox look taller and grander. The box itself stays simple, while the post carries the decoration from the ground to the box, so the eye travels up the post and the mailbox feels like the top of a display rather than a box on a stick. The key is a spiral wrap with even spacing, because a garland wound too tightly looks like a rope, and one wound too loosely sags and shows bare wood in wide gaps.
Measure the post first. A standard curbside post stands 41 to 45 inches above the ground, and the wrap starts at the base and ends just under the mailbox, so the wrapped length is about 36 to 40 inches. Buy a garland 9 feet long for a post this size, because the spiral uses far more garland than the straight height. A 9-foot artificial pine garland costs 12 to 20 dollars, and one garland wraps one post with enough left over to drape a small loop under the box. Fresh cedar garland costs 15 to 25 dollars for 6 feet, and it smells better, but it dries out faster and sheds needles on the driveway, so artificial garland is the safer choice for a post that faces wind and sun.
Start at the bottom of the post. Fix the end of the garland at the base with a cable tie or a short piece of florist wire, pulled tight enough that the garland cannot slide down. Wind the garland upward in a slow spiral, keeping each turn 4 to 5 inches below the last one, so the coils are even all the way up. Push each coil flat against the post as you go, and add a cable tie every third turn to stop the garland from slipping. When you reach the top, tuck the last 6 inches of garland under the mailbox and fix it with a final tie, so no cut end shows. The whole wrap takes twenty minutes, and a step stool is not needed, because the post is low and the work is at waist height.
Tuck a small bunch of red berries, three picks pushed into the garland, into every second coil, so the red repeats up the post in a neat rhythm. A bag of artificial berry picks costs 6 to 8 dollars. Keep the house numbers clear, and never wrap garland over the numbers if they are mounted on the post. If the numbers are on the post, leave a 4-inch gap in the wrap around them, or move the numbers to the side of the box with new adhesive numbers, which cost 3 to 5 dollars for a set.
These diy christmas mailbox decor ideas work best when the garland is the same green on the post and on the box, because one green ties the two parts together. Mixing a dark fir garland on the post with a light pine swag on the box looks like two different decorations that met by accident. Buy the garland and the swag in the same green, or use cuttings from the same bundle for both, and the mailbox reads as one planned display. The post wrap costs 20 to 35 dollars with artificial garland, berries, and ribbon, and it is the idea that neighbours notice first, because the spiral of green turns a plain post into the most visible Christmas column on the street.
3. Lights on the Post and the Box: Battery Fairy Lights That Glow After Dark
Lights turn a mailbox from a daytime decoration into an evening one, and the evening is when a mailbox earns its keep. The house lights are on, the street is dark, and the mailbox glows from inside the green. The rule is to weave the lights through the greenery, not drape them over the top of the box. Lights draped on top look like a string dropped on a bush. Lights woven inside the green glow from within and make the whole display look lit from inside, which is the effect that makes drivers slow down and look.
Micro LED fairy lights are the right type for a mailbox. Micro lights are tiny bulbs on a thin copper wire, and they disappear into the greenery during the day, so the mailbox looks clean in daylight and glowing after dark. A 10-foot strand of 30 micro lights costs 5 to 8 dollars. A 20-foot strand of 50 micro lights costs 8 to 12 dollars. One 20-foot strand is enough for the post wrap and a short run across the top of the box. Two strands are enough if the post is tall and the swag is full. Choose warm white, which is 2700 Kelvin on the box, because warm white looks like candlelight against green. Cool white looks blue against green and feels cold. Multicolour lights fight with the berries and make the mailbox look noisy from the street.
Battery lights are the only sensible choice for a mailbox, because almost no curbside mailbox has an outdoor outlet nearby. A battery pack takes two or three AA batteries and hides behind the greenery at the base of the post or under the box, where it is out of sight and out of the rain. A set of rechargeable AA batteries costs 10 dollars for four plus a charger, and one charge runs a 50-light strand for 6 hours a night for about two weeks. Look for a battery pack with a built-in timer that turns the lights on for 6 hours and off for 18 hours automatically. Set the timer once at dusk, and the mailbox lights itself every evening without a trip to the curb.
Weave the strand along the garland spiral, not in circles around the post. Start at the base of the post and follow the garland coil upward, pushing the copper wire behind a branch each time it changes direction, so the wire is hidden and the lights sit inside the green. Place a light every 2 to 3 inches along the spiral, and let the last 3 feet of the strand run across the top of the box through the swag. Leave the battery pack at the back of the post, tucked behind the lowest garland coil, with the switch facing outward so it can be reached without moving the greenery. Keep the pack out of standing water, and set it on a small flat stone if the ground around the post holds puddles after rain.
Safety matters even with low-voltage lights. Do not use plug-in lights on a mailbox unless the cord can reach an outdoor outlet without crossing a walkway or a driveway, because a cord across a path is a trip hazard and a cord across a driveway will be driven over. Battery lights avoid both problems, and they are the reason most mailbox displays you see in photos use battery strands.
4. Bows, Ribbon and the Mailbox Scarf
Ribbon is the cheapest way to make a mailbox look dressed, and the mailbox scarf is the ribbon idea that gets the most attention for the least money. A mailbox scarf is a band of fabric or ribbon wrapped around the body of the box, like a scarf around a neck, with the ends tied in a bow at the front or the side. It covers the plain metal, adds colour and pattern in one step, and comes off in January with no marks left behind. The rule is to keep the scarf off the door and the flag, because a scarf that crosses the opening will block the carrier and be pulled off within days.
Measure the box before you buy fabric. A standard box is about 19 inches long and the band wraps around its length and its height, so a scarf 40 to 44 inches long and 6 to 8 inches wide wraps once around the box with enough left over to tie a bow. Buy fabric 45 inches long and 8 inches wide to be safe, and cut it to fit. Outdoor ribbon 4 inches wide works as a ready-made scarf, and a 10-yard roll costs 6 to 10 dollars, which is enough for the scarf and a matching bow. Burlap fabric costs 5 to 8 dollars a yard, and one yard makes a scarf with fabric left over. Felt is the warmest choice for a scarf, and a yard of red felt costs 6 to 9 dollars.
Wrap the scarf around the middle of the box, running it over the top and under the bottom, so it sits like a band across the centre. Fix it on the underside of the box with two strips of outdoor hook-and-loop tape, which cost 5 to 7 dollars a roll, or with two strong magnets on a metal box. Tie the ends in a bow on the side of the box, away from the door and the flag, or tie them in a simple knot under the box and add a separate bow on the post instead.
The bow is the finishing piece, and one big bow beats three small ones. Tie a bow 6 to 8 inches wide from outdoor wired ribbon 2.5 to 4 inches wide, with two loops on each side and two tails 10 to 12 inches long, cut at an angle so the ends look finished. Tie the centre with a short piece of florist wire, not with the ribbon itself, because wire holds tighter and lets you attach the bow to the scarf or the post. Pick one bow colour and repeat it on the post and the planter, so the whole display matches.
These diy christmas mailbox decor ideas are the easiest to change if the weather turns. If rain soaks a fabric scarf, take it off, let it dry indoors overnight, and put it back in the morning. If wind loosens the bow, tighten the florist wire and add a second tie. Keep a spare length of ribbon in the house, because a scarf is the piece most likely to need a quick fix after a storm, and a five-minute repair keeps the mailbox looking finished. The scarf and bow together cost 12 to 20 dollars, and they are the fastest way to dress a mailbox, because the whole job takes ten minutes from measuring the box to tying the bow.
5. Pinecones, Berries and Natural Accents
Pinecones and berries are the natural accents that make a mailbox look gathered from the garden rather than bought from a shop, and they are the cheapest colour in the whole display. Green alone could be any season. Green with red berries and brown pinecones is December, and the combination reads clearly from a moving car, which is the distance that counts at the curb. The rule is to use berries in groups of three, not scattered one by one. A single berry pick disappears into the green. Three picks together, pushed in close, make a red cluster the eye can find from ten feet away.
Winterberry is the best fresh berry for a mailbox, because it holds its red colour for 3 to 4 weeks outdoors, even in frost. A bunch of winterberry stems costs 6 to 9 dollars. Cut each stem to 8 to 10 inches long and push it into the swag or the garland, deep enough that only the top 5 inches show. Place one cluster of three stems every 12 inches along the swag, so a 24-inch swag takes two clusters, which is six stems. Artificial berry picks are the safer choice if birds are a problem, because birds eat real winterberries fast, and a swag that looks full on Monday can look picked clean by Friday. Artificial picks cost 2 to 3 dollars each, and they last for years. Choose picks with berries at least half an inch wide, because smaller berries disappear into the fir. Push the pick stem 3 inches into the greenery so the wind cannot pull it out.
Pinecones are the second natural partner, even though they are brown. They add size, texture, and a shape that breaks up the flat green. Use pinecones 3 to 4 inches long. Smaller cones disappear. Larger cones weigh the swag down and look out of scale on a mailbox. A bag of 20 pinecones costs 6 to 8 dollars. Tuck one pinecone into the greenery every 12 inches, alternating with the berry clusters, so the pattern along the swag is berry, pinecone, berry, pinecone. Push the pinecone halfway into the green so it sits in the foliage instead of on top of it. If the pinecone keeps falling out, wire it to a short stick with florist wire and push the stick into the swag.
Dried orange slices are the third natural accent, and they add a warm gold colour that berries and pinecones do not give. A bag of dried orange slices costs 6 to 8 dollars. Wire one slice to a short stick and push it into the greenery every 12 inches, so the gold repeats along the swag. Count the cost of this layer before you buy. For one mailbox, six berry stems at 6 to 9 dollars a bunch, one bag of pinecones at 6 to 8 dollars, and one bag of dried orange slices at 6 to 8 dollars comes to 18 to 25 dollars if you use fresh berries, or 24 to 34 dollars if you buy artificial picks. That is the cheapest colour in the whole display, and it is the colour people notice first. If the budget is tight, skip the orange slices and double the berries, because red is what the eye reads as Christmas. Strong red clusters with pinecones are the heart of christmas mailbox decor ideas that work from the street, and a swag with strong red clusters and no orange slices still looks finished.
6. Farmhouse and Rustic: Plaid, Burlap and Wood
Farmhouse style suits a mailbox better than almost any other style, because a mailbox is already a plain, practical object, and farmhouse decorating is about plain, practical things done with care. Plaid ribbon, burlap, and a small wooden sign turn a metal box into a piece that looks like it belongs on a country road, even on a suburban street. The rule is to pick one plaid and one natural material and repeat them, because two plaids and three natural materials in one small display look cluttered, while one plaid with burlap looks deliberate.
Start with the plaid. Red and black buffalo plaid is the classic farmhouse pattern, and it reads clearly from the street even in poor light. Buy outdoor wired ribbon in buffalo plaid, 2.5 to 4 inches wide, and use it for the swag bow and the post bow, so the pattern repeats in two places. A 10-yard roll costs 7 to 11 dollars. Tie a bow 6 to 8 inches wide with two loops on each side and two tails 10 to 12 inches long, and wire it to the centre of the swag. If the house has a plaid wreath on the door, match that plaid, because a mailbox that matches the door looks like one house decorated with a plan.
Burlap is the second material, and it does the quiet work in a farmhouse display. A roll of burlap ribbon 4 inches wide costs 5 to 8 dollars, and it wraps the post in a loose spiral over the garland, or it makes the mailbox scarf described in the fourth section. Burlap is rough, brown, and matte, which is the opposite of shiny ribbon, and that contrast is what makes the display feel rustic rather than glossy.
A small wooden sign is the third piece, and it is the one that makes the farmhouse display feel personal. A blank wooden sign 12 inches wide and 4 inches tall costs 5 to 8 dollars at a craft store. Paint it white or leave it natural, and stencil a short greeting on it, such as Merry Christmas, in black or dark green paint. Hang the sign on the post below the mailbox, using two short lengths of twine looped through holes in the sign and tied to a small nail or hook on the post. Keep the sign at least 6 inches below the box, so it never blocks the door or the flag, and keep it facing the street so drivers can read it.
These diy christmas mailbox decor ideas suit a wooden post best, because burlap and wood belong together. The whole farmhouse display costs 25 to 40 dollars, and it is the style that ages best through December, because plaid and burlap do not fade in sun and do not look tired after rain the way shiny ribbon can. A farmhouse mailbox looks as good on Christmas Eve as it did on the first weekend, which is the real test of any outdoor style.
7. Playful Looks for Kids: Candy Cane Post and Reindeer
A mailbox is the perfect place for a playful Christmas look, because children see the mailbox every day, and a reindeer on the post turns the walk to the curb into a small celebration. Playful looks work best when they are bold and simple, because a mailbox is seen from a moving car, and a fussy design with ten small pieces looks like clutter, while one big character with clear colours reads instantly. Pick one character and build the whole display around it.
The candy cane post is the easiest playful idea, and it takes twenty minutes. Wrap the post in a spiral of red and white ribbon, using outdoor ribbon 2.5 inches wide in solid red and solid white, wound in alternating coils 3 to 4 inches apart, so the post looks like a giant candy cane. A 10-yard roll of red ribbon costs 6 to 10 dollars, and a 10-yard roll of white ribbon costs the same, so the two rolls together cost 12 to 20 dollars. Fix each coil with a cable tie, and add a large red bow at the top of the post, just under the box. Add a swag of plain green on top of the box, so the green gives the red and white something to rest against. Keep the house numbers clear, and never wrap ribbon over the numbers if they are on the post. If the numbers are on the post, leave a 4-inch gap in the spiral around them.
The reindeer mailbox is the second playful idea, and it is the one children remember. Turn the front of the mailbox into a reindeer face with a brown felt cover, two antlers made from brown pipe cleaners or small branches, and a red pom-pom nose. A sheet of brown felt costs 3 to 5 dollars, and a bag of red pom-poms costs 4 to 6 dollars. Cut the felt to cover the front and the sides of the box, leaving the door free, and fix it with magnets or hook-and-loop tape. Make the antlers from two brown pipe cleaners, each 12 inches long, twisted into a branched shape and fixed to the top of the box with magnets, so they stand 6 to 8 inches above the box. Glue a red pom-pom 2 inches wide to the front of the box, below the door, as the nose. Keep the door clear, because the reindeer face must never block the carrier, and test the door and the flag before you finish. The whole reindeer costs 12 to 20 dollars and takes thirty minutes.
These diy christmas mailbox decor ideas are the easiest to take down, because felt and ribbon come off in minutes and leave no marks. Take the character down in the first week of January, before it starts to look tired, and store the felt pieces flat in a bag for next year. A playful mailbox costs 12 to 25 dollars, and it is the idea that makes the most neighbours smile, because a reindeer at the curb is a reminder that Christmas is for children first, and a mailbox that makes a child laugh is a mailbox that has done its job.
8. The Small Mailbox Formula and the Base Planter
Not every mailbox is large, and not every post has room for a full display. Many houses have a small mailbox, about 17 inches long and 6 inches wide, on a narrow post, or a mailbox mounted on a wall by the door, and a small mailbox needs a different plan from a large one. The small mailbox formula is one swag, one bow, and one base planter. Three pieces. Nothing more. The mistake on a small mailbox is to shrink a large display and squeeze in ten small decorations. Ten small things look cluttered on a small box. Three right-sized things look finished, and they leave the door, the flag, and the numbers clear.
Start with the swag. A small mailbox takes a swag 18 to 20 inches long, which is just longer than the box, with the ends draping 1 to 2 inches past each end. A ready-made swag this size costs 10 to 14 dollars, or build one from fir branches cut to 10 to 12 inches long and cedar branches cut to 8 to 10 inches long, layered in a fan and bound at the centre with florist wire. Lay the swag flat along the top of the box, fix it with two magnets, and keep it clear of the door. Add one cluster of three berry picks on one side of the swag, and one pinecone 3 inches long on the other side. That is all the colour the top of the box needs. More berries would hide the swag, and the swag is the point.
The bow is small on purpose. Use ribbon 1.5 to 2 inches wide, and tie a bow 4 to 5 inches wide, with two loops on each side and two tails 8 to 10 inches long. Wire it to the centre of the swag, just above the top of the box. A big bow would cover the greenery and hide the swag, so keep it small and neat. One 10-foot strand of 20 micro lights, which costs 5 dollars, weaves through the swag in two passes and is enough for a box this size. Tuck the battery pack behind the post, where it is hidden and easy to reach, and set the timer for 6 hours each evening.
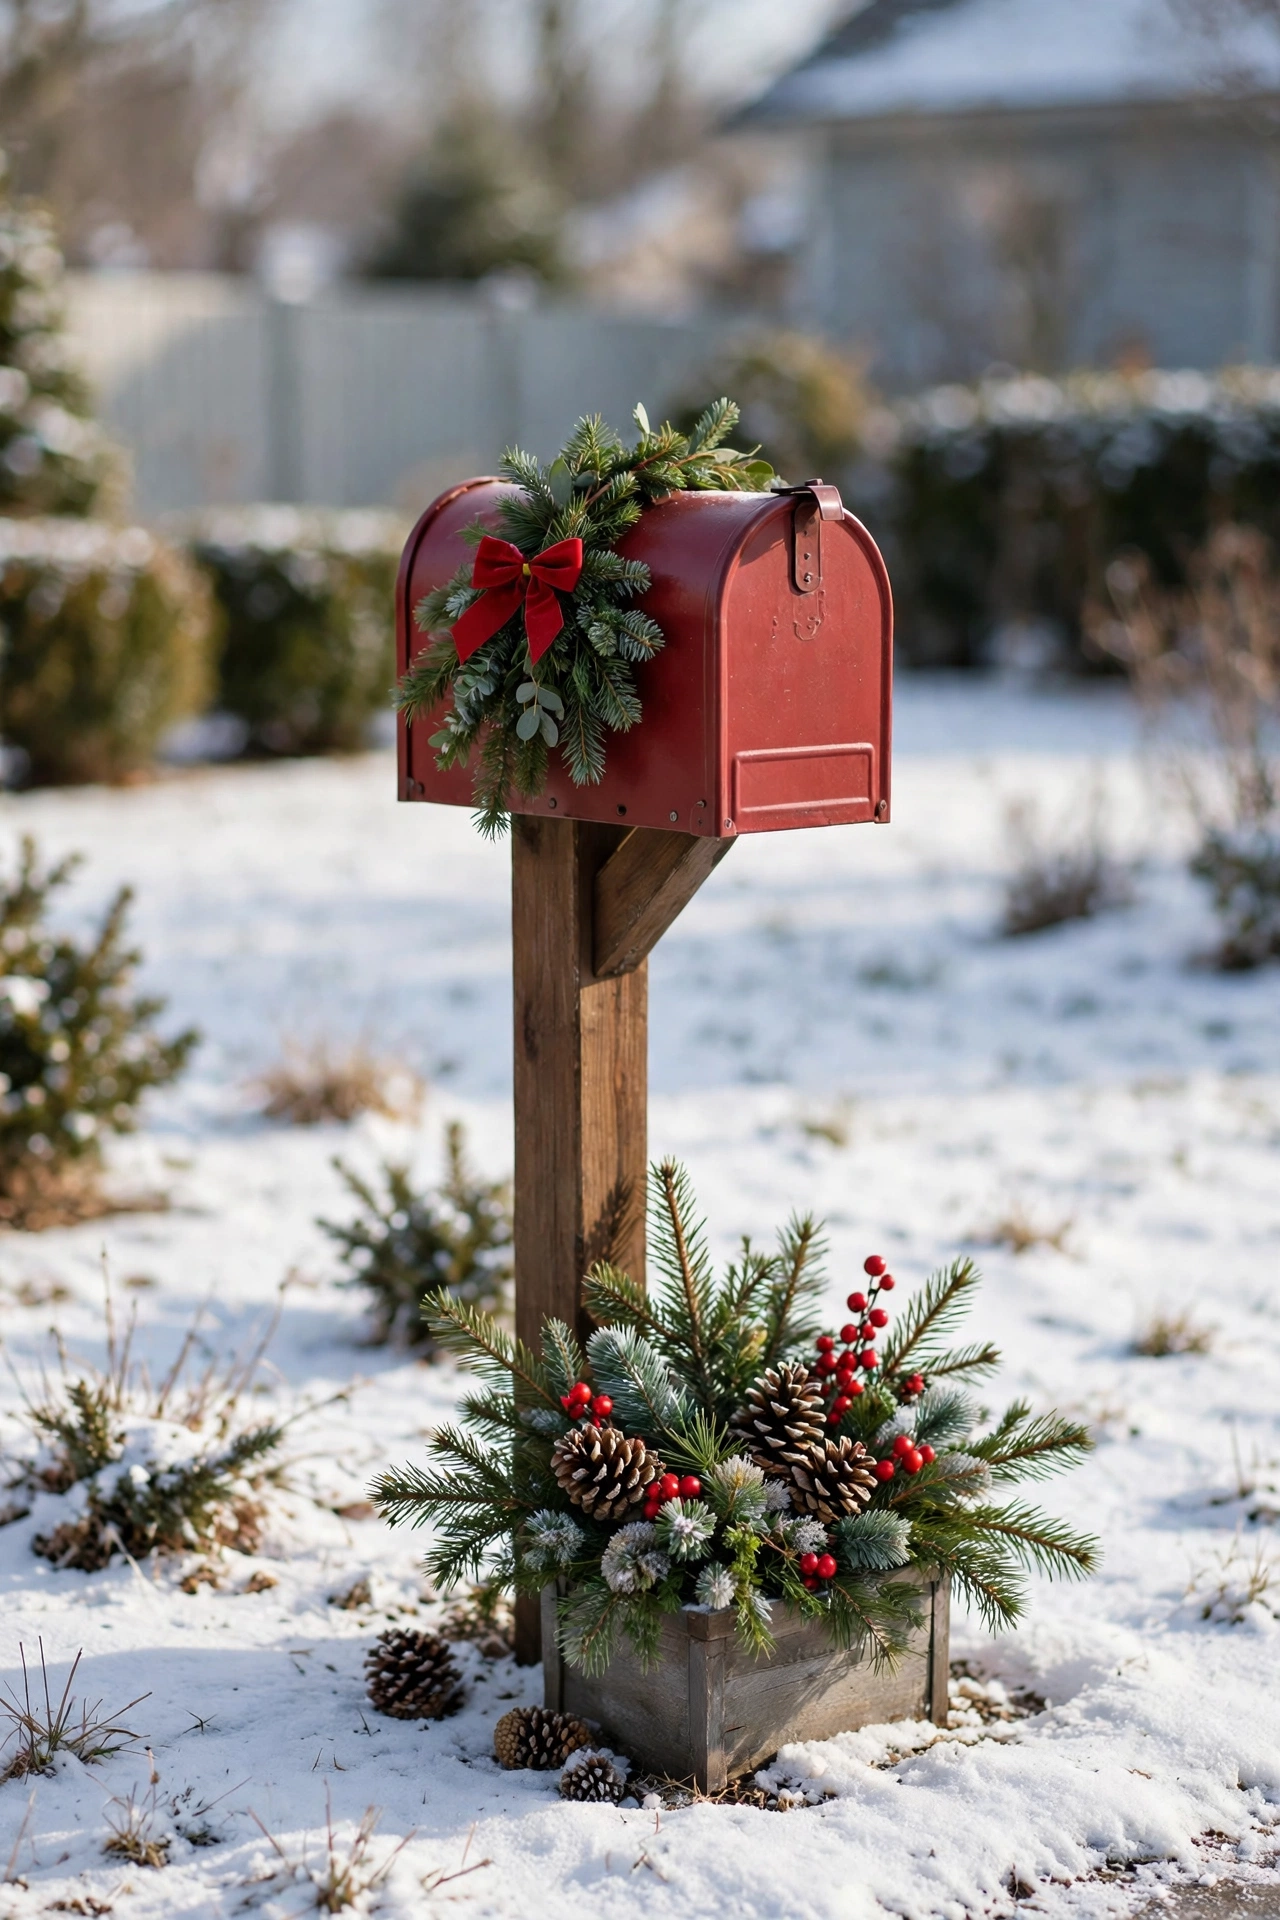
The base planter is the piece that makes a small mailbox look grand, because it adds height and colour at ground level, where the small box has none. Place a planter 10 to 12 inches wide and 10 to 12 inches tall at the base of the post, on the side away from the driveway, so it never blocks the carrier or the car door. A resin planter this size costs 8 to 12 dollars. Fill it with soil and push in three fir branches cut to 12 to 14 inches long, two cedar branches cut to 10 inches long, and one cluster of three berry picks. Add a small bow to the front of the planter, tied from the same ribbon as the mailbox bow, so the two pieces match.
Small christmas mailbox decor ideas work best when they decorate up, not out. Keep the house numbers clear, and use magnets and hook-and-loop tape, so no drilling is needed and the whole display lifts off in January in five minutes. The small mailbox formula costs 25 to 35 dollars with a ready-made swag and a resin planter, and it is the plan that fits the most houses, because most mailboxes are small, and most posts are narrow.
Conclusion
The best mailbox displays share one habit. They start with a layered evergreen base, add colour in clusters, finish with one bow, and light the whole thing from inside. A swag on the top of the box, a garland spiral on the post, berries in groups of three, pinecones alternating with the berries, one big bow at the centre, and warm micro lights woven through the green. That is the full plan, and it fits a large mailbox in one afternoon and a small mailbox in one hour. The small mailbox formula in the eighth section proves the point. One swag, one bow, and one base planter are enough when each piece is placed with care and every working part is left clear.
The 30-minute setup order is the fastest way to get there. First, lay the swag on the top of the box and fix it with magnets, because green is the foundation and everything else hangs on it. Second, wrap the garland around the post in an even spiral, and tuck the berries into every second coil. Third, wire the bow to the centre of the swag and the top of the post. Fourth, weave the lights through the greenery and hide the battery pack behind the post. Fifth, open the door, lift the flag, and read the house numbers from the curb, and fix anything that blocks them. Work in that order and the mailbox looks better after every step, so you can stop at any point and still have a finished display.
In January, take the Christmas out and leave the winter in. Pull the red berries and the red bow, add white berries and a cream bow, and the mailbox stays right until February. Then take it down clean, store the bow flat, coil the lights, and wash the planter. A mailbox that takes one hour to dress and one hour to change is a mailbox that will be dressed again next year, and that is the real goal. Not one perfect December, but a curb that is easy to love every winter. These diy christmas mailbox decor ideas are built to be used again, and the pieces that survive the season, the wired ribbon, the magnets, and the battery lights, are the pieces that make next December easier than this one.
FAQ
How do I keep mailbox decorations from blocking mail delivery?
Keep the door, the flag, and the house numbers clear at all times. Put greenery on the top and the sides of the box, never across the door. Keep bows and ribbon tails at least 2 inches clear of the flag. Test the door and the flag after every step, and read the numbers from the curb before you finish. If a decoration touches the door, move it or trim it back by 3 inches.
Can I decorate a mailbox if I rent my home?
Yes. Use magnets, hook-and-loop tape, and cable ties, because none of them need drilling or screws, and they all come off clean in January. A swag fixed with magnets and a garland fixed with cable ties leaves no marks on the box or the post. Check the rental agreement first, and keep the display tidy, because a neat display is the one a landlord never objects to.
How long do fresh evergreen cuttings last on a mailbox?
Fresh fir and cedar cuttings last 3 to 4 weeks outdoors on a mailbox, and up to 6 weeks if they get water when the soil or the planter is dry. Cuttings last longer in shade than in direct afternoon sun, and longer on a sheltered post than on a windy curb. Replace any branch that turns brown instead of waiting for the whole display to fade.
Are battery lights safe to use on a mailbox in rain?
Yes, for low-voltage micro LED strands. Keep the battery pack out of standing water, and tuck it behind the post or under the box, where rain does not pool. Do not use plug-in lights unless the cord can reach an outdoor outlet without crossing a walkway or a driveway. Replace the batteries when the lights dim, because dim lights look tired instead of warm.
What size swag do I need for my mailbox?
Measure the box first. The swag should be 3 to 5 inches longer than the box, so the ends drape past each end by a small amount. A standard 19-inch box takes a swag 24 inches long. A small 17-inch box takes a swag 18 to 20 inches long. A swag shorter than the box looks stingy, and a swag much longer than the box sags and hides the numbers.
When should I take the Christmas mailbox decorations down?
Take the Christmas elements out in the first week of January, and either swap in white berries and a cream bow for a winter look or take the whole display down. A winter display can stay up until the first week of February. Do not leave a Christmas display up into February, because the red berries fade, the bow looks out of season, and the greenery turns brown. Take it down clean and store it dry, and it will be ready next December.
Budget Table
| Tier | What it buys | Total |
|---|---|---|
| Under $30 | One ready-made 24-inch evergreen swag, one roll of outdoor ribbon, one small bow, and a pack of magnets | $24 to $30 |
| $30-80 | One 9-foot artificial pine garland, berry picks and pinecones, one large wired bow, one 50-light micro LED strand with rechargeable batteries, and a mailbox scarf | $55 to $80 |
| $80-150 | Garland and swag for the box and the post, berries, pinecones, cinnamon sticks and dried orange slices, two bows, two light strands, a 10-inch resin base planter with cuttings, and a January swap set of white berries and a cream bow | $120 to $150 |