Christmas Snowman Decor Ideas for a Cheerful Winter Home
A snowman is the one Christmas decoration that never looks serious. A tree can look formal, a wreath can look traditional, and a garland can look elegant, but a snowman just looks happy. That is why snowmen work in every room of the house and on every surface from the front steps to the kitchen island. They soften a formal living room, they make a small apartment feel festive without taking over, and they give children something to point at and smile about.
The other reason snowmen are worth a whole guide is that they are cheap and forgiving. A snowman does not need to be perfect. A slightly crooked carrot nose is charming. A scarf tied a little unevenly looks handmade in the best way. And unlike a tree that needs the right size for the room, a snowman comes in every size from a two inch shelf sitter to a four foot porch figure, so there is a version for every home, every budget and every amount of free time.
This guide covers the whole house. Start outside with a porch snowman that survives real weather, then bring the idea inside with a snowman tiered tray decor scene, a mantel family, a tree dressed as Frosty, a table centerpiece that survives dinner, and a set of do it yourself builds that cost almost nothing. Finish with small space ideas and the January plan, because snowmen have one big advantage over every other Christmas figure: they do not have to come down on December 26.
1. The Porch Snowman: Big, Friendly and Weatherproof
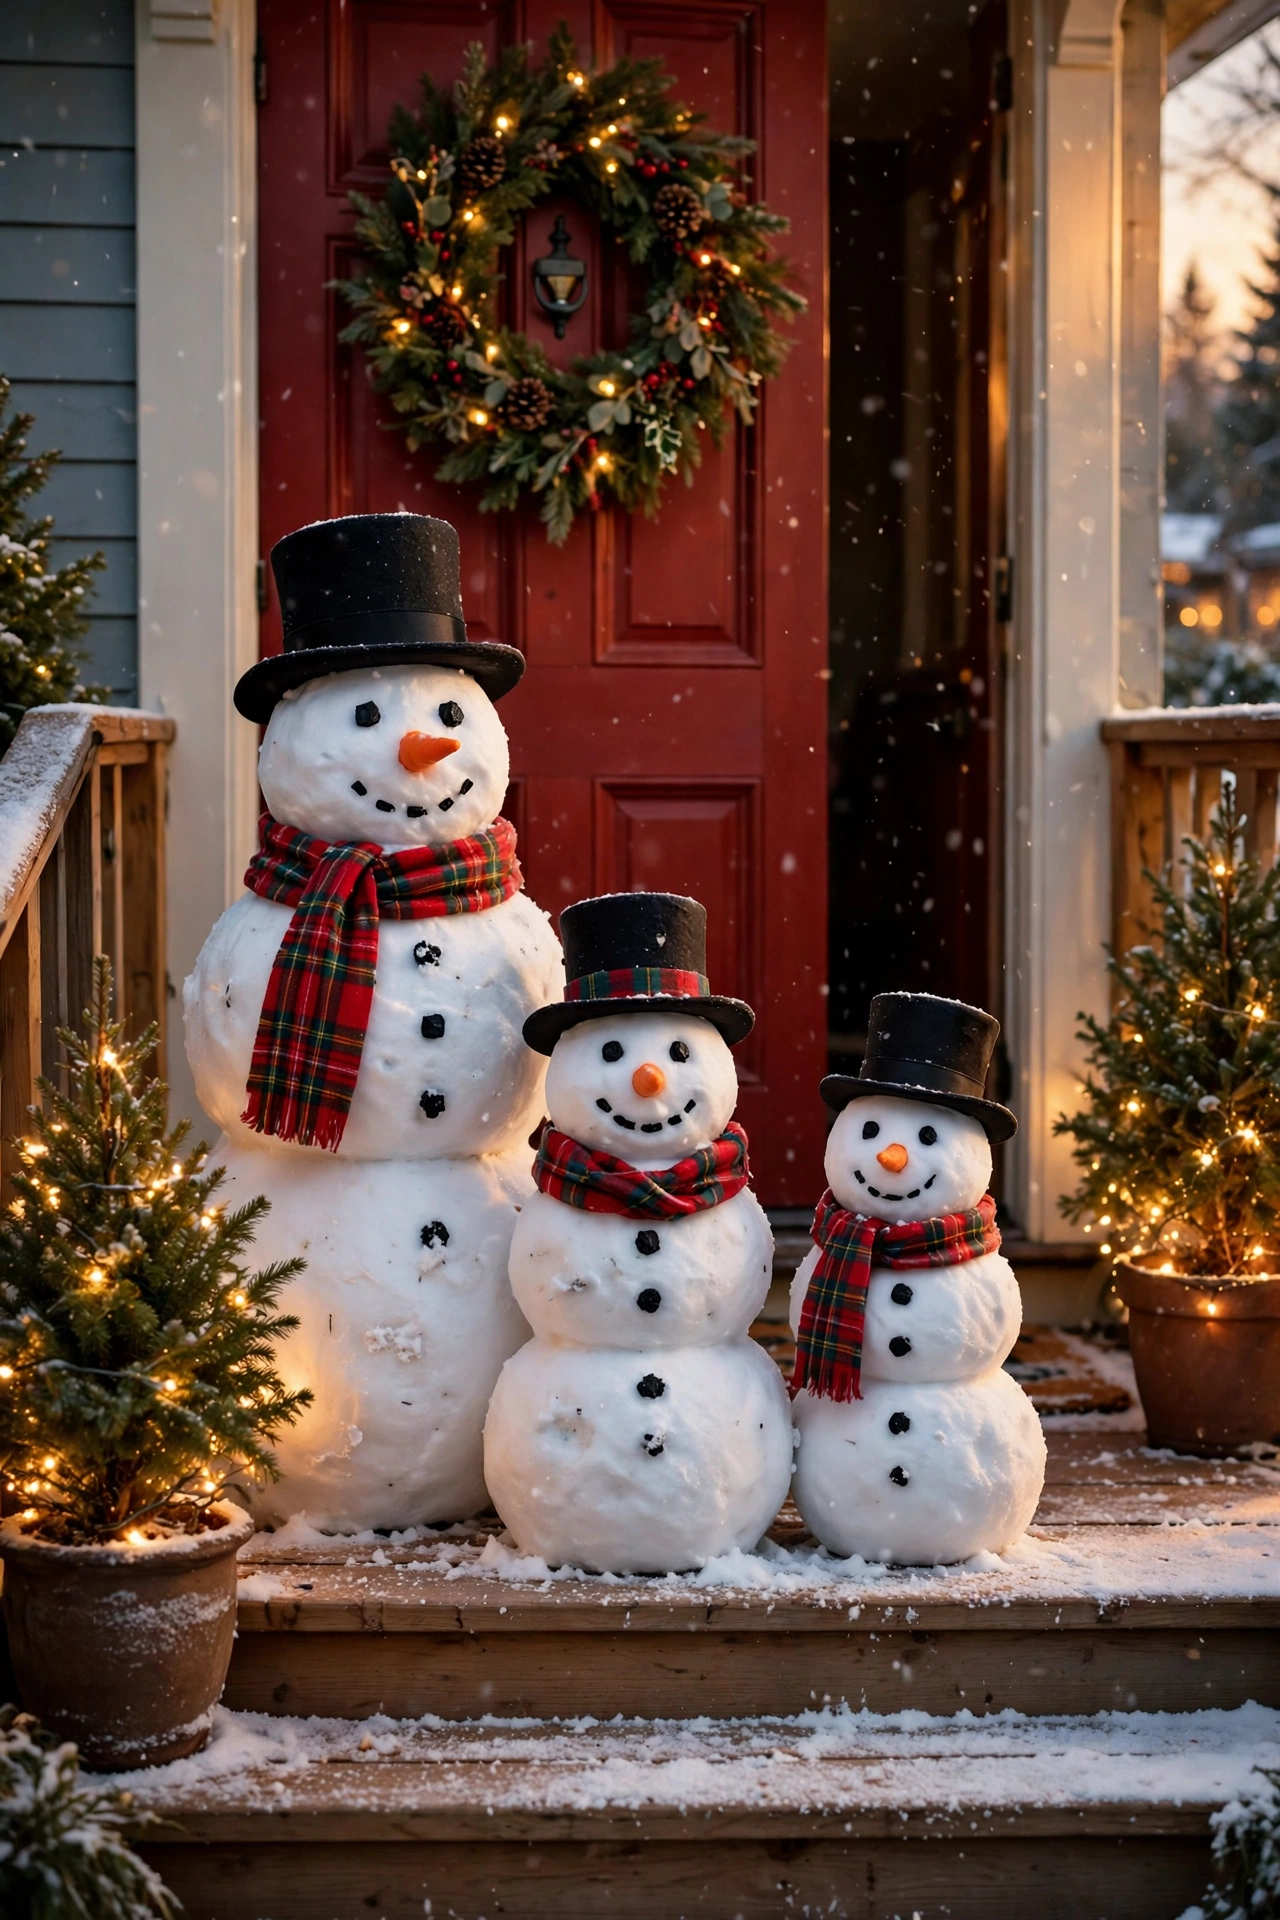
The front porch is where a snowman does its best work. Guests see it before they reach the door, neighbours see it from the street, and children walking past will remember your house as the one with the snowman. The rule for a porch snowman is simple: go big, go friendly, and make it heavy enough to stay standing.
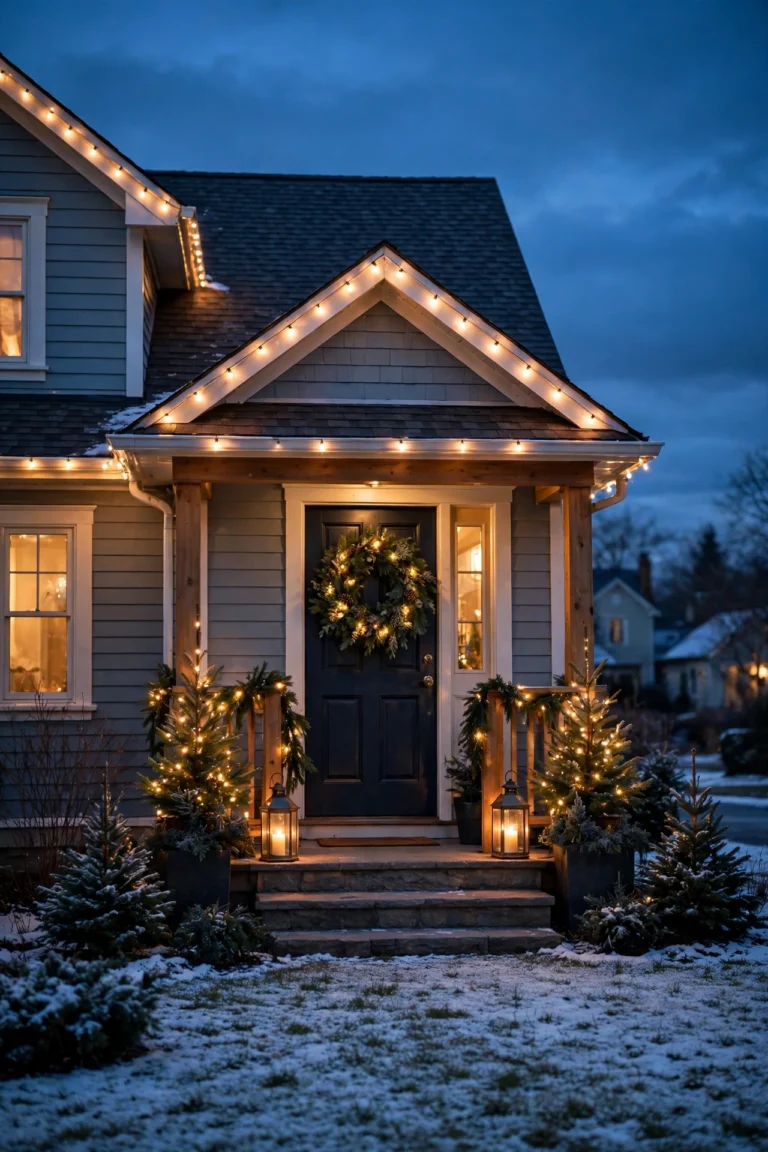
A family of three snowmen in different heights looks better than one snowman alone. Put the tallest on the left or right, not in the middle, and step the heights down toward the door. The tallest should be about waist high, roughly 30 to 36 inches, so it reads from the street without blocking the door. Flank the group with two potted evergreens wrapped in warm white fairy lights, and the whole entrance glows after dark.
The classic build is the stacked pumpkin topiary, and it costs almost nothing if you already own the pumpkins. Take three plastic Halloween pumpkins in large, medium and small sizes, turn them backwards so the carved faces hide, spray them white, and stack them with the largest at the bottom. Add a black top hat, a plaid scarf, two stick arms and a carrot nose made from orange felt or a real carrot for one evening. The whole build takes about an hour plus paint drying time, and it is sturdy enough to survive wind because the plastic pumpkins are light but the stack sits low and wide.
Terra cotta pots are the heavier option, and they are the right choice for an exposed porch. Paint three pots white, stack them upside down from large to small, and glue a small saucer on top as a hat brim. The weight keeps the snowman planted in a storm, and the pots will last for years if you bring them under cover in January. A tomato cage snowman is the third option and the prettiest at night: wrap an inverted tomato cage in white deco mesh or batting, put a string of warm white lights inside, and add a hat and scarf. It glows from within like a lantern, and it weighs almost nothing, so keep it in a sheltered corner or weigh the base down with a brick.
Whatever you build, keep the walkway clear. A snowman family belongs to one side of the door, with the other side left open for people carrying shopping bags and for the post. Check the ground after rain, because a snowman standing in a puddle will wick up water and stain. A flat paving slab or a low wooden pallet under the base solves it. And if your porch is covered, a fabric or wooden snowman is fine, but an uncovered porch needs plastic, resin, metal or painted pots, because paper and felt will not survive a wet December week.
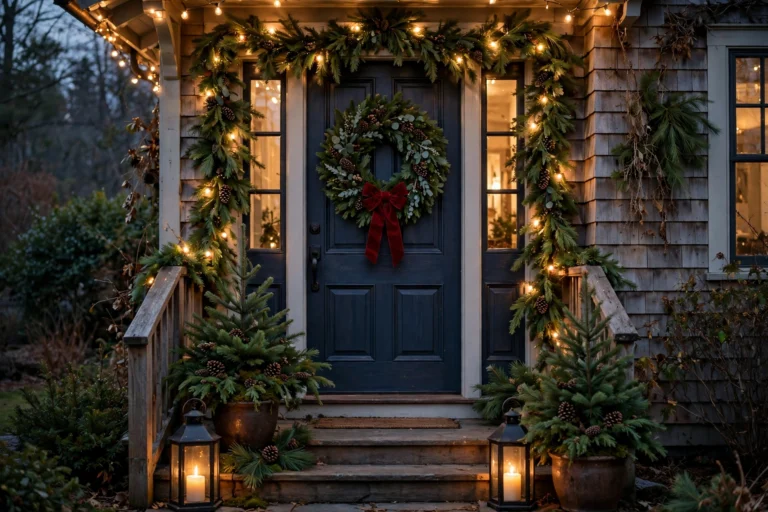
If you want the whole entrance to feel planned rather than random, match the snowman scarf to the wreath ribbon on the door. One colour repeated twice is enough. Red plaid on the snowman and red plaid on the wreath ties the door and the steps together, and it costs nothing extra. For the full entrance plan, including wreath sizing and lantern placement, see our guide to the front porch.
2. The Snowman Tiered Tray: A Whole Winter Scene on Two Levels
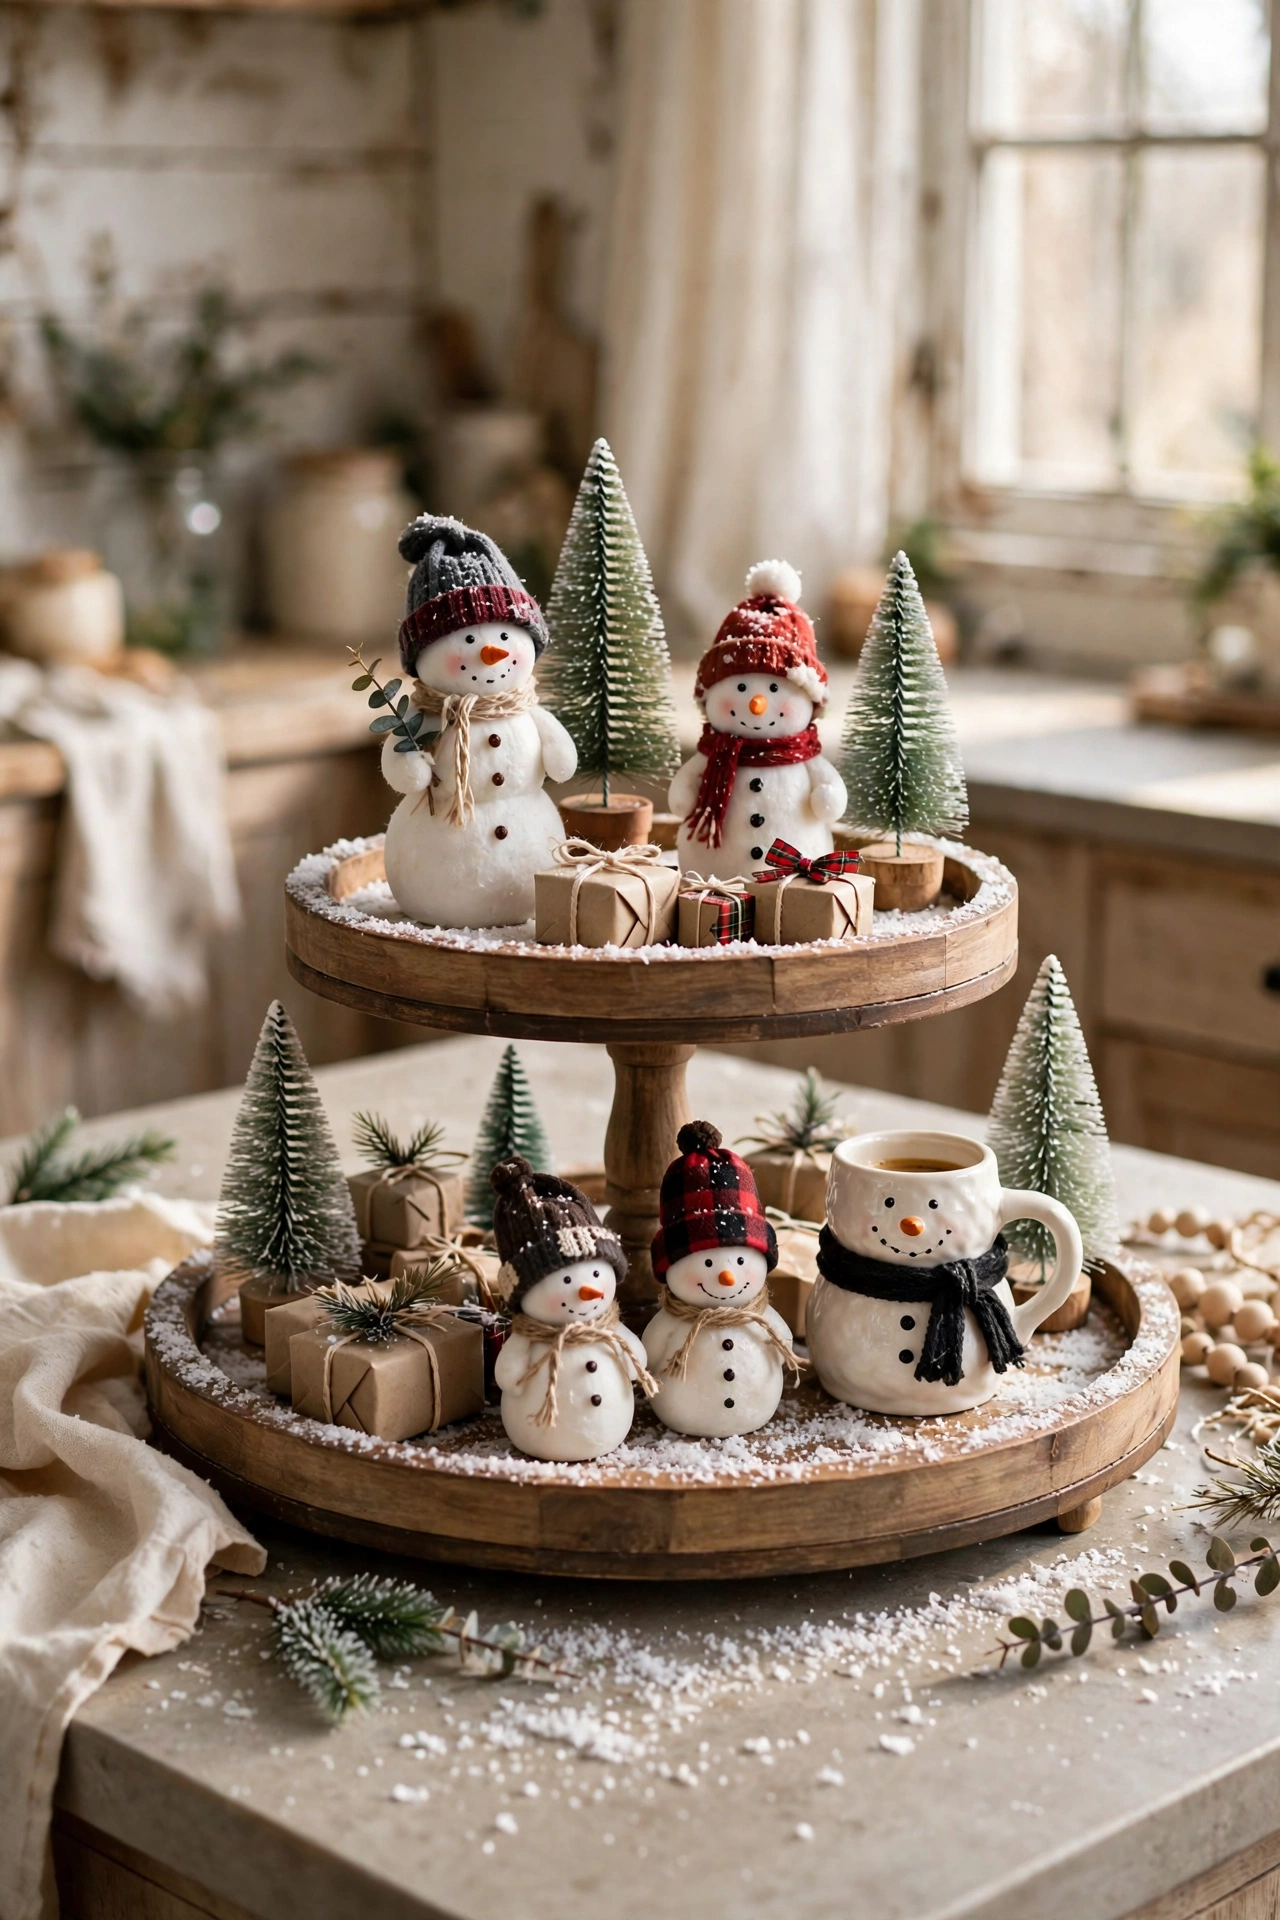
A tiered tray is the smallest stage in the house, and a snowman is the perfect actor for it. Two levels, about twelve inches across, hold a complete winter scene that fits on a kitchen island, a coffee bar, an entryway console or a bathroom counter. This is snowman tiered tray decor at its best: small, cheap, and easy to change when you get bored of it.
Start with the tray itself. A two tier wooden tray in a natural or whitewashed finish is the most forgiving, because it disappears behind the display. Metal trays look modern and sharp, but they show every fingerprint and they feel cold next to soft snowmen. Pick the tray first, then shop the snowmen to fit it, not the other way round.
The rule for the tray is one tall snowman per level, never two. Put the tallest snowman on the top tier, slightly off centre, and the second tallest on the bottom tier on the opposite side, so the eye zigzags down. Fill the gaps with miniature bottle brush trees, tiny wrapped presents in kraft paper with twine, a small snowman mug, and a dusting of faux snow or cotton batting. Keep the tallest item below about ten inches so the tray still fits under a kitchen shelf, and keep the centre pillar visible, because a hidden pillar makes the tray look like a cluttered shelf.
Colour is what makes a snowman tray look planned. Pick one accent colour and repeat it three times: red scarves and one red present and a red mug handle, or blue hats and one blue ornament and a blue sign. White snowmen plus green trees plus one accent colour is the whole formula. Add a tiny wooden sign that says Let It Snow or Hello Winter, propped against the centre pillar, and the tray tells a story instead of just holding objects.
A snowman tray is also the easiest display to refresh. Swap the presents for pinecones in January, change the sign to one that says Winter, and the same snowmen carry on for another month. Store the tray pieces in one box with the faux snow in a sealed bag, and next December the whole scene comes out in five minutes. If you want more tray ideas, a Christmas village display uses the same tiered tray logic with houses instead of snowmen, and the two trays look wonderful side by side on a long console.
3. The Mantel Snowman Family: Sizes, Heights and Warm Light
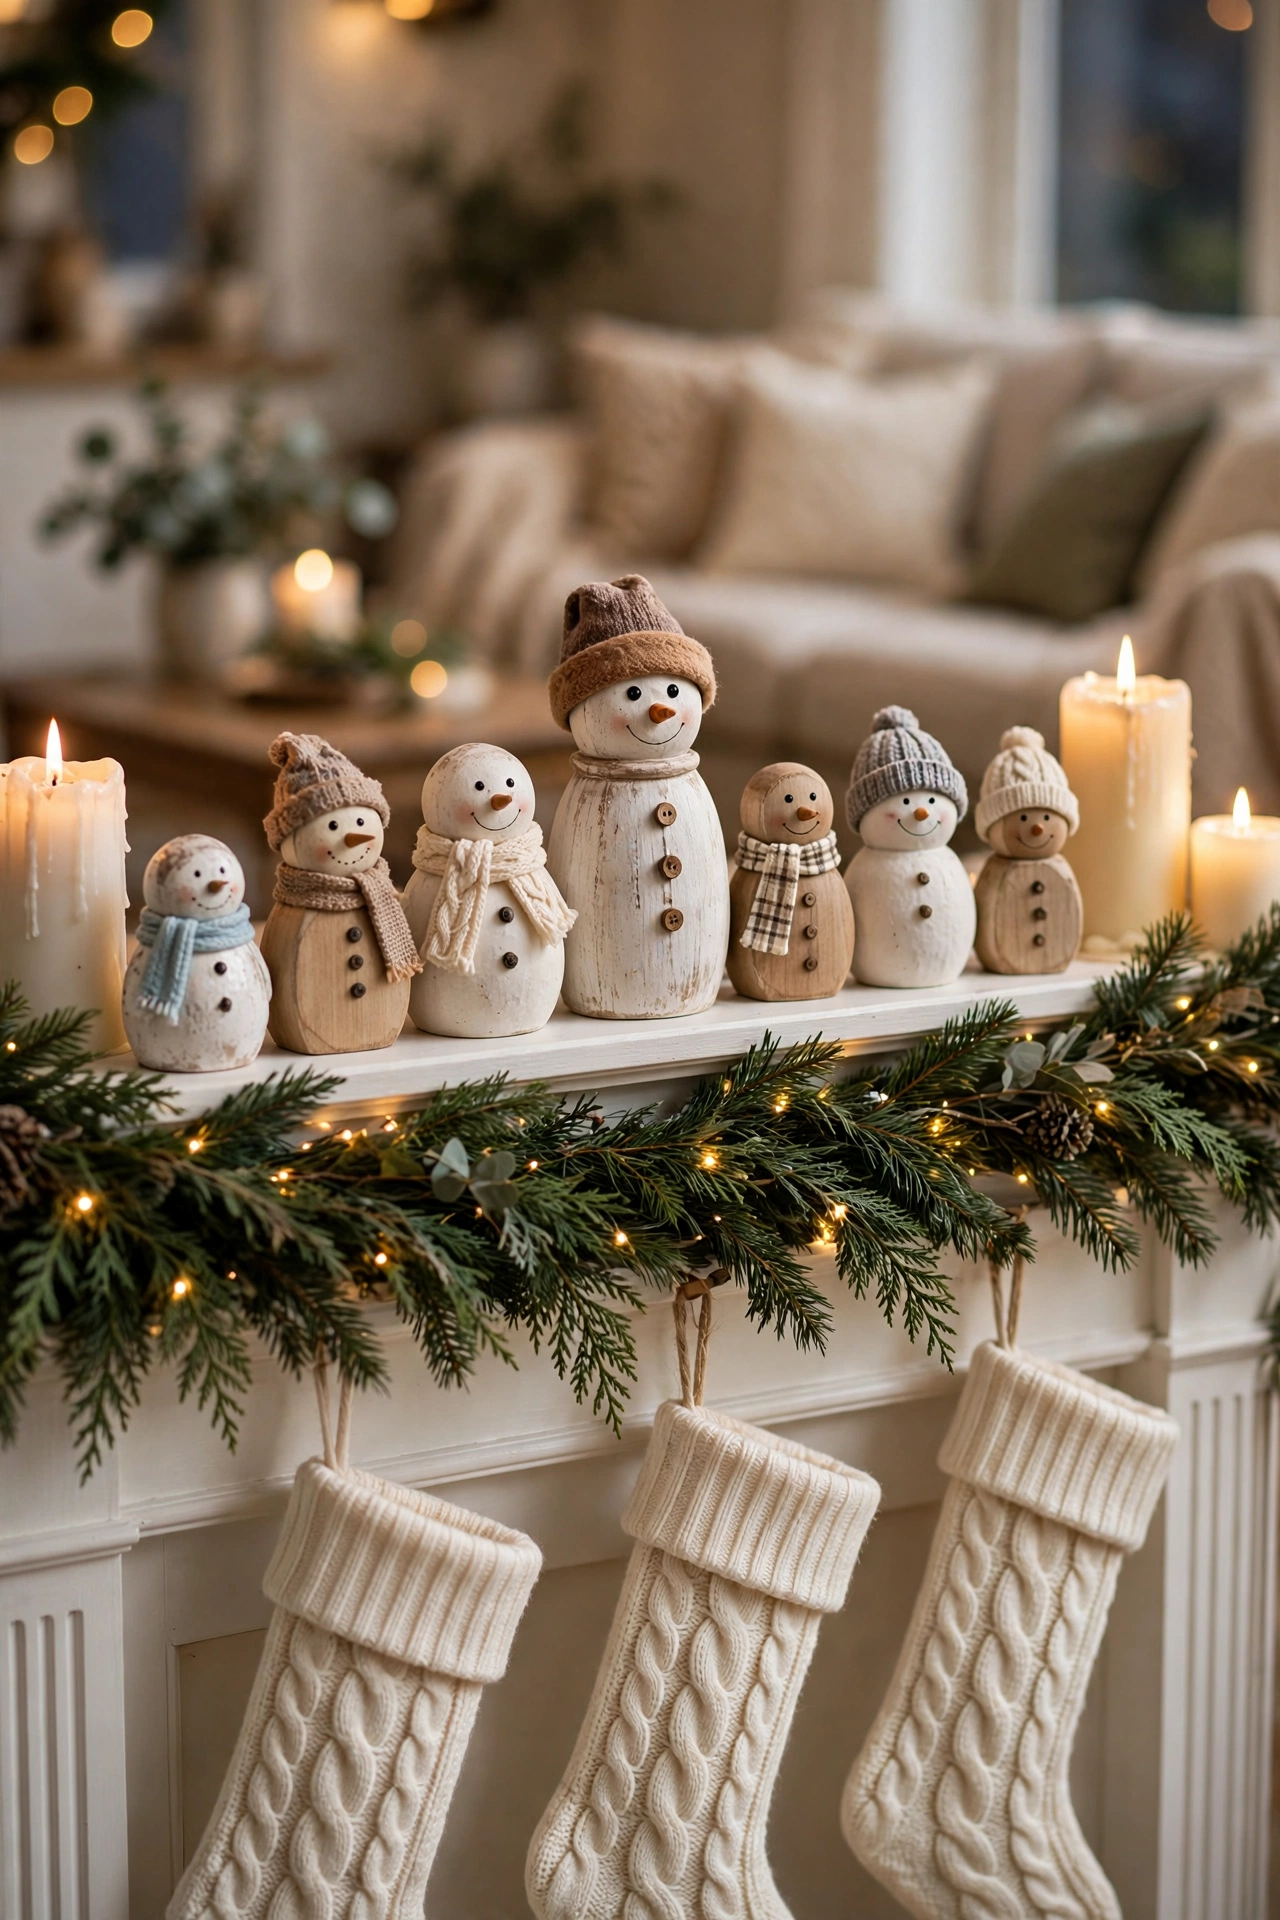
The mantel is the natural home for a snowman family, because it is at eye level, it is the focal point of the living room, and it is the one surface guests look at while they wait for dinner. The mistake most people make is lining up snowmen in a straight row like soldiers. A mantel family should look like a family: different heights, different hats, different scarves, grouped in threes with space to breathe.
Start with five to seven snowmen in three sizes. The tallest goes in the centre, about ten to twelve inches high, and the others step down toward the ends. Leave a gap of at least two inches between each figure so they read as separate characters, and put the smallest snowman at the very end where it will not get lost behind a taller neighbour. Ceramic snowmen look classic, wooden snowmen look rustic, and a mix of the two looks collected over years rather than bought in one trip, which is exactly the feeling you want.
Garland comes first, snowmen second. Lay a full evergreen garland along the mantel edge, let it drape a little at each end, and weave in a string of warm white fairy lights before you place a single snowman. The lights should sit inside the garland, not on top of it, so the glow comes from within the greenery. Then place the snowmen on top of the garland, not behind it, so their bases sit on the mantel and their faces clear the greenery. A snowman hidden behind garland looks like it is drowning.
Candles finish the mantel. Two pillar candles at different heights on one end, in glass holders, balance the snowman group on the other end. Use battery candles if the garland is real greenery, because a real flame and dry pine needles are a bad combination. Hang three stockings below the mantel in cream cable knit, one per person plus a spare, and the whole wall tells the same story: snow, light, warmth, family.
The one thing to check is the mirror or picture above the mantel. If a large wreath hangs there, keep the snowmen simple and plain, because two busy focal points fight each other. If the wall above the mantel is empty, the snowmen can be the star and you can add a small framed winter print behind them. For the full mantel plan, including garland lengths and stocking rules, see our guide to the Christmas mantel.
4. The Snowman Tree: Turn Your Christmas Tree Into Frosty
If you already own a white or flocked tree, you are one hat and one scarf away from a snowman tree, and it is the most talked about tree in the room. The idea is simple: dress the tree the way you would dress a snowman, and let guests discover it slowly.
Start with all white ornaments. White baubles in three finishes, matte, shiny and glitter, give the tree depth without adding colour, and a few clear glass ornaments catch the light like ice. Add a large black top hat as the tree topper instead of a star, and wrap a red plaid scarf around the top third of the tree, tucking it between the branches so it looks draped rather than tied. Two large black button ornaments on the front, one above the other, finish the face, and a carrot orange ribbon bow under the topper suggests the nose.
A snowman tree works best on a slim or medium tree, because a very wide tree needs an enormous scarf and the proportions get silly. Keep the lights warm white, never multicoloured, because coloured lights break the snow illusion. And keep the rest of the room calm: a snowman tree plus a snowman mantel plus snowman cushions is too much of one joke, so pick the tree or the mantel as the star and let the other one stay simple.
Children love this tree, and it photographs beautifully, which is why it does so well on Pinterest. Take the photo in the evening with only the tree lights on, from a low angle so the hat reads against the ceiling, and the tree looks like a giant snowman standing in your living room. If the hat will not sit straight, a small piece of floral wire around the top branch holds it, and a little stuffing inside the hat keeps its shape all December.
5. The Snowman Table: Centerpieces That Survive Dinner
A Christmas table has to hold dinner, and a snowman centerpiece has to survive it. That means low, stable, and easy to move. Anything tall will block faces across the table, anything fragile will get knocked over when the potatoes arrive, and anything with real candles near a tablecloth needs watching. The good news is that the best snowman centerpieces are low and simple.
The melted snowman is the cleverest table idea, and it costs almost nothing. Take a white felt circle or a round white placemat as the puddle, lay a small snowman hat on it, add two button eyes and a carrot nose lying flat, and scatter a few twigs as arms. It looks like a snowman that has melted into the table, it makes guests laugh, and it lies completely flat so nobody has to see around it. Make one per place setting as a conversation starter, or one big one in the centre of the table.
A snowman in a jar is the second option. Fill a wide mason jar with faux snow, stand a small snowman figurine inside, add a bottle brush tree and a battery tea light, and screw the lid on. The jar protects the snowman from gravy, it doubles as a night light after dinner, and guests can take it home as a favour. Use a jar at least five inches wide, because a narrow jar makes the snowman look cramped.
For a formal table, three small snowmen down the centre on a long runner beat one big snowman every time. Space them evenly, put a sprig of evergreen and a pinecone between each one, and keep everything below eight inches high so people can see each other. A runner in natural linen with a red stripe keeps the table feeling festive without competing with the snowmen, and a set of white plates with red napkins ties the whole table together.
Whatever you choose, test it before the big dinner. Sit in every chair, check that you can see the person opposite, and try lifting the centerpiece away with one hand. If it takes two hands and a rearrangement of the plates, it is too big for dinner, and it belongs on a sideboard instead.
6. DIY Snowman Decor on a Small Budget
The best snowman projects are the ones that use things you already own. A snowman is three round shapes and a face, and almost anything round will do. These five builds cost very little, they take under an hour each, and they are easy enough to make with children on a Saturday afternoon.
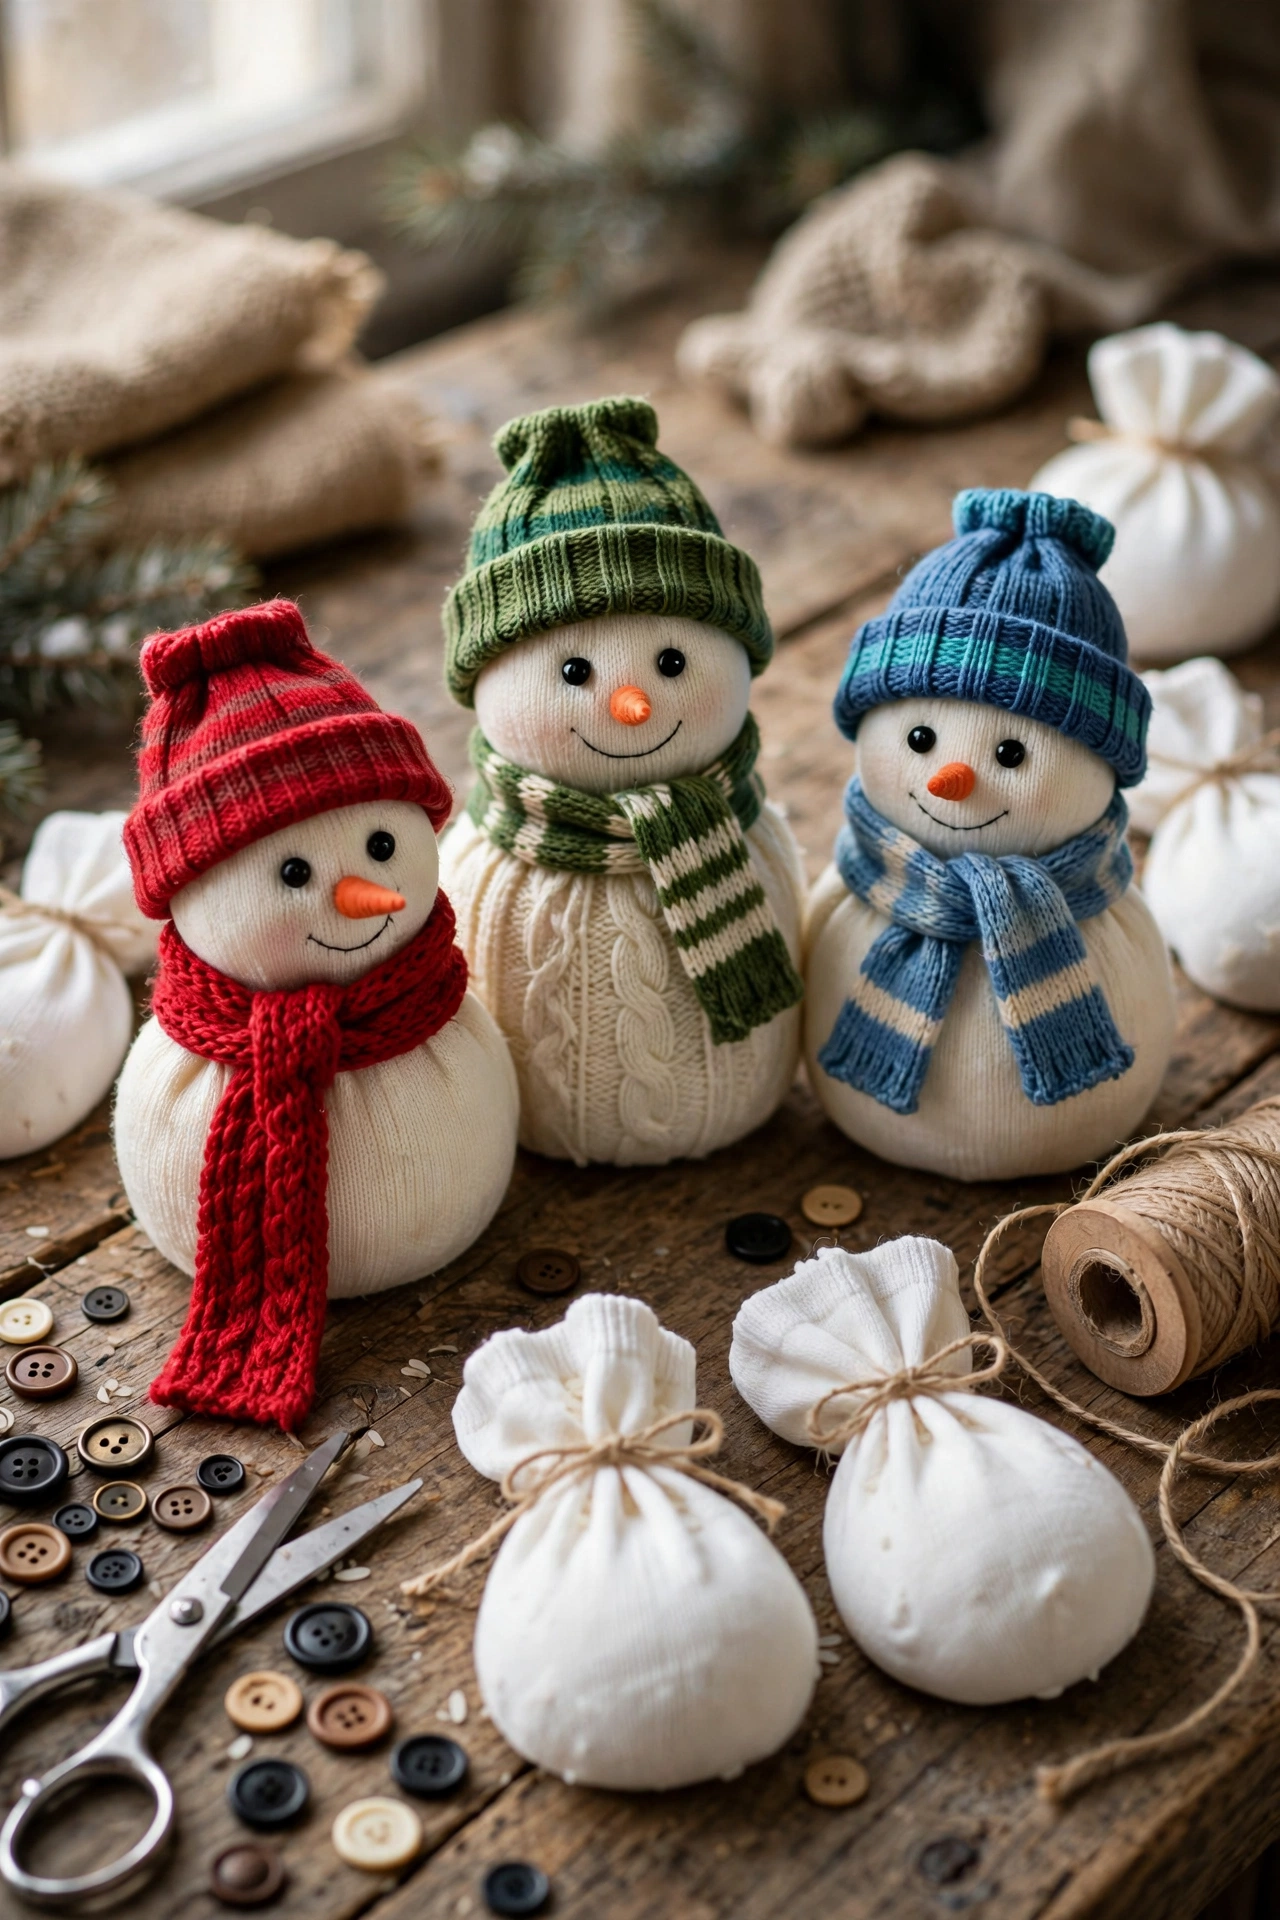
No sew sock snowmen are the classic. Take a white sock, fill it with rice until it is heavy and round, tie it off with twine in two places to make a head and a body, and add button eyes, a felt carrot nose, and a scrap of fabric as a scarf. A second sock, cut off at the ankle, makes the hat. One snowman takes about fifteen minutes and costs almost nothing, and a family of three in different coloured hats looks shop bought on a shelf. Use real rice, not cotton stuffing, because the weight keeps the snowman standing and stops it tipping over every time someone walks past.
Mason jar snowmen are the second build. Paint the outside of a jar white, or fill it with white paint and swirl it round, then glue on button eyes and a felt nose and tie a ribbon round the neck as a scarf. Put a battery tea light inside and the whole jar glows. These look wonderful in a row on a windowsill, and they cost about a dollar each if you already own the jars.
Wood slice snowmen are the rustic option. Glue three round wood slices in descending sizes onto a small board, paint a face on the top slice, and add a twig scarf and a tiny hat made from felt. They stand flat against a wall, they survive being knocked off a shelf, and they look handmade in a way that suits a farmhouse living room. Pallet wood snowmen work the same way on a bigger scale: paint a snowman face or a full figure onto a pallet board, tie on a plaid scarf, and lean it against the porch wall.
The tomato cage snowman from the porch section deserves a second mention here, because it is the best big DIY snowman for the money. An inverted tomato cage, white deco mesh, a string of lights and a hat will cost under fifteen dollars, and it glows like a lantern after dark. And if you have a fridge with a flat door, the vinyl snowman face is a five minute job that children love: black felt eyes, an orange paper nose and a smile made from ribbon, all stuck on with removable adhesive, and the whole kitchen smiles back at you every morning.
Buy the supplies in one trip and make a batch. Three sock snowmen, two mason jars and one wood slice family cost less than twenty dollars in total, and they fill a mantel, a shelf and a windowsill. That is the whole point of DIY snowman decor: the charm is in the making, and the imperfections are the feature, not the flaw.
7. Snowman Decor for Small Spaces
A small home does not need a big snowman. It needs a small snowman in the right place, and the right place is usually somewhere you look often and somewhere that is currently empty. The top of a bookshelf, the corner of a kitchen counter, the bathroom shelf, the windowsill and the back of a chair are all snowman sized.
Shelf sitters are the easiest small space snowman. A snowman figurine about four to six inches tall, sitting with its legs dangling over the edge of a shelf, takes up no usable space and adds a face to a room that had none. Put one on a bookshelf between two stacks of books, one on the kitchen shelf next to the mugs, and one on the bathroom shelf beside the folded towels. Three small snowmen in three rooms feel like a theme; one snowman lost on a big shelf feels like an afterthought.
The door face is the small space trick with the biggest impact. Turn a white front door into a snowman with a large top hat fixed to the frame above the door, felt eyes and a smile on the door itself, and an orange paper carrot nose at eye level. It takes twenty minutes, it costs almost nothing, and it is visible from the street. The same idea works on a bedroom door inside the house, which is perfect for a child who wants a snowman in their own room without losing floor space.
Windows are the other small space gift. A snowman silhouette in the window, cut from white card or bought as a window sticker, catches the light from inside and shows to the street. Pair it with a string of warm white fairy lights round the window frame and a small snowman on the sill, and the window becomes a display without taking a single inch of floor. The same trick works on a mirror: a small wreath of greenery on the mirror and a snowman figurine on the console below it, and the entryway feels decorated.
The rule for small spaces is one snowman per surface. Two snowmen on one small shelf look crowded, and a crowded shelf is worse than an empty one. Pick the best snowman you own for the most visible shelf, and keep the rest in a box for next year. Small space decorating is editing, and the snowman that stays in the box is not wasted, it is saved for a year when you have a bigger shelf.
8. After Christmas: Keep the Snowmen, Lose the Red
Snowmen have one advantage that no other Christmas decoration has: they are winter decorations, not Christmas decorations. A Santa has to come down on December 26. A snowman can stay up until February, and in a cold climate it looks right all winter long. That makes snowmen the best value decoration in the house, if you know how to switch them from Christmas to winter.
The switch is simple: take away the red and the Christmas, and keep the white and the winter. Remove the red scarves and replace them with blue, grey or cream ones. Take away the presents, the candy canes and the signs that say Merry Christmas, and leave the trees, the faux snow and the lights. Change the tiered tray sign from Let It Snow at Christmas to Hello Winter for January, and the same tray works for another six weeks.
The porch snowman stays out as long as the weather allows, but check it after the first January thaw. A painted pumpkin snowman will not survive a wet January, so bring it in before the rain softens the paint. A resin or wooden snowman can stay out all winter, and it looks better in real snow than it ever did in December. The tomato cage snowman should come in once the lights are no longer needed, because the mesh collects dirt and is hard to clean.
Store the snowmen properly and they will last for years. Wrap ceramic snowmen in tissue paper, one per box, because two ceramic figures in one box will chip each other. Keep fabric snowmen in a sealed bag with a sachet of dried lavender, because moths love wool scarves. Label the box Winter, not Christmas, and put it at the front of the storage shelf, because you will want it again in November and you will not want to dig behind the tree ornaments to find it.
The January snowman is also a gift to yourself. January is the greyest month of the year, and a snowman on the mantel or the windowsill is a small friendly face in a quiet house. Keep one snowman out until the first warm week of spring, and let it be the last decoration to come down. It earned the extra month.
A snowman is the friendliest decoration in the house, and the cheapest to get right. Start with one big snowman on the porch, add a snowman tiered tray decor scene to the kitchen island, build a mantel family in different sizes, and make a few sock snowmen on a Saturday afternoon. Keep the colours simple, keep the walkway clear, and keep the lights warm white. Then, when Christmas is over, take away the red and keep the snowmen, because winter lasts longer than Christmas and a snowman looks right for all of it.
The best snowman display is not the most expensive one. It is the one that makes you smile when you walk in the door, and the one your guests remember when they leave. Pick the snowman that does that, put it where you will see it every day, and let the rest of the house catch up.