Christmas Patio Decor Ideas
A patio is the room most homes forget at Christmas. The tree goes up in the living room, the wreath goes on the front door, and the mantel gets its garland, but the patio sits outside in the dark, holding a stack of summer chairs and a grill nobody has touched since October. That is a waste of good space. A patio is already an outdoor living room. It has a floor, a ceiling or a pergola, seating, and a view from inside the house. It only needs the same treatment the living room gets: light, warmth, texture, and one clear focal point.
The one rule for this whole guide is simple. Decorate the patio like an outdoor living room, not like a storage shelf for extra ornaments. A living room has a plan. Every piece earns its place, the colours repeat, and nothing blocks the walkway. A storage shelf has no plan. Things pile up because there was nowhere else to put them. The best christmas patio decor ideas follow the living room rule. Pick a warm light source, pick one tree or one large plant, pick seating people can actually sit on, and repeat two colours across everything. Red and green is the classic pair. Gold and ivory is softer. Pick one pair and stay with it.
This guide is written for a normal ground-level patio, the kind with a concrete slab or pavers, a few chairs, and maybe a pergola or a roof overhang. It also works for a small patio, because the last section gives a formula that fits even a space barely bigger than a doormat. If your outdoor space is a small raised strip instead, start with Christmas Balcony Decor Ideas, which is written for that shape. If the front of the house needs attention first, see Christmas Front Porch Decor Ideas. For the whole yard and garden, the wider plan is in Christmas Outdoor Decor Ideas.
Everything below comes with real numbers. You will find lengths in feet, pot sizes in inches, prices in US dollars, and the order to do things in. Nothing here needs a drill, a ladder taller than a step stool, or a single afternoon longer than three hours. Start with the lights, because light is what makes the patio visible from inside the house after dark, and everything else builds on that glow.
1. String Lights Along the Pergola: The Foundation of Christmas Patio Decor Ideas
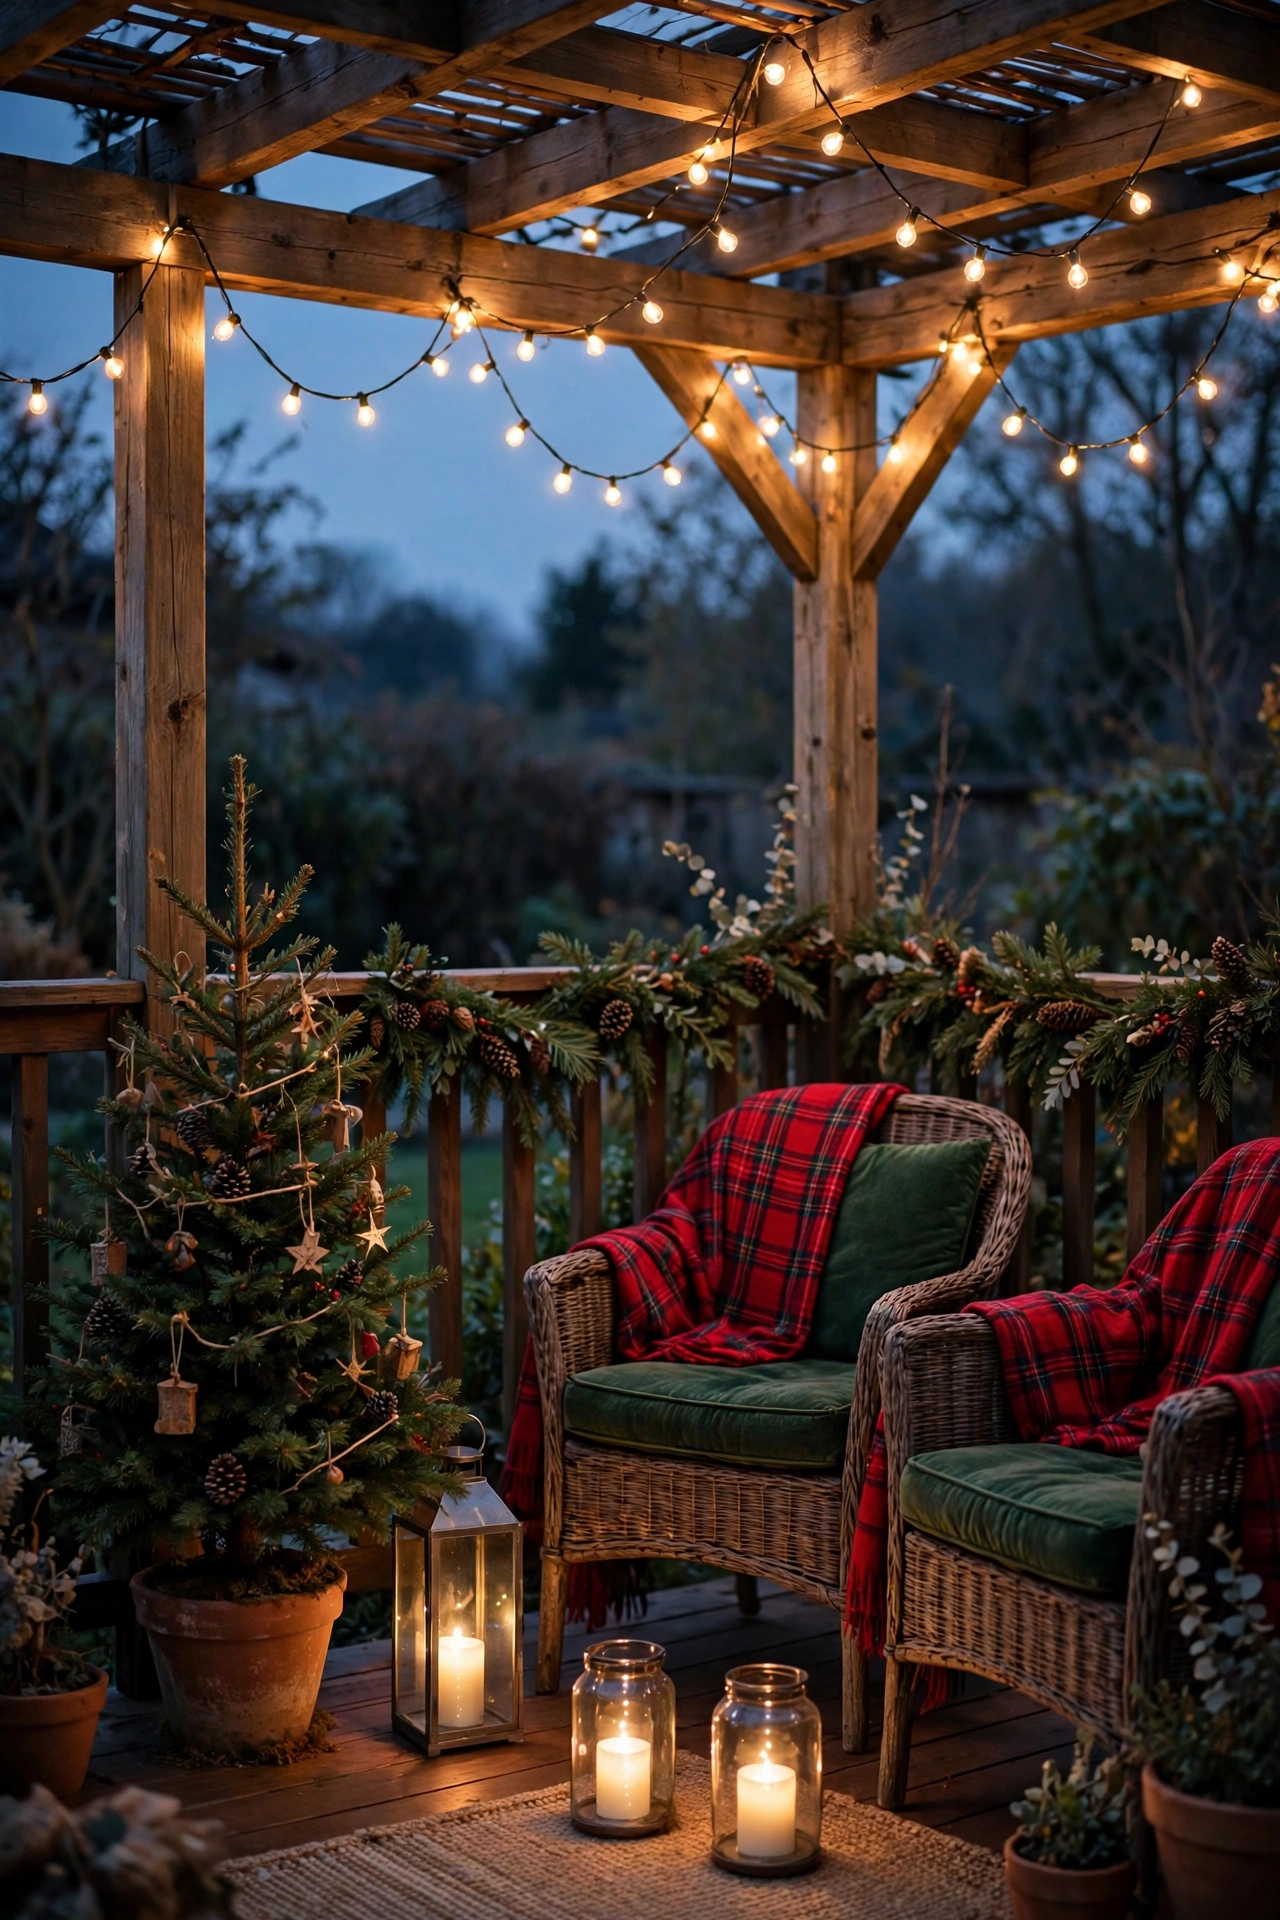
String lights do more work than any other single decoration on a patio. One strand changes the whole space from a dark slab into a room. The trick is to hang them with a plan instead of draping them wherever they reach. Start by measuring the beams of your pergola or the roofline above the patio. A standard pergola beam run is 10 to 12 feet long. Most patios have two or three beams, so a 25-foot strand covers one beam with slack, and a 50-foot strand covers two beams with a gentle swag between them. Buy one strand per beam run and one extra for the edge nearest the house, because that edge is the one you see from the kitchen window.
Warm white is the right colour for a patio. Cool white looks like a shop window. Multicolour works on a tree, but on a roofline it fights with everything else. Choose LED bulbs rated for outdoor use, and check the box for the words “outdoor rated” before you pay. A 25-foot strand of outdoor LED string lights costs 12 to 18 dollars. A 50-foot strand costs 20 to 30 dollars. Budget 40 to 60 dollars for a medium patio with three beam runs, and you will have light on every beam plus a spare strand for the railing.
Hang the lights with outdoor light clips, not nails and not staples. Clips cost about 6 dollars for a pack of 50 and grip the beam without making holes. A nail splits the wood and leaves a hole that lets rain in. A staple pinches the wire and can cut through the insulation over one winter. Space the clips every 12 inches so the strand holds its line, and let the wire swag down 4 to 6 inches between clips. That small dip is what makes the lights look relaxed instead of pulled tight like a washing line.
The safety rule matters more outdoors than anywhere else in the house. Plug outdoor lights into a GFCI outlet only. A GFCI outlet is the one with the test and reset buttons in the middle, and it cuts the power in a fraction of a second if water gets into the circuit. If the nearest outdoor outlet is not a GFCI outlet, use a portable GFCI adapter, which costs 15 to 20 dollars and plugs into a normal outlet. Never run an indoor extension cord across a wet patio. Use an outdoor-rated extension cord, keep the connection point off the ground in a weatherproof connection box, and keep cords out of the main walkway so nobody trips after dark.
Put the lights on a timer. An outdoor timer plug costs 8 to 12 dollars and turns the lights on at dusk and off at midnight without anyone remembering. Set the timer for 5 p.m. to 11 p.m. That covers the evening, when the patio is visible from the house, and saves electricity overnight. A 50-foot LED strand uses about 10 to 15 watts, so a full evening costs only a few cents in power. The timer also protects the lights, because bulbs that run all night in rain and frost wear out faster than bulbs that rest.
Check the whole run before you clip anything up. Plug the strand in on the ground, look for dark bulbs, and replace the strand if more than two bulbs are out. Then hang it from the far corner toward the house, so the plug end finishes near the outlet. Stand back from inside the house and look through the window. That is the view that counts. If the lights look even from the kitchen, they are hung right. If one beam looks bare, move a clip and add slack there. The whole job takes about 45 minutes for a medium patio, and it is the single best hour you will spend on Christmas decorating.
2. A Patio Christmas Tree That Survives Wind and Rain
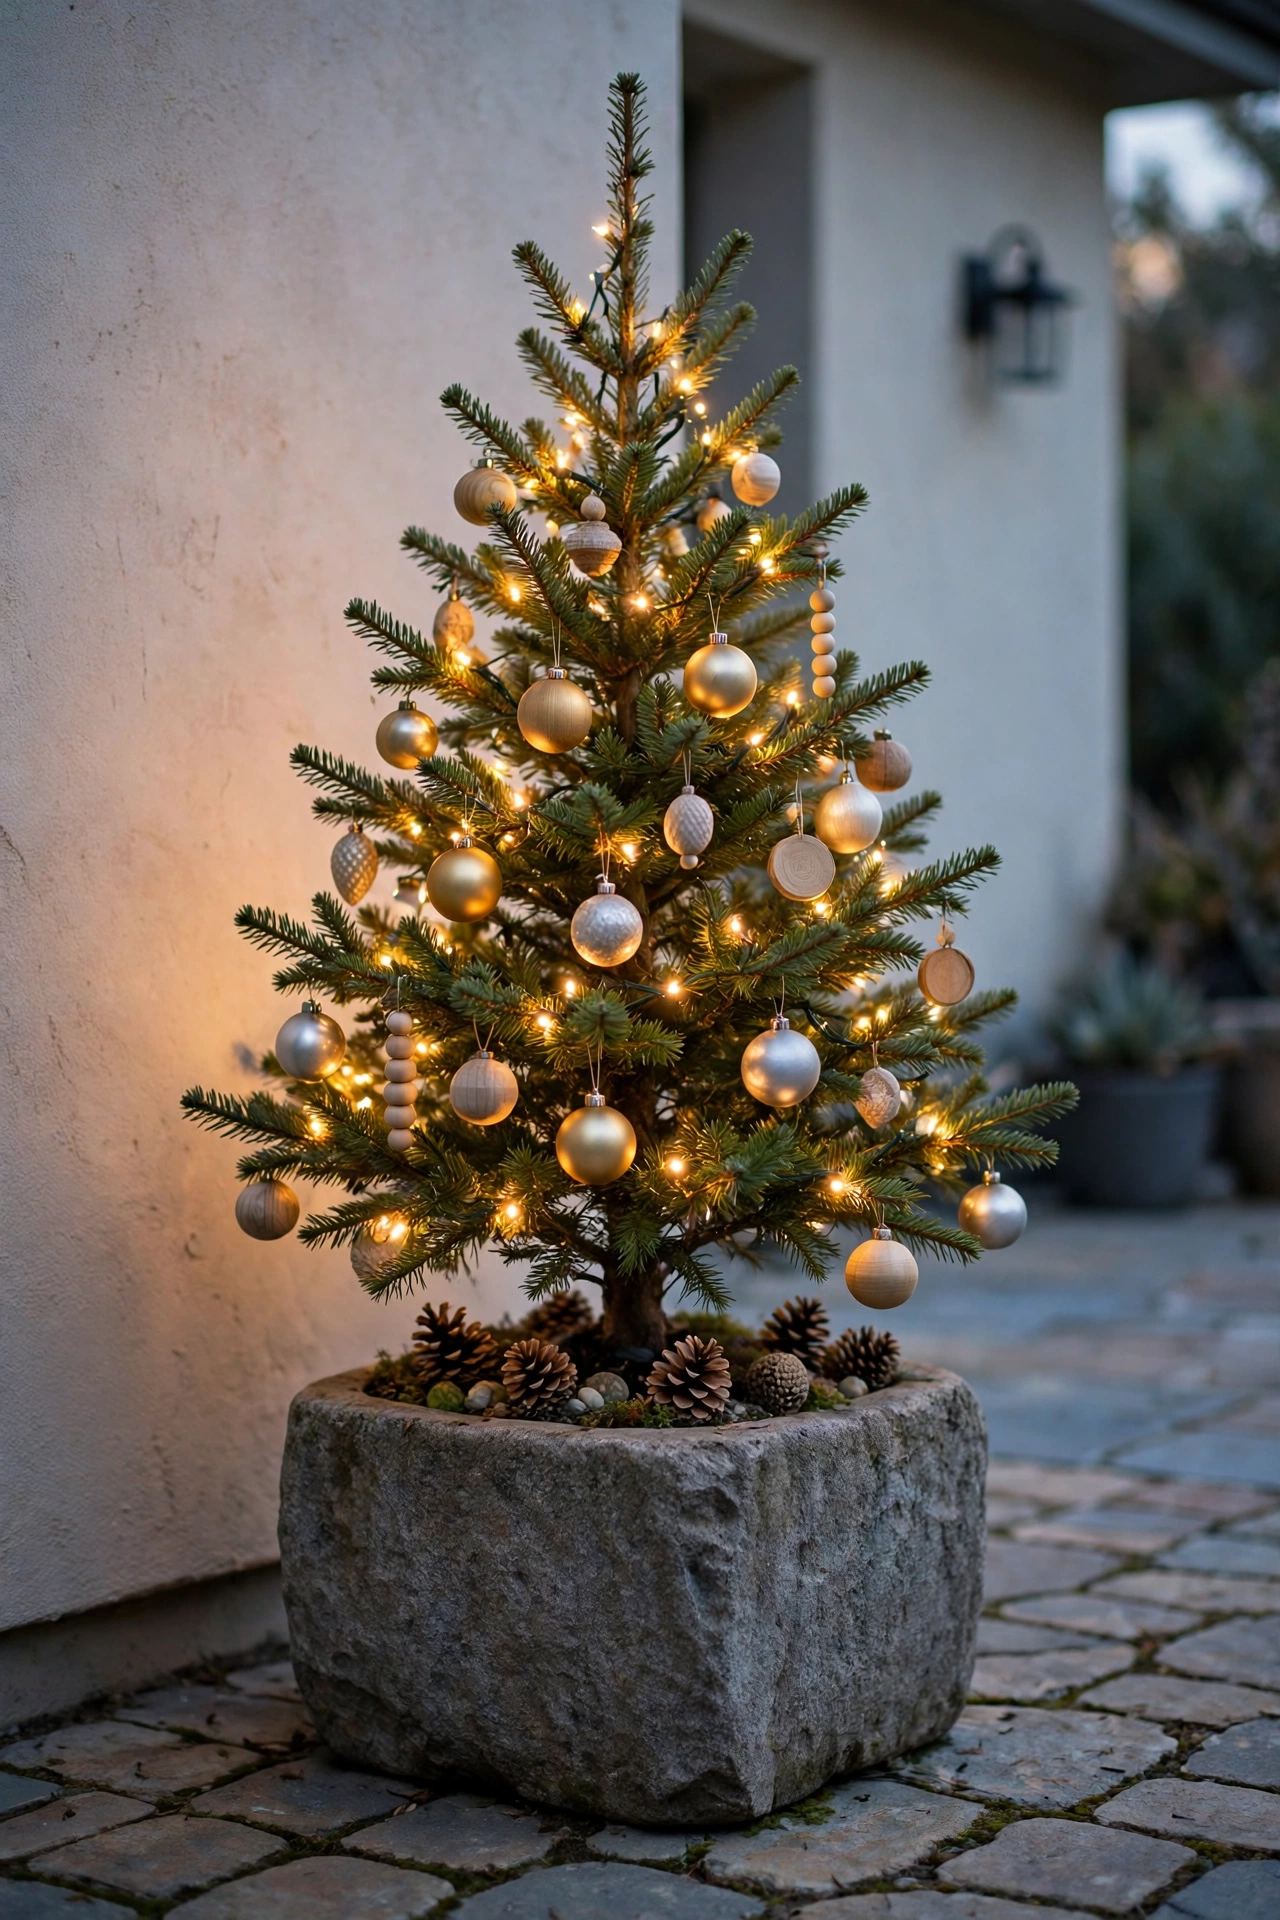
Every patio needs one focal point, and a tree is the easiest one to get right. The mistake is to bring the indoor tree outside. An indoor tree is too tall, too wide, and too light for wind. A patio tree should be shorter, slimmer, and heavier at the base than anything you would put in a living room. A tree between 4 and 6 feet tall fits most patios. A 4-foot tree suits a small patio or a corner spot. A 6-foot tree suits a large patio with a roof or pergola above it. Anything taller than 6 feet catches the wind like a sail and will topple in the first storm.
Buy an artificial tree rated for outdoor use, or use a living potted evergreen. An outdoor-rated artificial tree costs 40 to 80 dollars for a 5-foot slim model. A living potted spruce or fir in a 5-gallon nursery pot costs 35 to 60 dollars at a garden centre, and it can be planted or kept in its pot after Christmas. The living tree needs watering once a week if the winter is dry, but it smells better than plastic and it never sheds needles across the patio. Either choice works. The deciding factor is weight at the base, and that is where most people fail.
The pot is the anchor. A tree in a light plastic pot will fall over in a 20 mile per hour gust, and most winter storms bring gusts of 30 miles per hour or more. Use a pot that is at least 14 inches wide and 12 inches deep for a 4-foot tree, and at least 18 inches wide and 14 inches deep for a 6-foot tree. Fill the bottom third of the pot with gravel or sand before you add soil. That adds 15 to 20 pounds of low weight exactly where it is needed.
Ornaments for a patio tree must be outdoor safe. Glass baubles break in the cold and scatter shards across the patio. Use shatterproof plastic ornaments, wooden ornaments, and fabric ornaments instead. A set of 30 shatterproof ornaments costs 10 to 15 dollars. Tie each ornament to the branch with a short piece of florist wire instead of a thin hook. Wire holds in wind. Hooks do not.
Lights on a patio tree need the same care as the pergola lights. Use one 50-light outdoor strand for a 4-foot tree and two strands for a 6-foot tree. Wrap from the bottom up, pushing the strand 4 inches into the branches so the bulbs sit inside the tree instead of dangling on the tips. A strand of 50 outdoor LED lights costs 8 to 12 dollars. Plug the tree lights into the same timer as the pergola lights so the whole patio turns on and off together. Keep the plug connection off the ground and under the pot rim or inside a small weatherproof box.
Place the tree where it is seen from inside the house and sheltered from the worst wind. The corner nearest the house wall is usually best. A wall blocks wind from one side and gives the tree a backdrop that makes the lights stand out. Leave 24 inches of clear space around the tree so people can walk past without brushing ornaments off.
Watering and care are simple. An artificial tree needs a wipe with a damp cloth once a week. A living tree needs water when the top 2 inches of soil feel dry. If the forecast shows temperatures below 20 degrees Fahrenheit, move a living tree against the house wall and wrap the pot in burlap, which costs 5 dollars a roll. Take the ornaments off before any big storm if the forecast warns of gusts above 40 miles per hour. Store them in a lidded box, and the tree goes back up in under an hour next year because the pot, the sand, and the wire ties are already in place.
3. Garland on the Railing and Posts
Garland is the decoration that connects the patio together. Lights go up high, the tree stands in the corner, and the garland runs along the railing and around the posts, tying the high and low pieces into one picture. The rule for outdoor garland is to measure first and buy second. Measure the railing in feet, then add 2 feet for each swag dip. A 10-foot railing with three swags needs a 14-foot garland. A 6-foot post needs a garland that wraps around it twice, which is about 9 feet of garland per post. Most patios need two 9-foot garlands for the railing and one 6-foot garland per post.
Fresh garland smells wonderful and looks better than anything artificial, but it dries out fast in wind and sun. Fresh cedar or fir garland costs 25 to 40 dollars for a 9-foot length and lasts 2 to 3 weeks outdoors before it turns brown and brittle. Artificial garland rated for outdoor use costs 20 to 35 dollars for a 9-foot length and lasts for years. If your patio gets direct afternoon sun, choose artificial. If your patio is shaded and sheltered, fresh garland will last the whole season and the scent is worth the shorter life. A good compromise is artificial garland as the base, with fresh cuttings tucked in every 18 inches for scent. The cuttings cost nothing if you trim them from a garden evergreen, and they can be replaced once a week in five minutes.
Wire the garland to the railing instead of draping it loose. Use green florist wire, cut into 6-inch pieces, and wrap one piece around the garland and the railing every 18 inches. A roll of florist wire costs 3 to 5 dollars and lasts for years. Cable ties work too, and a pack of 50 costs 4 dollars, but cut the tails short so they do not stick out. Never use tape outdoors. For posts, wrap the garland in a spiral from the bottom up, wiring it at the top, the middle, and the bottom.
Add the decorations after the garland is wired in place. Pinecones, red berries, and a simple bow are enough. A bag of 20 pinecones costs 6 to 8 dollars. A pick of artificial red berries costs 3 dollars and one pick every 2 feet is plenty. Tie the bow from outdoor ribbon that is at least 2 inches wide, because narrow ribbon disappears into the garland. One bow per swag dip, placed at the lowest point of the dip, gives the railing a rhythm. The lowest point is also where the eye rests, so that is where the decoration earns its place. Keep the total weight light. Wet garland is heavy, and a railing loaded with ornaments will sag. Five ornaments per 9-foot garland is the limit.
If the patio has no railing, run the garland along the top of a low wall, across the back of a bench, or around the pergola posts only. A patio without a railing still has posts, and posts dressed in garland frame the space. If the patio has no posts either, hang one garland run across the wall of the house above the patio door, using outdoor adhesive hooks rated for 5 pounds each. The hooks cost 5 dollars for a pack of 6 and come off clean in January if you pull the tab straight down. That one garland run, 6 to 9 feet long, is enough to mark the patio as decorated, and it is the first thing guests see when they step outside.
Take the garland down in the right order. Unwire the decorations first and put them in a box. Then unwind the garland from the posts, working from the top down so the weight never pulls on the wires. Shake fresh garland over the garden bed, because the needles make good mulch. Coil artificial garland loosely and hang it on a hook in the garage instead of stuffing it in a box. Label the coil with its length on a tag, so next December you know exactly which piece fits the railing without measuring again.
4. The Cozy Seating Corner
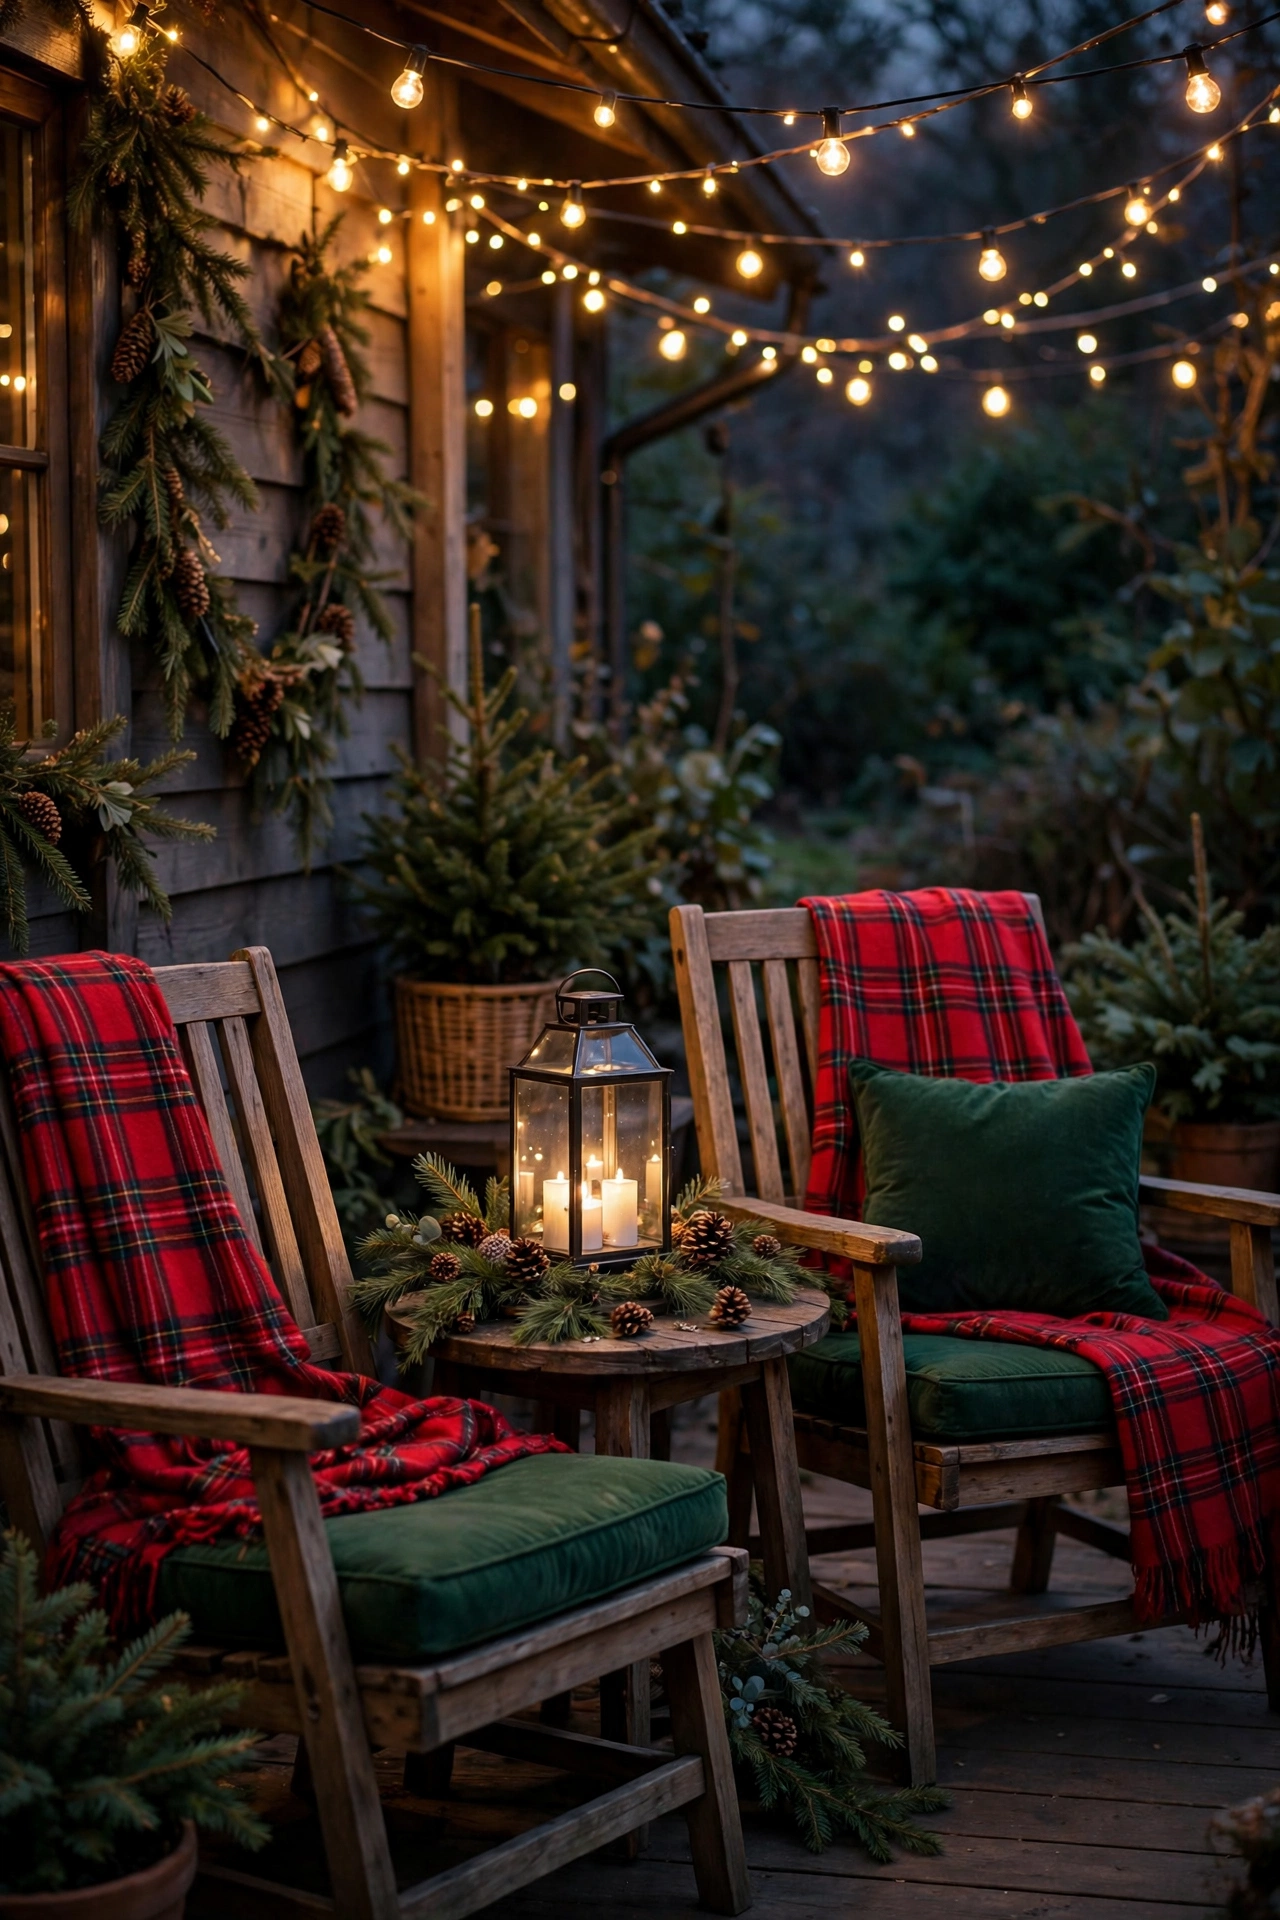
A patio with lights and a tree still feels empty if nobody can sit in it. The seating corner is what turns a decorated patio into a room people use. Pick the corner that is most sheltered from wind, usually the corner against the house wall, and put the best chairs there. Two chairs and a small side table are enough for most patios. A loveseat or a bench works if the patio is wider than 10 feet. Leave 36 inches of clear space in front of the chairs so legs fit and people can stand up without knocking the table.
Outdoor cushions are the first thing to get right. Indoor cushions soak up rain and grow mould in a week. Outdoor cushions use solution-dyed acrylic or polyester fabric that sheds water and resists fading. A pair of outdoor seat cushions costs 25 to 40 dollars. A set of two throw pillows in outdoor fabric costs 15 to 25 dollars. Choose cushion covers with zips so the covers can be washed in January.
Plaid throws are the cheapest way to make a patio feel warm. A fleece plaid throw costs 10 to 15 dollars. A wool-blend throw costs 25 to 35 dollars and feels warmer, but it must come inside when it rains. Fold one throw over the back of each chair instead of leaving it in a pile. A folded throw looks tidy, it stays drier than a pile, and a guest can reach for it without unfolding a mess. Keep one spare throw in a waterproof deck box by the door, so a third guest is never left cold. A small deck box costs 30 to 50 dollars and also stores cushions in January, which makes it one of the best purchases in this whole guide.
Seating Layouts in Christmas Patio Decor Ideas
The layout depends on the shape of the patio. On a square patio, put the two chairs at a right angle with the side table between them. That layout invites conversation and leaves the middle of the patio open. On a long narrow patio, put the chairs in a row along the wall with a small table in front of each one. On a patio with a fire pit or a heater, arrange the chairs in a half circle 3 feet from the heat source. Three feet is close enough to feel warm and far enough that a throw cannot fall into the fire. Whatever the shape, keep the seating corner within 6 feet of the door. People will not walk to the far end of a cold patio to sit down, but they will sit just outside the door if the chairs are right there.
Weatherproof fabric is not the same as waterproof. Weatherproof fabric sheds light rain and dries fast, but it will soak through in a storm. The rule is simple. Cushions and throws stay out in light rain and come in during heavy rain. Check the forecast each evening. If heavy rain is coming, carry the cushions into the deck box or just inside the door. It takes two minutes. Leaving them out saves two minutes and costs 30 dollars in ruined cushions. In a dry cold spell, the cushions can stay out for weeks. In a wet winter, bring them in every night and put them out each morning. That habit keeps the seating corner fresh all season.
Add a small outdoor rug under the seating corner to finish the room. An outdoor rug that is 4 feet by 6 feet costs 20 to 35 dollars. It marks the seating area, it keeps feet off cold concrete, and it adds a layer of colour that ties the cushions and throws together. Choose a flat weave rug that dries fast. A thick pile rug holds water and takes days to dry. Shake the rug out once a week and hang it over the railing for an hour on a dry day. In January, roll it up, tie it with string, and store it standing upright in the garage so it does not crease.
5. Lanterns and LED Candles
Lanterns are the safest way to add candlelight to a patio, because real flames and outdoor wind do not mix. A gust blows a real candle out, or worse, blows the flame sideways onto a throw or a cushion. Flameless LED candles give the same warm flicker with no flame, no smoke, and no risk. A set of three LED pillar candles costs 10 to 15 dollars. A set with a remote control costs 15 to 20 dollars and is worth the extra money, because the remote turns all the candles on at once from inside the house. Choose LED candles with a timer function. The timer turns the candles on for 6 hours and off for 18 hours automatically, so they glow every evening without anyone touching them.
Lantern size matters more than most people expect. A lantern that is too small disappears on a patio table. A lantern that is too big blocks the view across the table. For a side table, use one lantern between 10 and 12 inches tall. For a dining table, use two lanterns between 8 and 10 inches tall, one at each end. For the floor beside a chair, use one large lantern between 14 and 18 inches tall. A metal or wood lantern rated for outdoor use costs 12 to 25 dollars depending on size. Glass panels are fine outdoors as long as the lantern sits on a stable surface. Avoid paper lanterns outside. One damp night turns a paper lantern into pulp.
How many lanterns does a patio need? Three is the right number for a small patio: one on the side table, one on the floor by the chairs, and one by the door. Five is right for a large patio: add one on the dining table and one by the tree. More than five looks cluttered, and each extra lantern is one more thing to carry inside when it rains. Place lanterns where they light a path, not where they sit in a row. One by the door lights the step. One by the chairs lights the seating. One by the tree lights the focal point. That is a lighting plan, not a collection.
The timer tip saves batteries and saves effort. Set the LED candles to turn on at 5 p.m. and off at 11 p.m., the same hours as the string lights. A set of LED candles running 6 hours a night on one pair of AA batteries lasts 3 to 4 weeks. Rechargeable AA batteries cost 10 dollars for a pack of four plus a charger, and they pay for themselves in one season. Keep a spare set of batteries charged and ready. A candle that dies halfway through a party is worse than no candle at all, because the empty lantern draws the eye.
Mix heights inside each lantern group for a better look. Put a 6-inch candle, a 4-inch candle, and a 3-inch candle in three lanterns of different heights on the same table, and the eye moves across them instead of stopping at one flat line. Add a few pinecones or a sprig of evergreen at the base of each lantern to tie it into the garland and the tree. Keep the greenery outside the lantern glass, not inside it. Greenery inside a lantern traps heat from the LED, blocks the light, and dries out fast.
Store the lanterns properly in January. Take the batteries out, because batteries left in a lantern all year can leak and ruin the contacts. Wipe the glass with a damp cloth and dry it before storing. Stack small lanterns inside large ones to save shelf space, with a cloth between them so the metal does not scratch. LED candles stack in a shoebox with tissue paper between them. Label the box “patio lanterns” so next December you find them in one minute instead of opening six boxes. The whole lantern setup costs 40 to 70 dollars for a medium patio, and it is the decoration guests notice most after dark, because a flickering lantern feels warmer than any bulb.
6. Planters and Pots Dressed for Christmas
Planters are the most forgiving decoration on a patio. They are already there, they are already full of soil, and they only need a seasonal change on top. Start with the pots you already own. Empty the summer annuals that frost has killed, and leave the soil in place. The soil is the base for the Christmas arrangement. A pot that is 12 inches wide holds a small arrangement for a table or a step. A pot that is 16 inches wide holds a medium arrangement for the patio edge. A pot that is 20 inches wide or larger holds a full arrangement that can stand on its own as a decoration. Three pots in those three sizes, placed in a row or a triangle, look better than six small pots scattered around.
Evergreen cuttings are the backbone of a Christmas planter. Cut branches of fir, cedar, pine, or spruce to lengths of 12 to 18 inches, and push them into the soil at an angle so they lean outward like a fountain. Push the tallest cutting into the centre first, at a height of 18 to 24 inches above the pot rim, then add shorter cuttings around it. The centre cutting gives height, and the outer cuttings give fullness. If you do not have evergreens in the garden, a bundle of mixed cuttings costs 8 to 12 dollars at a garden centre or a Christmas tree lot. One bundle fills two medium pots. Water the soil lightly after planting the cuttings so they stay fresh for 3 to 4 weeks.
Red berries are the second layer. Artificial berry picks cost 3 dollars each, and two picks per medium pot is enough. Push them into the soil between the evergreen branches so the red shows through the green. Real winterberry branches work too, and a small bunch costs 5 to 8 dollars, but birds eat real berries fast, so artificial berries last longer outdoors. Pinecones are the third layer. Tuck three pinecones into each pot, half buried in the soil so they look natural. A bag of pinecones costs 6 to 8 dollars and covers three pots. Add a small bow of outdoor ribbon on the front of each pot, tied around the rim, to finish the look. The bow costs nothing if you have ribbon left from the garland.
Drainage is the detail that decides whether a planter lasts the season or turns into a frozen block. Every pot needs a drainage hole in the bottom. If a pot has no hole, drill one with a masonry bit, or use that pot indoors only. Put a 1-inch layer of gravel or broken pottery in the bottom of the pot before adding soil. In a hard frost, wet soil freezes solid and can crack a ceramic pot. If your best pots are ceramic, move them against the house wall where they get some shelter, or wrap them in burlap. The burlap costs 5 dollars a roll and protects the pot and the roots inside it.
Group the planters instead of spreading them out. A group of three pots by the door makes a stronger statement than three single pots in three corners. Put the tallest pot at the back, the medium pot in the middle, and the smallest pot in front. That stair-step arrangement reads well from the house and from the street. Put one pot on each side of the patio steps if the patio has steps. The pair frames the entrance and guides the eye up to the door.
The whole planter project costs 25 to 50 dollars if you already own the pots, and 60 to 100 dollars if you buy three new pots. It takes about an hour, including the trip to the garden centre. In January, pull the cuttings out and compost them. The berries and pinecones go into a bag for next year. The pots stay where they are, ready for spring planting. That is the beauty of planters. They are not a decoration you store. They are a part of the patio that changes with the season.
7. The Outdoor Dining Table
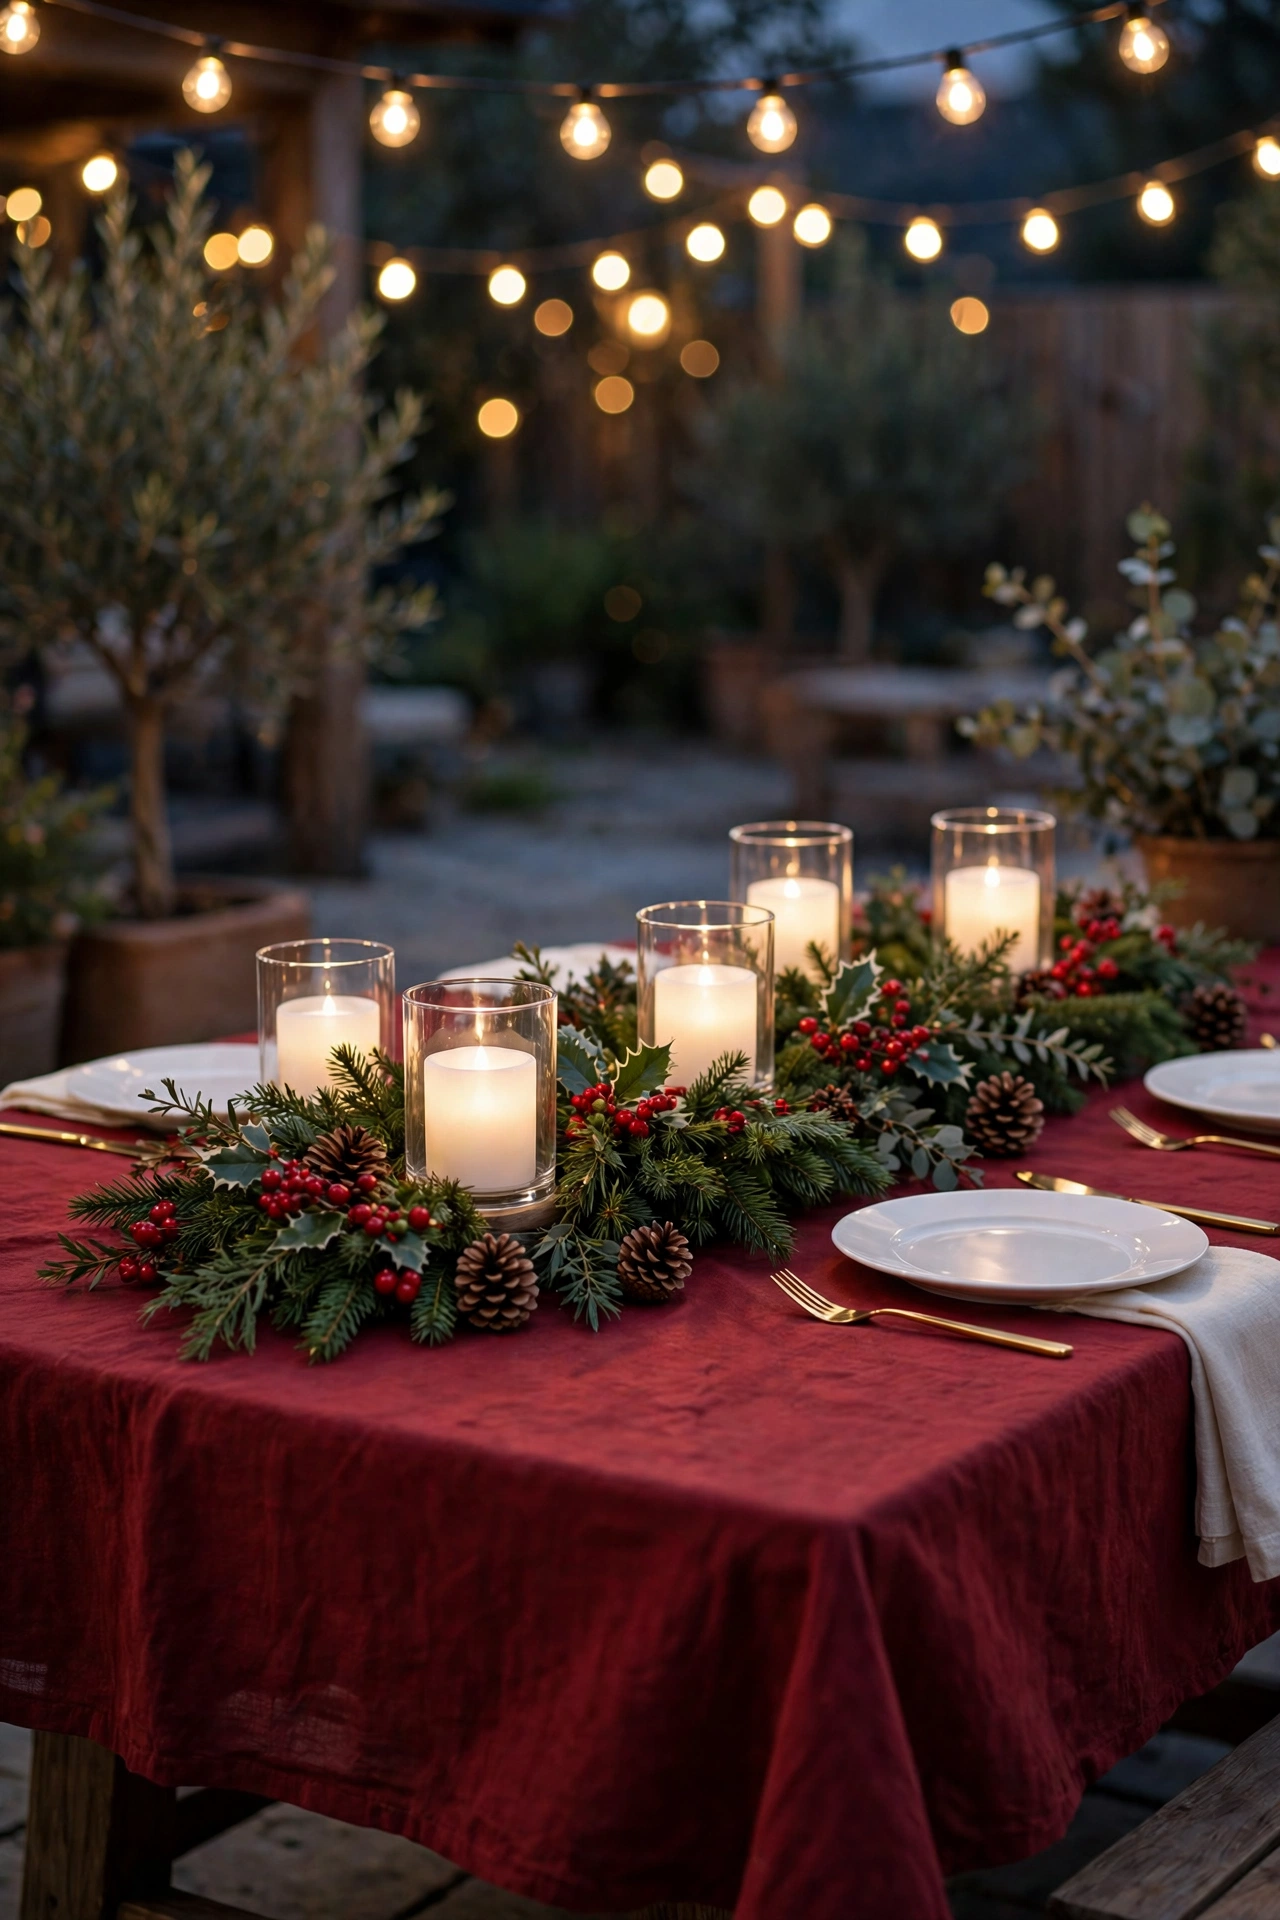
A patio dining table at Christmas is about one meal, not a whole season of use. Most people eat outside once or twice in December, on a mild evening or for a holiday lunch. The table needs to look festive for that meal and be easy to clear when the weather turns. Start with the cloth. A weatherproof tablecloth in deep red or forest green costs 15 to 25 dollars for a table that seats six. Measure the table first. The cloth should hang 8 to 10 inches over each edge. A cloth that hangs to the floor catches on chairs and trips people. A cloth that barely covers the top looks unfinished. Use clips to hold the cloth in place. Tablecloth clips cost 5 dollars for a pack of four and grip the edge of the table. Wind lifts an unclipped cloth in seconds, and a flying tablecloth takes the centrepiece with it.
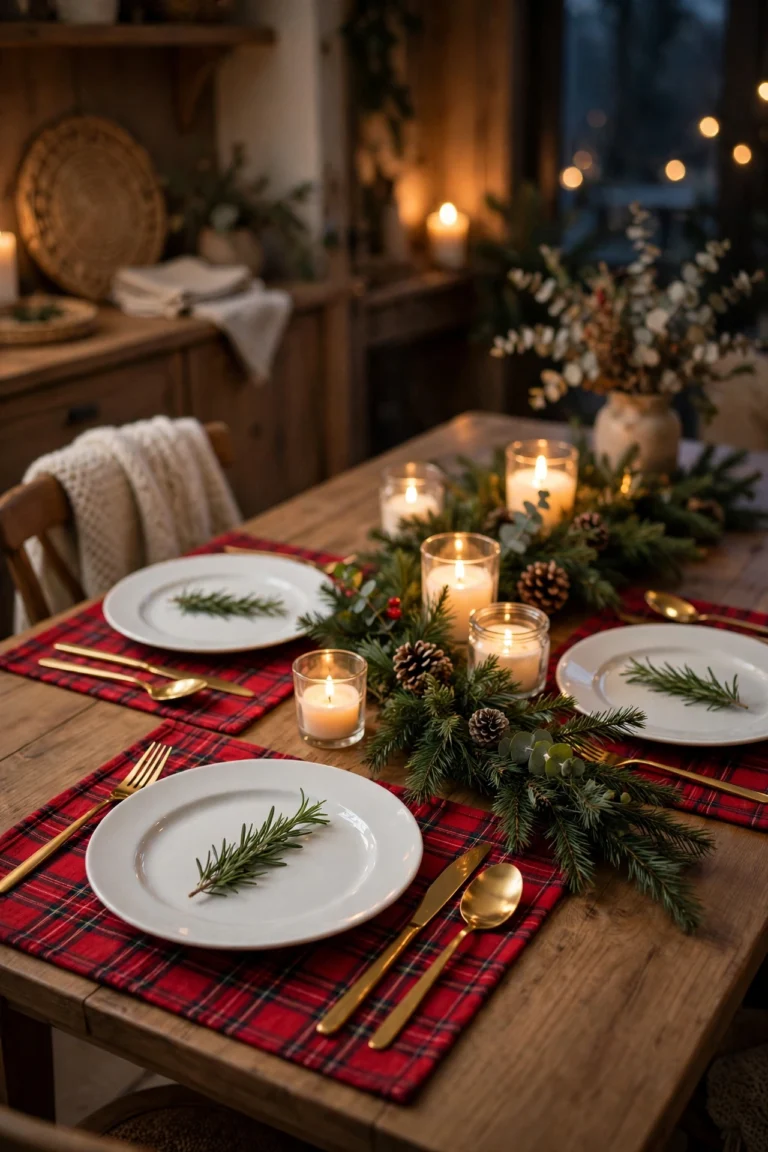
The centrepiece should be low. A tall centrepiece blocks the view across the table and gets knocked over when someone reaches for a dish. Keep the centrepiece under 12 inches tall. A low arrangement of evergreen cuttings in a long wooden box, with three LED candles and a few pinecones, is the classic choice. The wooden box costs 10 to 15 dollars. The cuttings cost nothing from the garden or 8 dollars from a shop. The LED candles are the same ones from the lantern section, so they cost nothing extra. Add a string of battery fairy lights through the greenery for a glow that shows after dark. A 6-foot battery strand costs 5 to 8 dollars. Keep the centrepiece to the middle third of the table so plates and glasses have room on both sides.
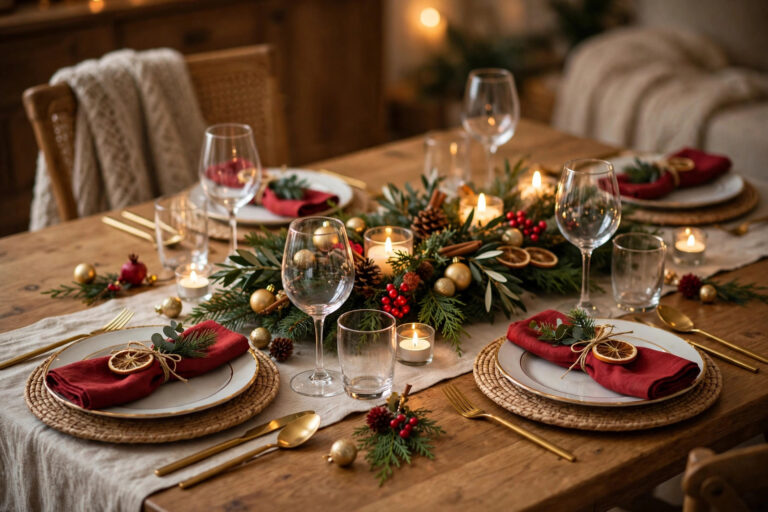
Give each guest 24 inches of table width. That is the standard elbow room for a comfortable meal, and it decides how many people the table really seats. A 6-foot table seats six people at 24 inches each, three per side. A 4-foot table seats four. Do not squeeze in an extra chair to seat eight at a 6-foot table. The meal becomes cramped, elbows hit glasses, and nobody enjoys it. Place settings are simple outdoors. Use melamine or enamel plates instead of ceramic, because a dropped ceramic plate shatters on concrete. A set of four outdoor plates costs 12 to 20 dollars. Use real cutlery, because plastic cutlery feels cheap at a Christmas meal. Use a cloth napkin in the second colour of your palette, folded in a simple rectangle on each plate. The napkin is the cheapest touch of colour on the table.
Wind is the enemy of an outdoor meal. Plan for it. Heavy plates help. Cloth napkins tucked under the plate stay put. Glasses with a stem fall over in wind, so use stemless glasses or tumblers outdoors. A set of four outdoor tumblers costs 10 to 15 dollars. Keep the food covered until serving time with a mesh food cover, which costs 8 to 12 dollars and keeps leaves and insects off the dishes. If the wind picks up during the meal, move the candles and the fairy lights off the table first, because they are the lightest things and the first to blow away. The greenery in the box is heavy enough to stay.
Clean up the same evening. Bring the cushions in, fold the tablecloth, and put the centrepiece in the deck box or just inside the door. A table left set overnight in rain is a table that needs washing in the morning. A table cleared in five minutes is a table that is ready for the next mild evening. If the weather stays dry, the table can stay dressed for a week, with the candles turned on each evening by the timer. That is the real joy of a patio dining table at Christmas. It is ready when you are, and it costs less than 60 dollars to dress from scratch, including the cloth, the clips, the centrepiece box, and the fairy lights.
8. The Small Patio Formula: Small Christmas Patio Decor Ideas That Fit Any Space
Not every patio is large. Many patios are barely bigger than a parking space, and a small patio needs a different plan from a large one. The small patio formula is one wreath, one garland run, one tree, and one chair. Four pieces. Nothing more. The mistake on a small patio is to buy ten small decorations. Ten small things look cluttered. Four right-sized things look finished.
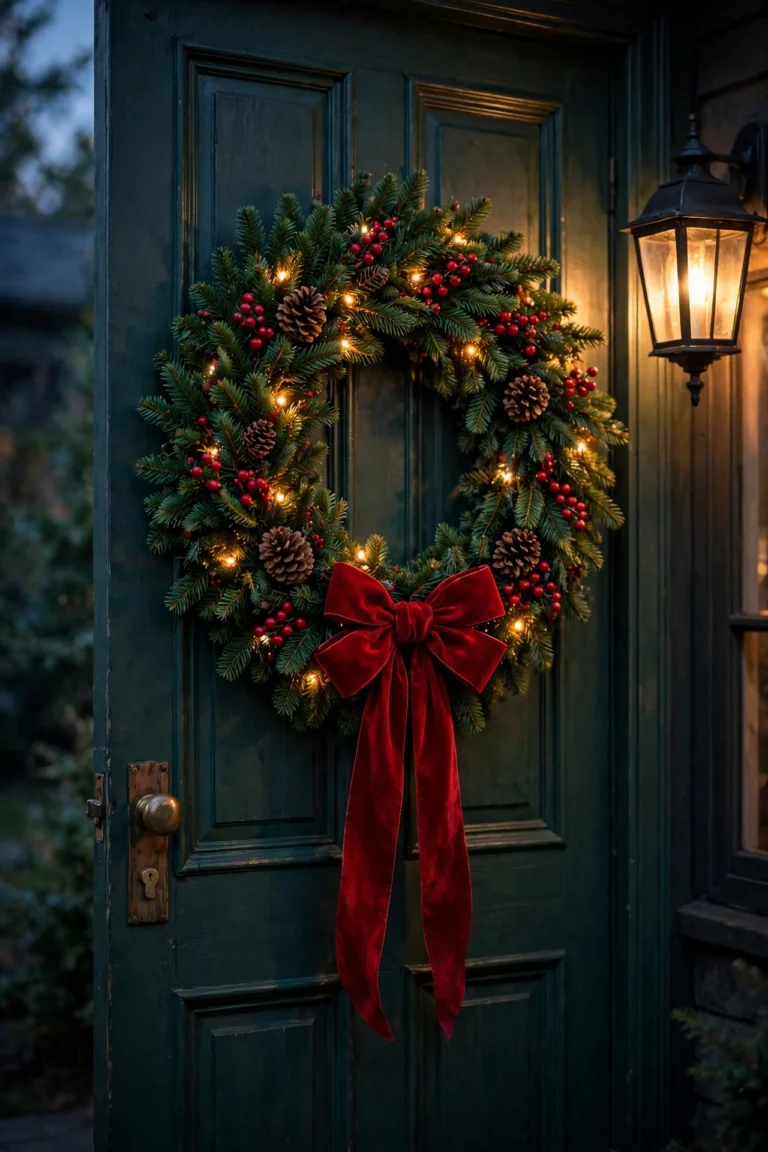
Start with the wreath. Hang one wreath on the patio door or on the wall facing the house, at eye level, which is 60 inches from the ground to the centre of the wreath. That is why small christmas patio decor ideas start with the wreath. It is the piece you see most, from inside the house and from the garden. A wreath that is 24 inches wide fits a standard door. A wreath that is 18 inches wide fits a narrow door or a small wall. A fresh wreath costs 20 to 30 dollars. An artificial wreath rated for outdoor use costs 25 to 40 dollars and lasts for years. Hang it on an outdoor adhesive hook rated for 5 pounds, or on a wreath hanger that hooks over the top of the door. The hanger costs 8 dollars and leaves no marks. The wreath is the first thing you see from inside, so it carries more weight than its size suggests.
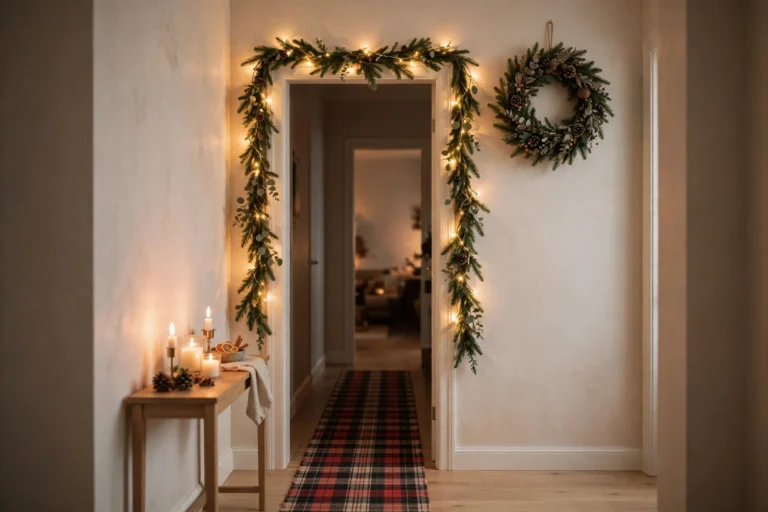
Next, the garland run. One run, 6 to 9 feet long, along the railing or across the top of the patio door. Wire it every 18 inches, add one bow at the centre, and stop. Do not add a second run. A second run on a small patio fills the space and hides the wall. One run frames the space and leaves room for the eye to rest. If the patio has no railing, run the garland around the door frame instead. The door frame is the natural place for it, and guests walk under it every time they step outside.
Then the tree. On a small patio, the tree must be slim and short. A 4-foot slim tree in a 12-inch pot fits in a corner and leaves the walkway clear. A 3-foot tabletop tree on a small side table works even better if floor space is very tight. The tree goes in the corner farthest from the door, so it does not block the entrance. Keep 18 inches of clear space in front of it. One strand of 50 lights and ten shatterproof ornaments is enough.
Last, the chair. One chair, not two, with one cushion and one folded throw. One chair tells the story of a place to sit with a cup of tea and look at the lights. Two chairs on a tiny patio block the path and never both get used. Add one lantern on the ground beside the chair. That is the whole seating corner, and it takes up 3 square feet.
Small christmas patio decor ideas work best when they decorate up, not out. A small patio has little floor space and plenty of vertical space. Hang the lights high on the pergola or the wall. Hang the wreath at eye level. Put the garland on the railing, not on the floor. Put the tree in a corner and let its height do the work. Keep the floor clear except for the chair and the lantern. A clear floor makes a small patio feel bigger, and a bigger feeling is what makes people use it. All of it is renter-friendly. No drilling, no nails, no holes in the wall.
Small christmas patio decor ideas are also the easiest to take down. One wreath off its hook, one garland run unwired, one tree carried inside, one chair wiped down. The whole takedown takes 30 minutes. Label each piece as you pack it, and next December the patio goes up in an hour. That is the real test of a small patio plan. If it takes longer to take down than to put up, the plan has too many pieces. Four pieces pass the test every time.
Conclusion
The best christmas patio decor ideas share one habit. They start with light, add one focal point, and stop before the space gets crowded. String lights on the pergola, a tree in a weighted pot, garland on the railing, a seating corner with throws, lanterns with LED candles, planters by the door, and a low centrepiece on the dining table. That is the full plan, and it fits a large patio in one weekend and a small patio in one afternoon. The small christmas patio decor ideas in the last section prove the point. Four pieces, one wreath, one garland run, one tree, and one chair, are enough when each piece is placed with care.
The 30-minute setup order is the fastest way to get there. First, hang the string lights and plug in the timer, because light changes the space at once and shows you what is still missing. Second, place the tree in its corner and anchor the pot. Third, wire the garland along the railing and the posts. Fourth, set out the seating corner with cushions, throws, and one lantern. Fifth, dress the planters and put the centrepiece on the table. Work in that order and the patio looks better after every step, so you can stop at any point and still have a finished space. If the weather turns or the afternoon runs short, a patio with lights and a tree is already decorated. The rest is detail.
In January, take things down in the reverse order. The table centrepiece and the planters come down first, because they hold fresh greenery that will dry out and drop needles. The cushions and throws come in next, and they go straight into the wash. The lanterns come in after that, with the batteries removed. The garland comes down next, unwired from the top down. The tree comes down last, with the ornaments packed in a lidded box and the pot stored upside down so rain does not collect in it. The string lights come down last of all, because they are the easiest to leave up for one more evening while the rest of the work is done. Coil them loosely, hang them on a hook, and label the coil with its length. A patio that takes 30 minutes to take down is a patio that will be decorated again next year, and that is the real goal. Not one perfect Christmas, but a patio that is easy to love every December.
FAQ
Can I leave patio decorations out all winter?
Yes, if every piece is rated for outdoor use. Outdoor lights, artificial garland, shatterproof ornaments, and metal lanterns can stay out from December to January without damage. Bring cushions, throws, and paper decorations inside during heavy rain. Take fresh greenery down after 3 to 4 weeks, when it turns brown. In areas with hard frost below 20 degrees Fahrenheit, move living trees and ceramic pots against the house wall for shelter.
Do real candles work outside?
No, not reliably. Wind blows real candles out, rain puts them out, and a gust can push a flame sideways onto a throw or a cushion. LED candles give the same warm flicker with no flame and no risk. Use flameless candles outdoors, and save real candles for the indoor table where the air is still.
How do I keep string lights from blowing down?
Use outdoor light clips spaced every 12 inches, and never rely on tape or loose draping. Clips grip the beam and hold the wire in wind. Check the clips after the first storm of the season. Replace any clip that has slipped. Keep the wire with a small swag of 4 to 6 inches between clips, because a wire pulled tight snaps in a gust, while a wire with slack moves with the wind.
What if I have no roof or pergola?
Hang the lights on the wall of the house using outdoor adhesive hooks rated for 5 pounds each, spaced every 12 inches. Run one strand along the top of the patio door and one along the fence or the garden wall. A freestanding shepherds hook, which costs 10 to 15 dollars, holds a lantern or a hanging basket and gives height without a roof. A patio umbrella pole can also carry a short strand of lights in a spiral.
Are solar lights enough for a patio?
Solar lights work as an accent, but they are not enough on their own in winter. Short days and cloudy weather mean solar lights run for 2 to 4 hours instead of the 6 to 8 hours they manage in summer. Use plug-in LED string lights as the main light source, and add solar lanterns or solar stake lights as extras along the patio edge. That way the patio stays lit even on a cloudy week.
How do I store everything in a small home?
Store flat and label everything. Coil string lights loosely and hang them on a hook. Hang garland on a hook instead of stuffing it in a box. Stack small lanterns inside large ones. Put ornaments in a shoebox with tissue paper between layers. Keep cushions in a vacuum bag under the bed. The whole patio kit fits in one large plastic bin and one hook on the garage wall if each piece is packed in its own bag and labelled with its length or its place.
Budget Table
| Tier | What it buys | Total |
|---|---|---|
| Under $30 | One 25-foot warm white LED string light strand, one pack of outdoor clips, one outdoor timer plug | $26 to $30 |
| $30-80 | String lights and timer, plus one 4-foot slim tree with shatterproof ornaments, one 9-foot artificial garland, and three LED candles | $55 to $80 |
| $80-150 | Everything in the middle tier, plus a weighted pot and gravel, two outdoor cushions, two plaid throws, two lanterns, three dressed planters, and a tablecloth with clips | $120 to $150 |