Christmas Table Setting Ideas: 5 Centerpieces You Can Build in 20 Minutes
Okay so. Christmas I set up a centerpiece that looked like a scene from a magazine. Tall branches and fairy lights were wrapped everywhere. I felt proud for ten minutes. Then we sat to eat. My sister leaned sideways like a palm tree in wind trying to see my cousins’ faces around my centerpiece. The turkey was good. The conversation was not. It split into two sides. One side of the table talked the other side talked and nobody talked across. That year I learned my lesson. Low. Fast. Cheap. That is the philosophy now and it has saved every Christmas dinner since. Everything below comes from one supermarket trip, less. Twenty minutes or less per centerpiece under twenty dollars and here is the important part: guests can actually see each other while they eat. I know it feels new and useful.
First the base formula.
Without it nothing works. I used to put items on the table and hope. It never worked. Now I start with the base every time. It changes everything even if the centerpiece is a bowl of ornaments I forgot I owned.
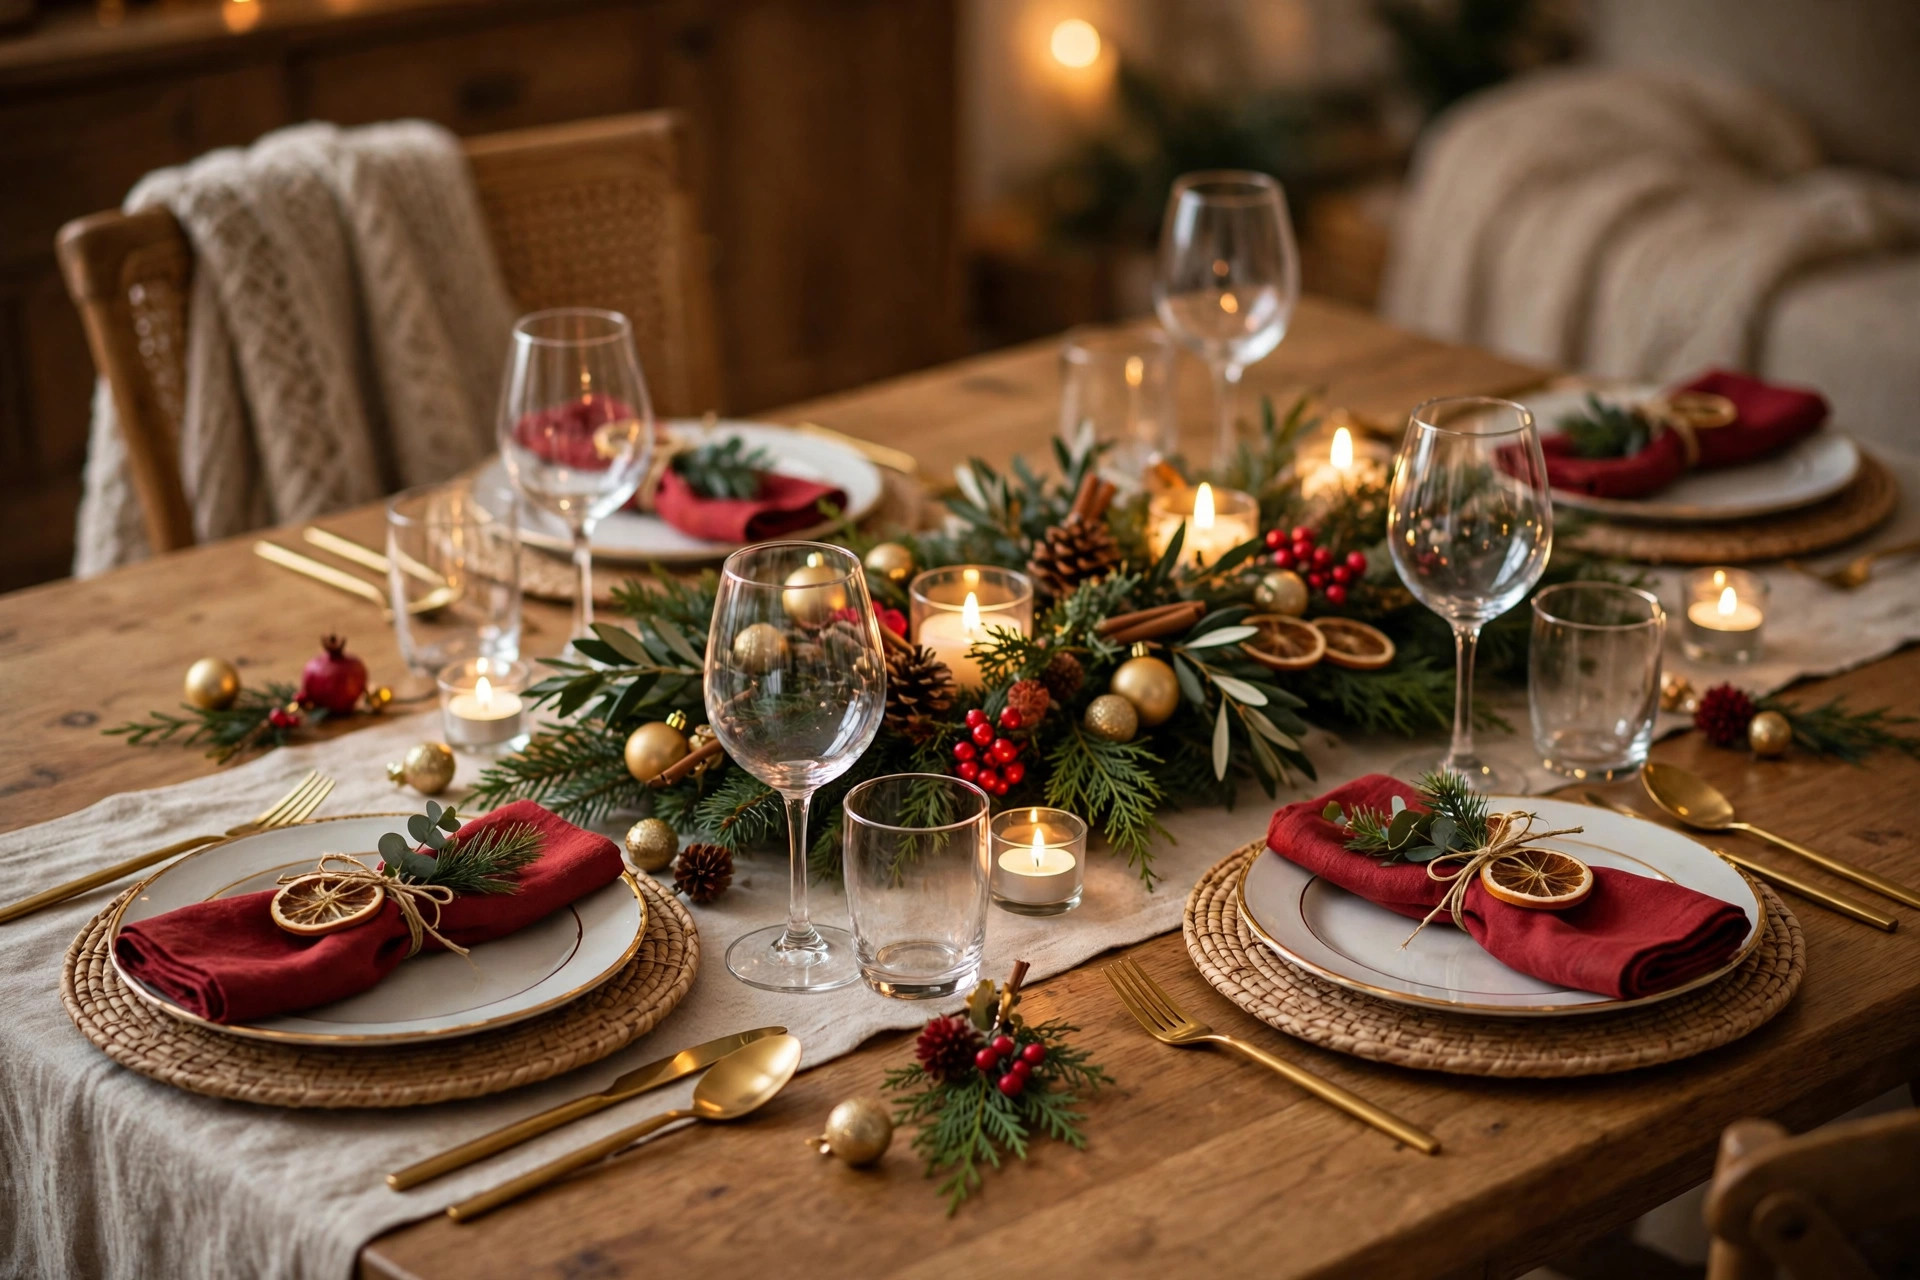
First thing, cloth or runner down. It sounds small. Without it the table looks like you just emptied a drawer onto wood. Then heights. This is where people mess up. You want one item in the middle something medium next to it and then small items repeated. A single tall candlestick? Fine that is skinny and light passes around it. A big wide tall thing? That is a wall. My test is simple. Sit down. Can you see the person across from you? If not it is too tall. Chop it down to, under twelve inches. Get rid of it. Then the rule that does most of the work: one colour. Just one. Repeat it everywhere. Napkins of that colour. Ornaments of that colour. Candles, ribbon, that colour. The second you do that the table suddenly looks styled not items you own.
It is the idea. Behind holiday home decor one scheme runs through the tree the mantel and the table. The whole room feels like it belongs together of three separate accidents.
Centerpiece 1: The poinsettia-and-candle classic
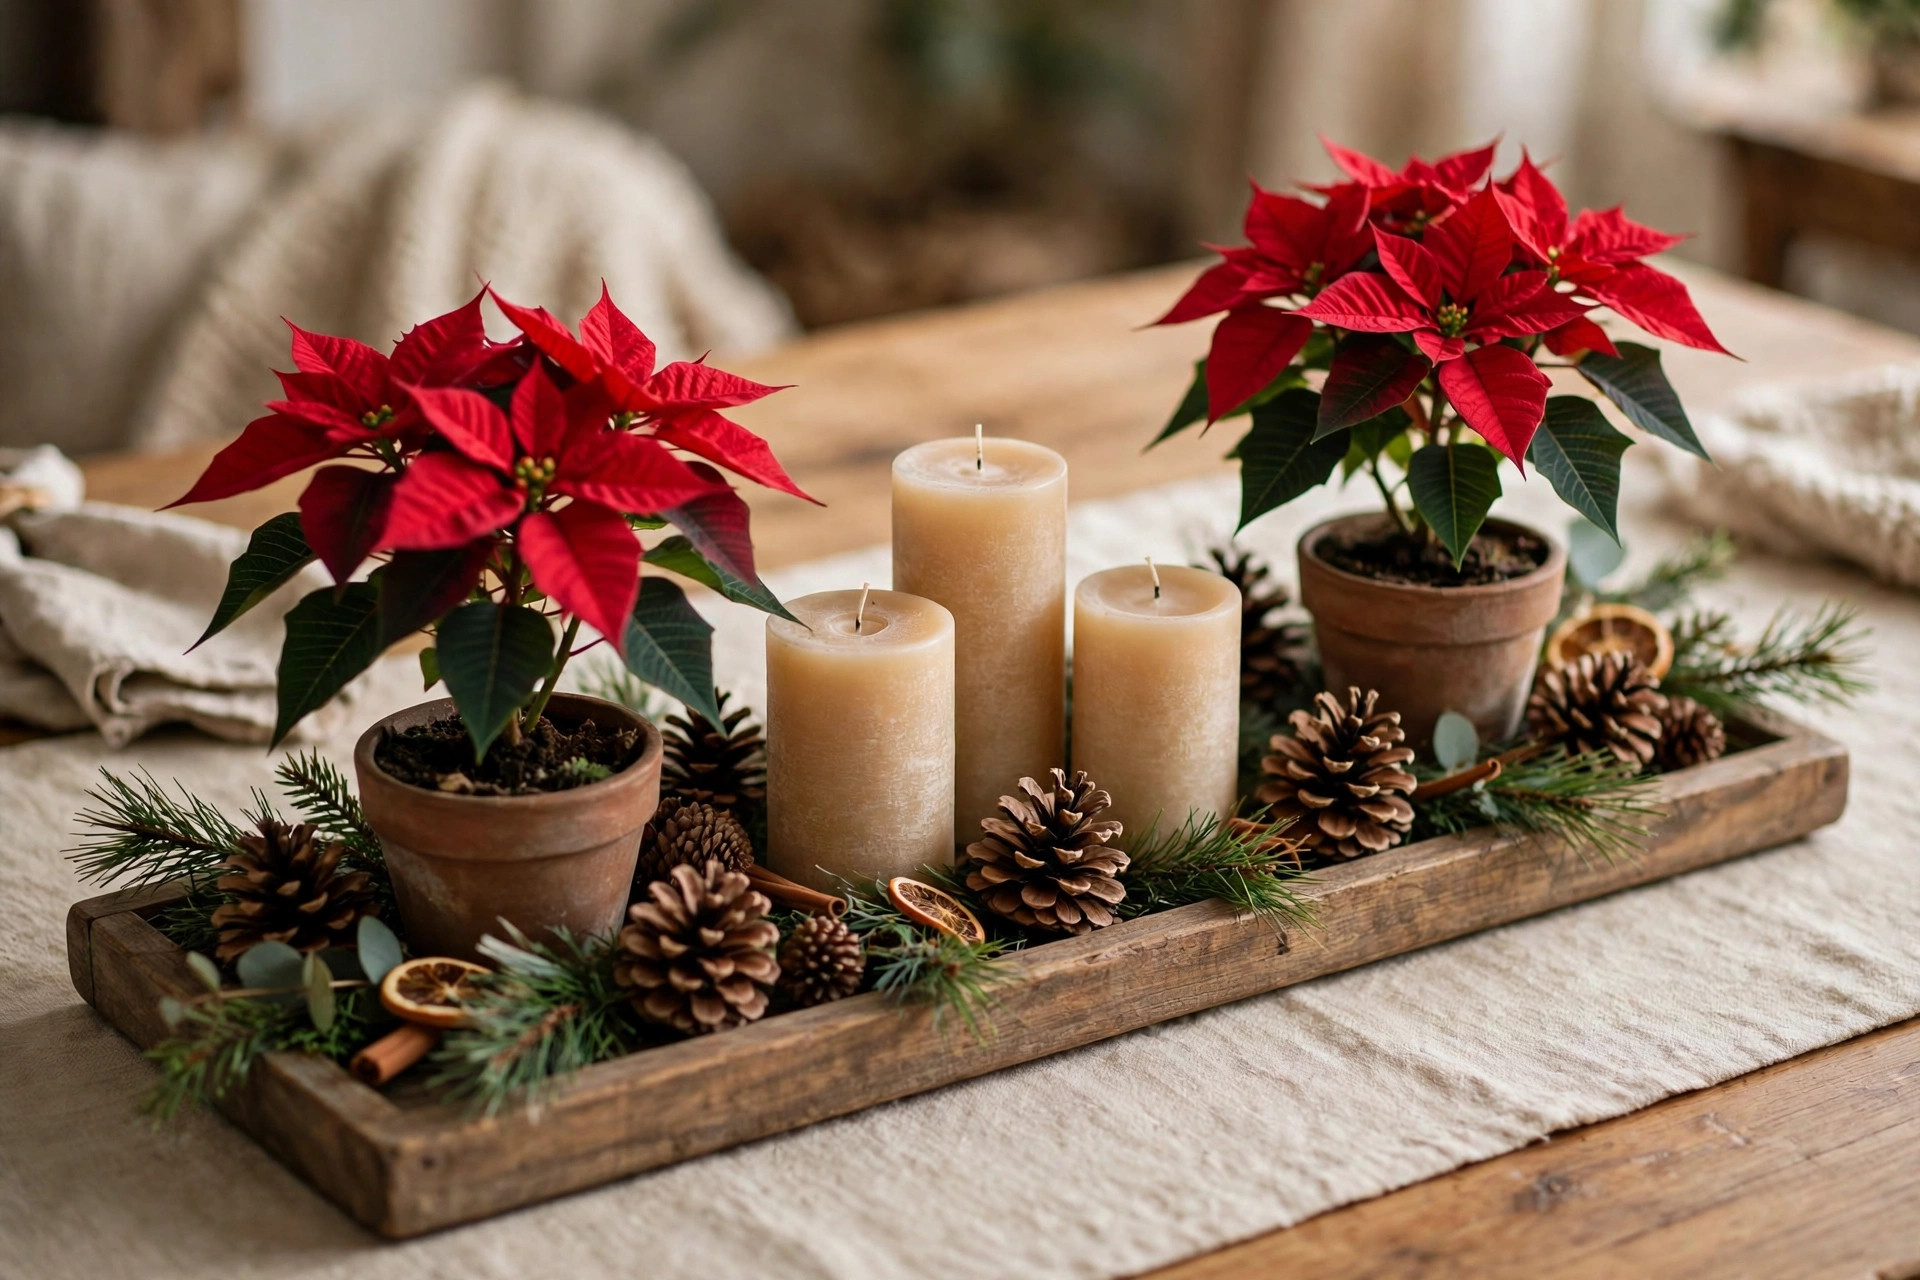
This is the one. Red, green traditional. Basically impossible to ruin. That’s why I make it whenever my mother-in-law is coming. Not that I’m saying anything. I’m just saying.
You need two poinsettias in 4-inch pots. They’re $5 each. Three pillar candles in heights. A set runs $8 to $12. Though the dollar-store ones at $1.25 each? Honestly they do the job. Then a. A board or a big platter. You already have one in a cupboard somewhere. Free. A handful of pinecones. Free if you go outside.. Around $3 a bag.. Some red ribbon if you feel like it. About $2.
How it goes together. This takes maybe fifteen minutes if you’re not rushing.
Put the tray in the middle of the table lengthways. Place the poinsettias at either end angled out a bit. Leave the pots on. Nobody cares. If ugly plastic is showing, wrap them in ribbon or brown paper. Suddenly it looks intentional. Place the three pillar candles in a triangle, between the plants in the middle. That part matters more than you’d think.
Then shove pinecones into every gap. Make sure you can’t see the tray anywhere. Sit down. Check you can see across the table. Adjust once. Then stop fiddling with it. Seriously stop. It is done.
One thing though. I only mention it because I found out the way. Poinsettias and pets are a combination. The sap irritates skin too. If your cat basically runs the house.. Whose cat doesn’t?. Swap in potted ivy or rosemary. Same green look. Zero worry.. Rosemary smells better anyway.
Centerpiece 2: The bowl (the $0 one)
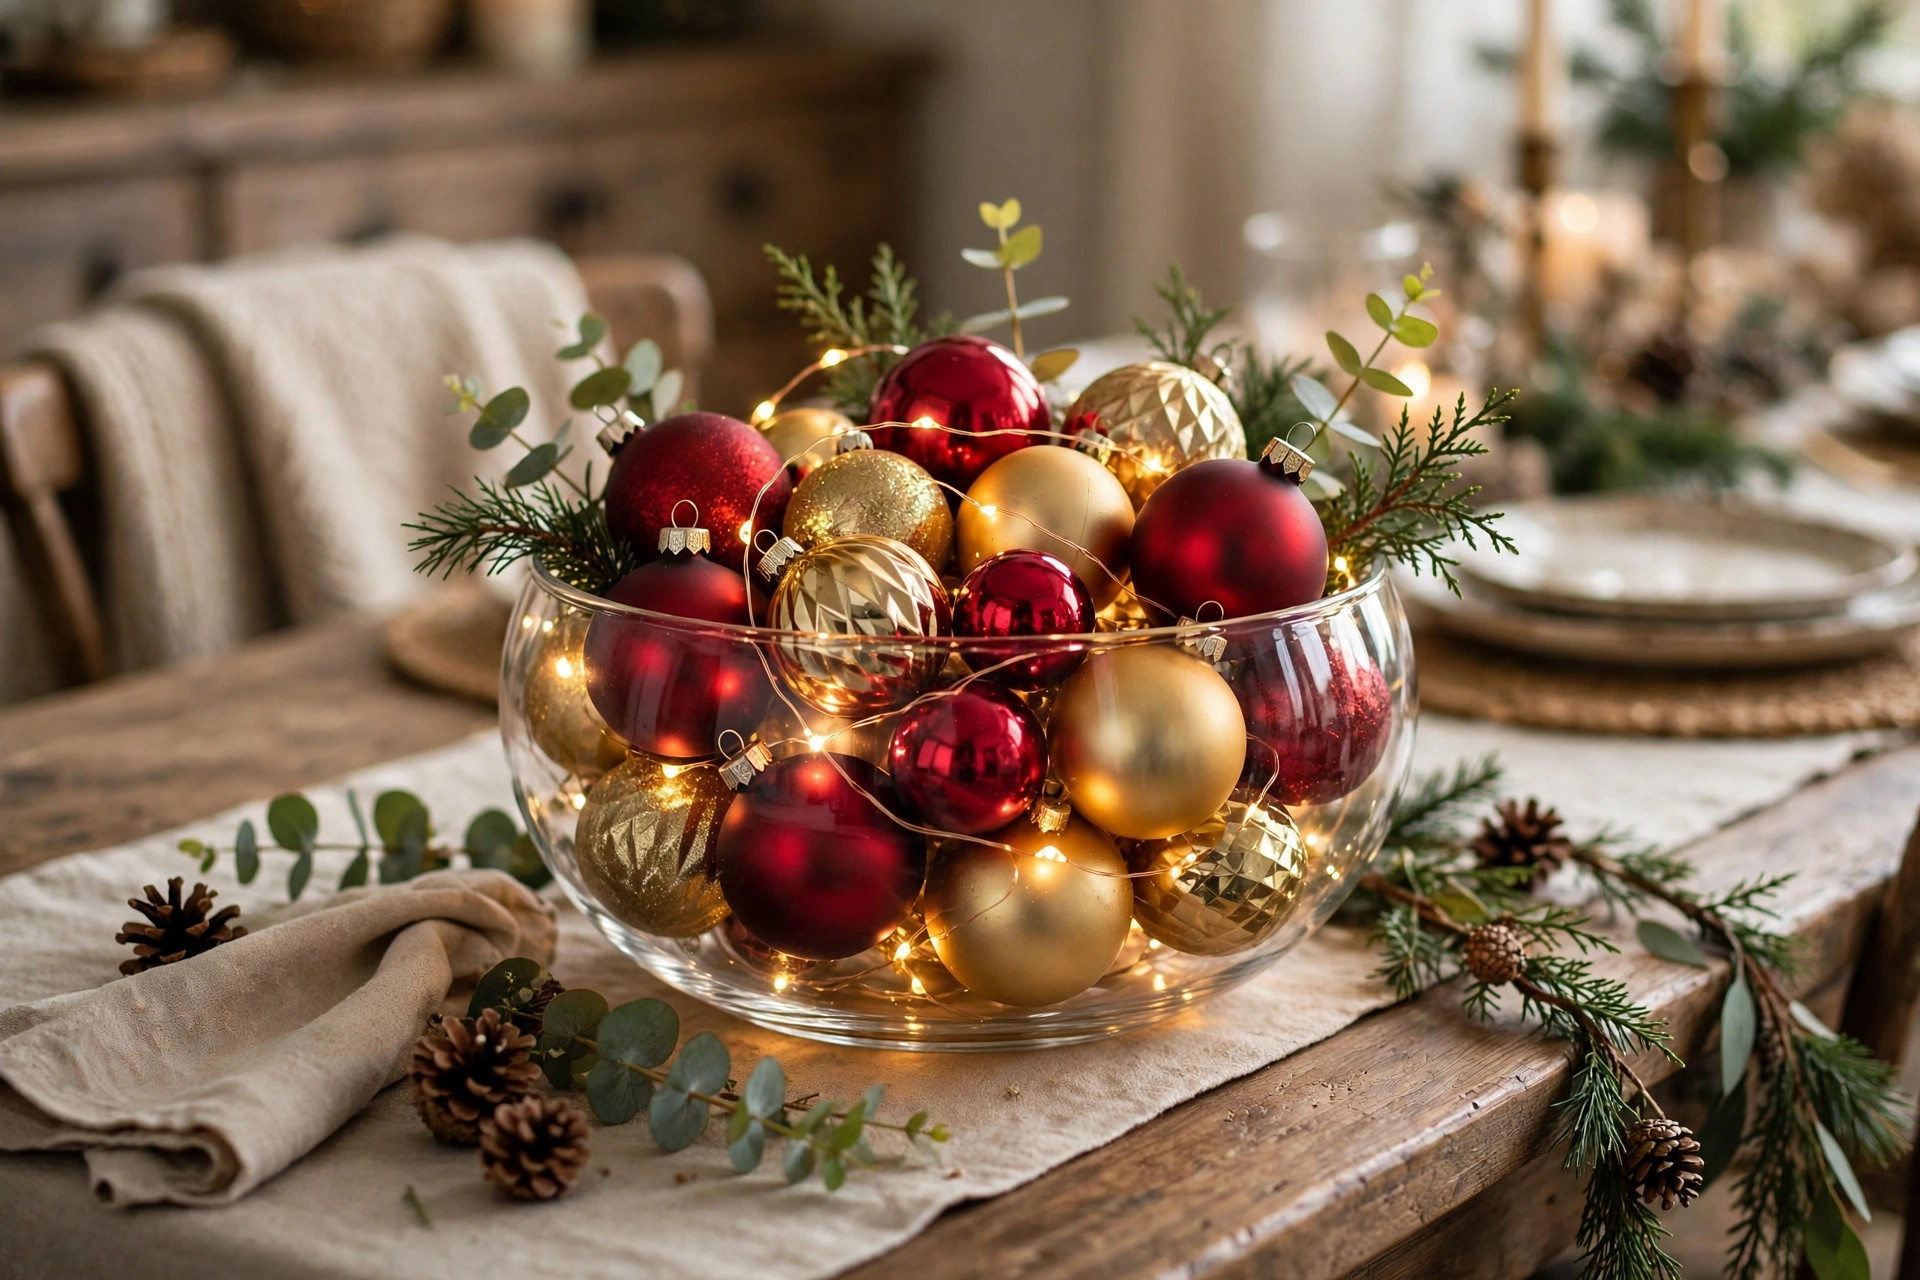
Alright this one is my favorite. It costs nothing. People always think you put in a lot of effort. Everyone has that box of ornaments that didn’t make it onto the tree. You know the one. It’s hiding in a closet somewhere with a lid that doesn’t fit right. This is that box’s moment to shine. You’ll need: a glass bowl or trifle dish, thrifted for $4 to $6 or honestly a big salad bowl will do. 12 To 18 leftover ornaments in your color, $0 because you already own them. A short strand of battery fairy lights, $4. A few sprigs of greenery, tree clippings, rosemary or a $3 bunch from the store.
Build it (10 minutes):
1. Coil the fairy lights in the bottom of the bowl. Hide the battery pack underneath where no one can see it.
2. Put the ornaments in first then the medium ones. Save the five prettiest for the top, those are the ones people actually look at.
3. Tuck greenery between the layers so it looks like it was arranged on purpose not like you just dumped a box into a bowl.
4. Turn the lights on. Done. That is genuinely it.
Do not use glittered ornaments for this one. I know they are pretty.. Glitter gets everywhere. Food is sitting there and nobody I mean nobody wants sparkle in their gravy. I learned that one, at my table. Never again.
Centerpiece 3: The greenery runner
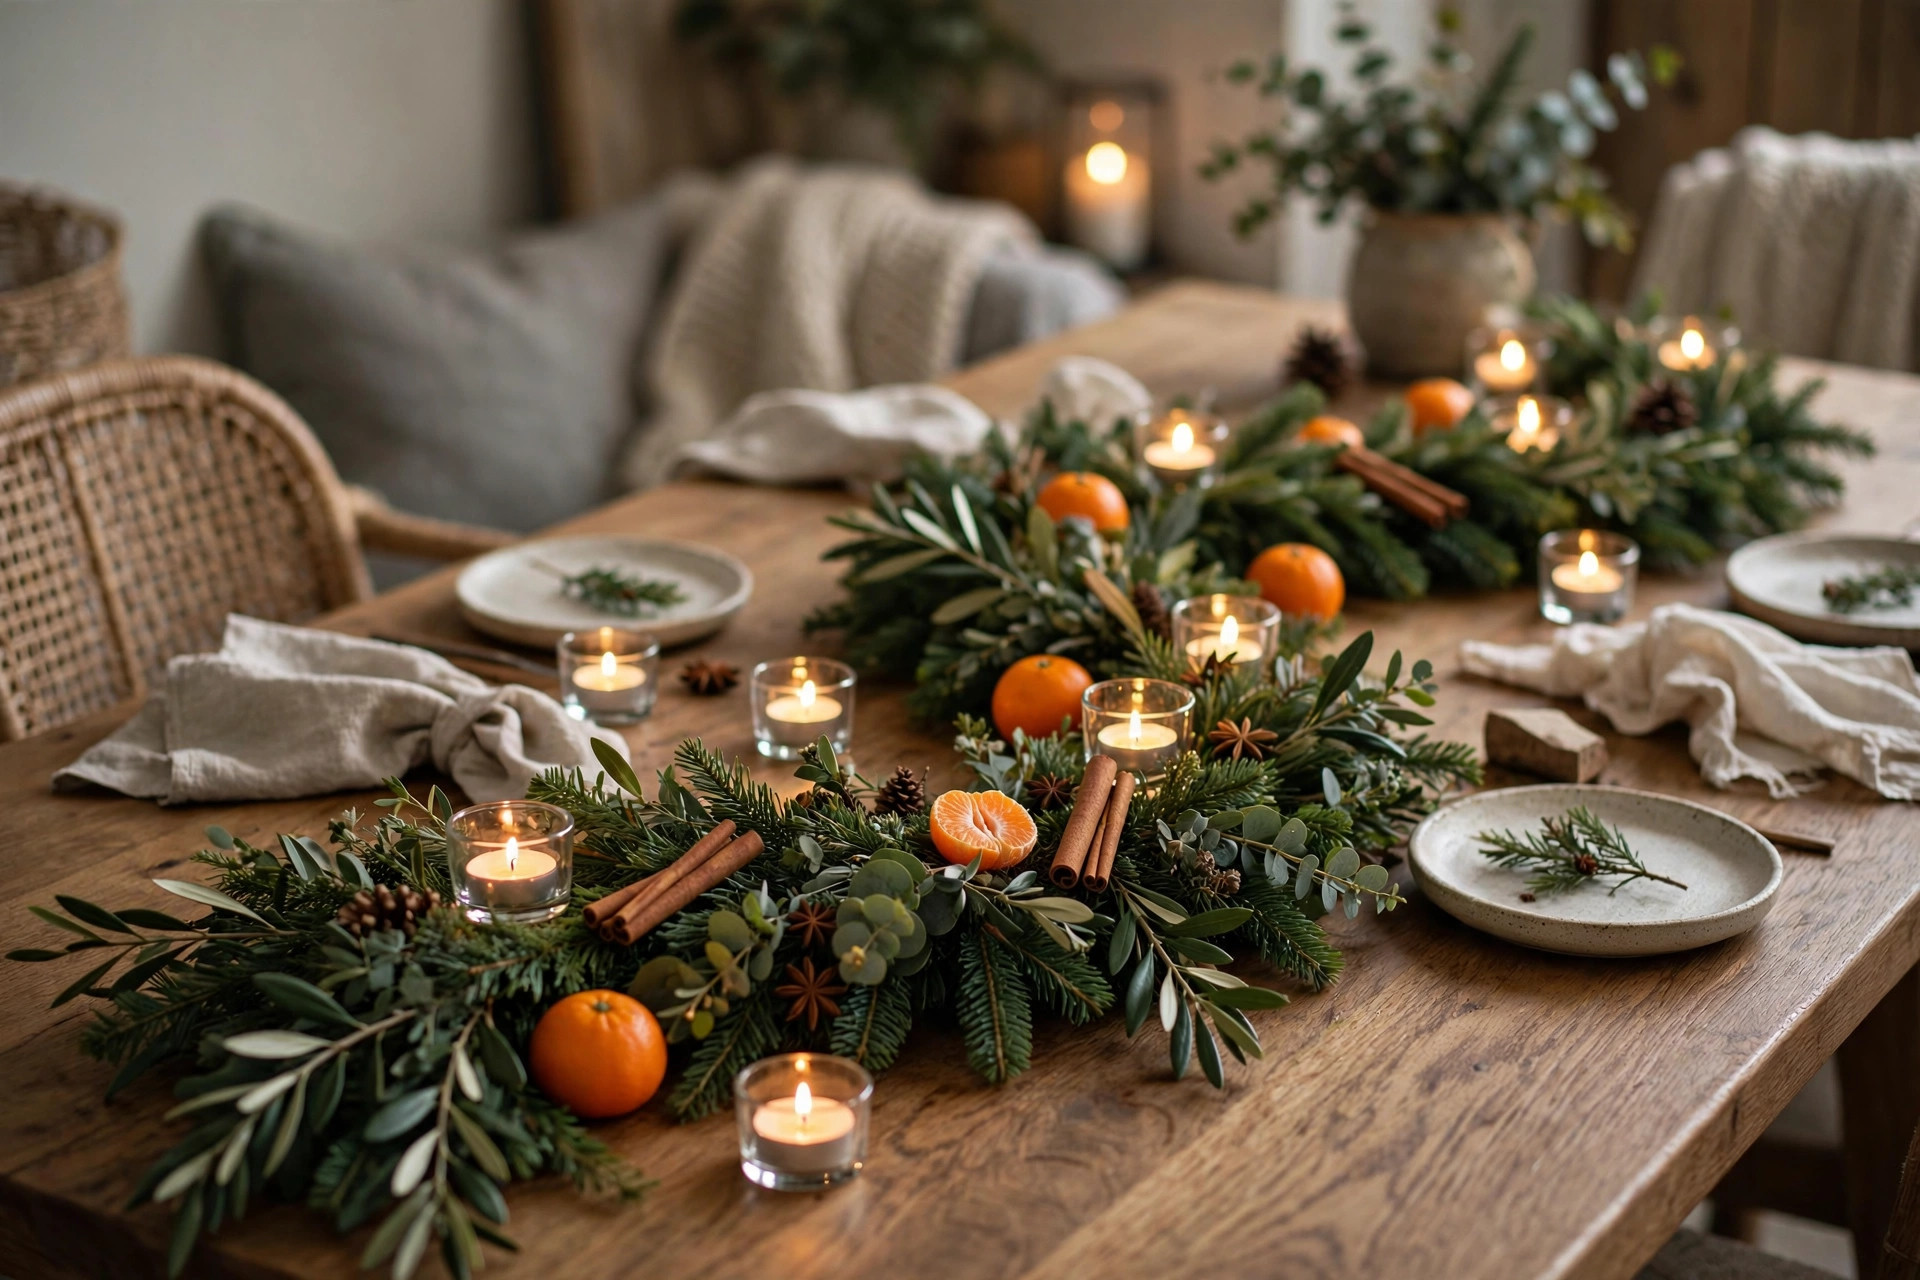
People take pictures of this style more than any Christmas table and guests always think you spent hours on it. It takes twenty minutes. Half of that is just unwinding the garland from its packaging, which always fights you by the way. You need one 6-foot greenery garland, $10 to $14 or free trimmings if you ask nicely at a tree lot they usually just give them away. Five to seven tealights in glass holders $5.. Five. Small oranges, around $3. A few cinnamon sticks, $2 or so. Now the build and the shape matters here. Lay the garland down the center in a S-curve. Not a straight line. A straight line looks like a queue. The curve looks like someone styled it I do not know why it just does. Fluff the branches out until it looks twice as wide as it did in the packet and do not skip this because a flat garland looks cheap no matter how much you paid I have seen a $40 garland look like $4 because nobody fluffed it. Tealight holders tucked along the runner alternating sides so it is not all lopsided. Clementines in twos and threes cinnamon sticks laid across like firewood logs. Dim the light light the tealights and the whole room changes. Two minutes, for that part tops. Flames and greenery obviously keep them a hands width apart. Never walk away from lit candles. Use battery tealights. They are actually good now I used to turn my nose up at them. I was wrong.
Centerpiece 4: The mini gingerbread village
This is the kids table one. The whole table depends on how serious your family’s about Christmas. My family is not serious all which is probably why this mini gingerbread village is such a hit. Let me be straight with you. You are not baking anything here. A from-scratch mini gingerbread village is an afternoon project. It is not a 20-minute centerpiece. If someone on the internet tells you it is they iced their houses in October. Did not mention it. Grab a mini gingerbread village kit, the pre-scored kind, $10 to $13 or two or three ready-decorated mini houses at about $5 each if you do not want to assemble anything. A large platter, board or tray is free; you have one. Desiccated coconut or powdered sugar for snow costs $2. A pack of bottle-brush trees costs $5. Assemble the mini gingerbread village kit houses with icing as glue. Leave them alone for ten minutes to set while you do everything else. That is the trick; do not poke them. Scatter the snow over the platter. Uneven is good; you want drifts, not a sheet. Place the houses in a row or an L-shape. The tallest houses go at the back obviously. Push trees in between and, behind the houses wherever there is a gap. Fifteen to eighteen minutes total. You are done. The kids will destroy the mini gingerbread village by dessert. That is not a problem; that is the point. Build it cheap take the photo early and then let them go wild.
Centerpiece 5: Pink and gold for the table that wants to feel dressed up
if your December feels like a cocktail party than a log cabin this centerpiece is perfect. The colors are blush pink and gold. The photos will look as if you spent a fortune. In reality you did not. Here is what you will need: two pink taper candles, which you can hold in the holders you already own costing five dollars. Four gold votives, costing six dollars. One small vase of carnations or roses costing six dollars. I suggest using carnations because they last longer and are cheaper; roses are a scam, at Christmas. For gold ornaments you can buy an eight dollar mixed set. Just use spare ornaments from the tree. Build it ( 15 minutes): 1. Place Flowers in the centre. Cut stems about 8 inches. This keeps the arrangement low and wide not tall and blocking everyones view. 2. Add one taper on each side of the vase staggered. I have tried symmetry. It looked stiff like a hotel lobby. Near-symmetry feels more styled. 3. Arrange votives in a diamond shape around the base. 4. Scatter ornaments between everything. I mean scatter them do not place them one by one, like surgery; just scatter. 5. Place gold chargers at each setting to finish it off. (2 Minutes)
Place settings: the cheap details people actually notice
The centerpiece gets the photo, sure but place settings are what your guests stare at for two hours while they eat. They cost nothing. Layering habit I use for my home decoration ideas it works here too. A base layer under the plate. A charger, a placemat, a folded square of wrapping paper in your colour. It just frames the plate. Makes the whole setting look finished. Napkin, tied, not folded. Ribbon or twine tuck in a sprig, rosemary or pine or one cinnamon stick. Thirty seconds, per setting. I swear it is the detail guests photograph the most. Name cards made from folded cardstock, written by hand stop that shuffle where everyone pretends not to care where they sit while really they do. Cutlery rule is dead simple: forks go left knives go right with blades facing the plate glasses sit above the knife. Leave the third of the table. Serving dishes need that space. Elbows need that space. When the table is small. Seats four shrink everything down to just an ornament bowl, on a small tray and skip the runner entirely. I used the rule for fall table decor: one piece, low done. It works. Make-ahead, because no one needs that stress: centerpieces one, two and five can be built two days ahead. Just left there. The runner goes down the morning of, not at six p.m. When people are already ringing the doorbell I have done that. It is miserable. Set up the night. Candles always last, absolutely.
Mistakes that quietly ruin a table
The centerpiece we covered it but it deserves repeating because people keep doing it. If your guests are leaning your decor is fighting your dinner and dinner should win. Scented candles on a food table. Vanilla-pumpkin fighting roast turkey is a smell battle nobody enjoys. Unscented candles at the table ones in the hallway that is the compromise and it works. A brand-new DIY attempted on the day. The one from some video you watched at noon with supplies you do not own it will not forgive you. Test ideas on a Sunday in November when nobody is watching. Five colours because you happen to own five colours. No. Pick your one repeated colour. Everything else is green, cream and one metal. That restraint is honestly the entire difference between gift shop exploded. Forgetting serving space. A table so decorated the food ends up on a sideboard or worse on someones lap. Decorate, for the meal. Not instead of it.
Where to start
If you are looking at a table now and feeling overwhelmed here is what I would do. Choose your color first. Just look around the room see what is already there and decide on it. Then create Centerpiece 2 the bowl. Ten minutes, from now there will be something lit and finished sitting on your table. I promise every decision after that becomes simpler. The table does not need to be perfect. Low. Everyones name on a card. Get those three things. People will call it beautiful. The best part is they will actually mean it.