Easy DIY Christmas Decorations: Paper Stars, Dried Orange Garlands and Pinecone Ornaments
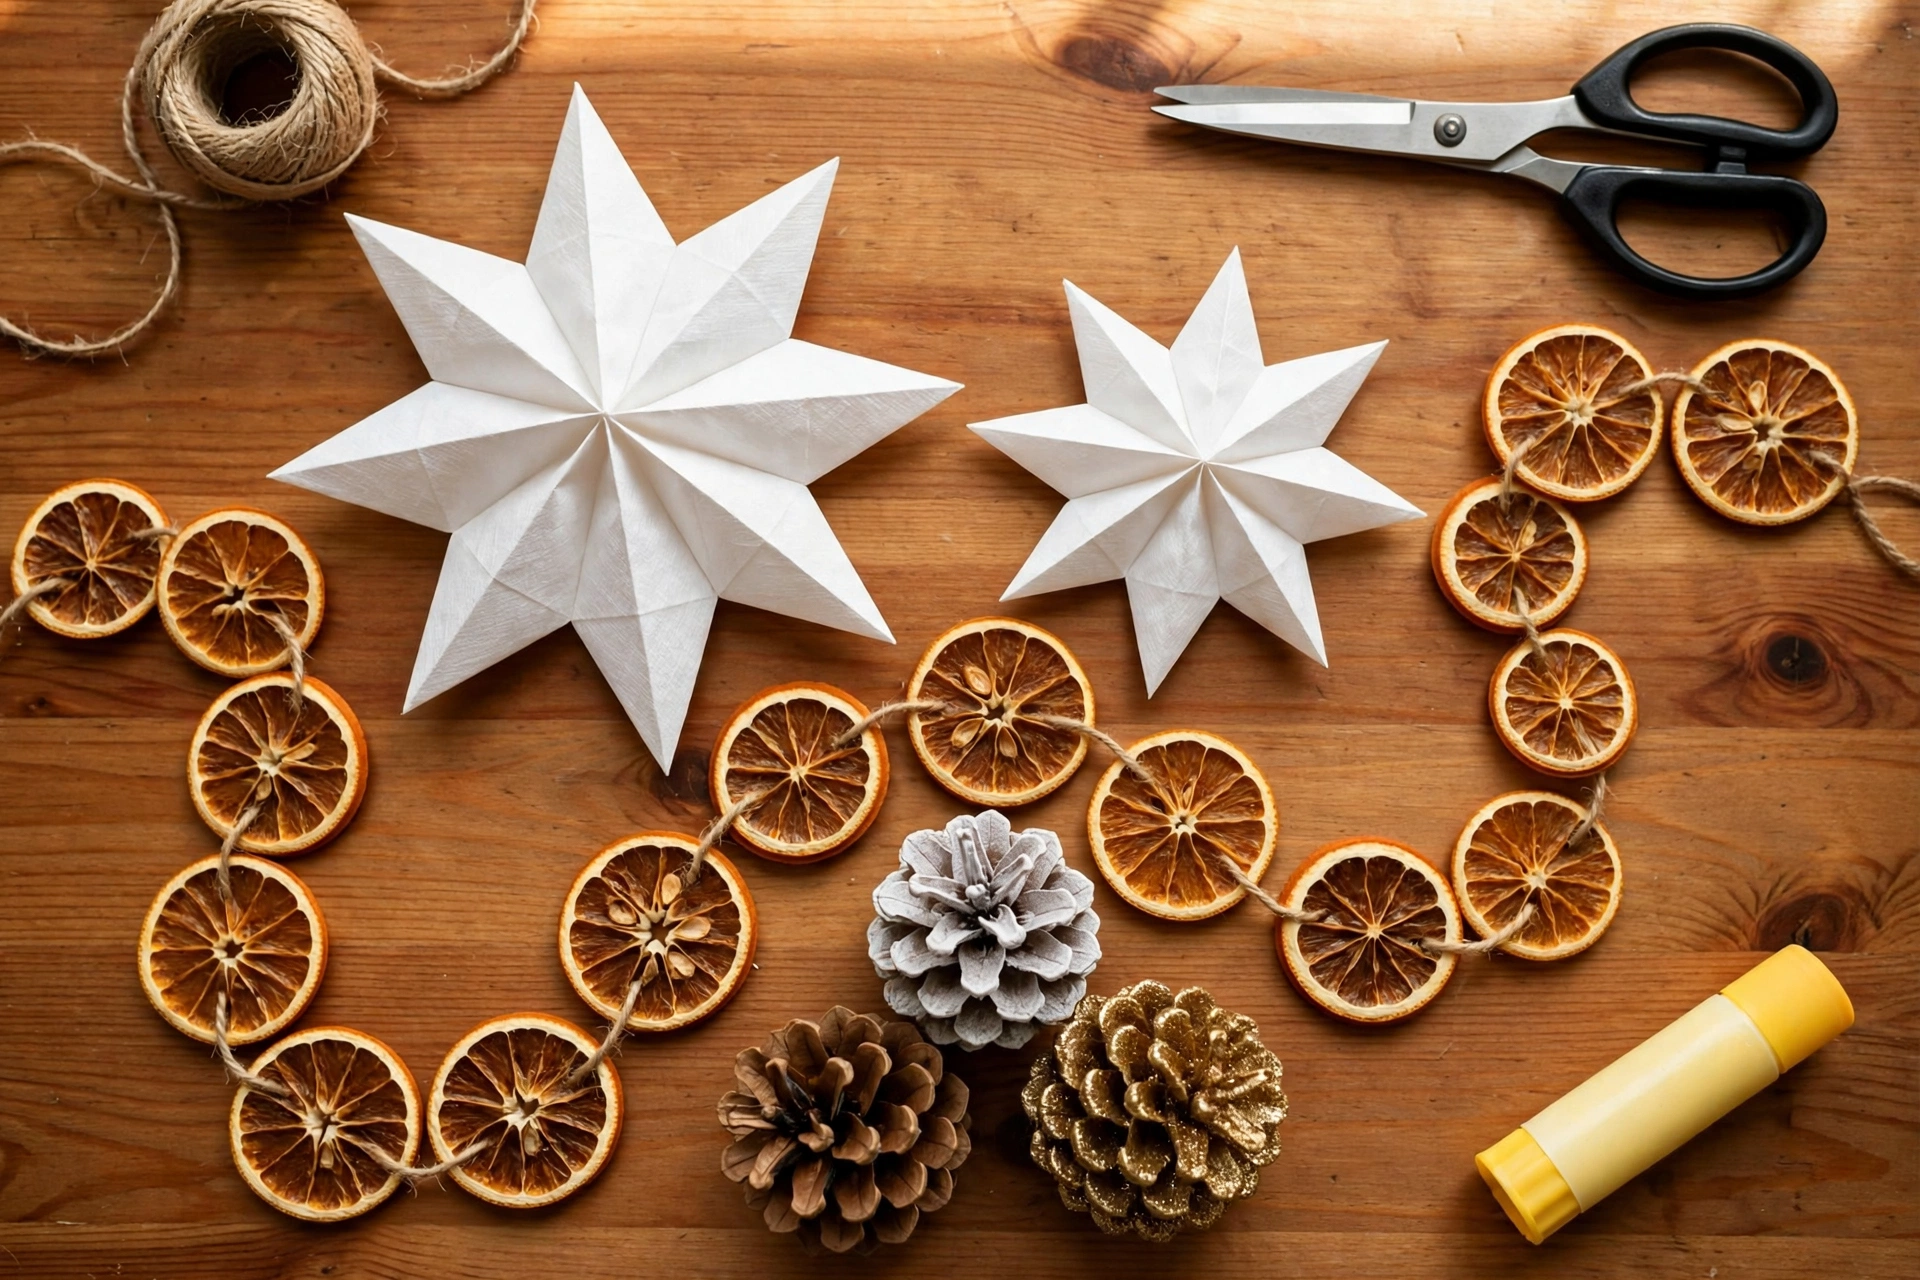
Last year I bought one of those big plastic tubs of "shatterproof" ornaments and by January half of them had cracked in storage anyway. This year I made my decorations instead. Three projects, one afternoon of work and everything, in this post together cost me less than that tub did under $10 if your kitchen drawer already has string and glue in it.
None of these need talent. I’m not artistic. My glue-gun burns are proof. They need a bit of patience in places (looking at you oranges). I’ll tell you exactly where each project goes wrong because I made every one of those mistakes first. If you want bigger weekend builds after these I’ve rounded up my easy DIY home decor ideas separately. These three are the ones people actually finish.
Project 1: Giant Paper Bag Stars
I saw these stars over Pinterest and they look like they came straight from a Scandinavian design shop. They are really lunch bags. That is the secret.
Supplies (makes 5-6 stars)
- White or kraft paper lunch bags, 50-pack about $4
- Glue sticks 2-pack about $2
- Bakers twine or any string for hanging $3
- Scissors and a pencil
Honest total: roughly one dollar per star if you already have glue and string at home and you will have more than 40 bags left over.
Steps
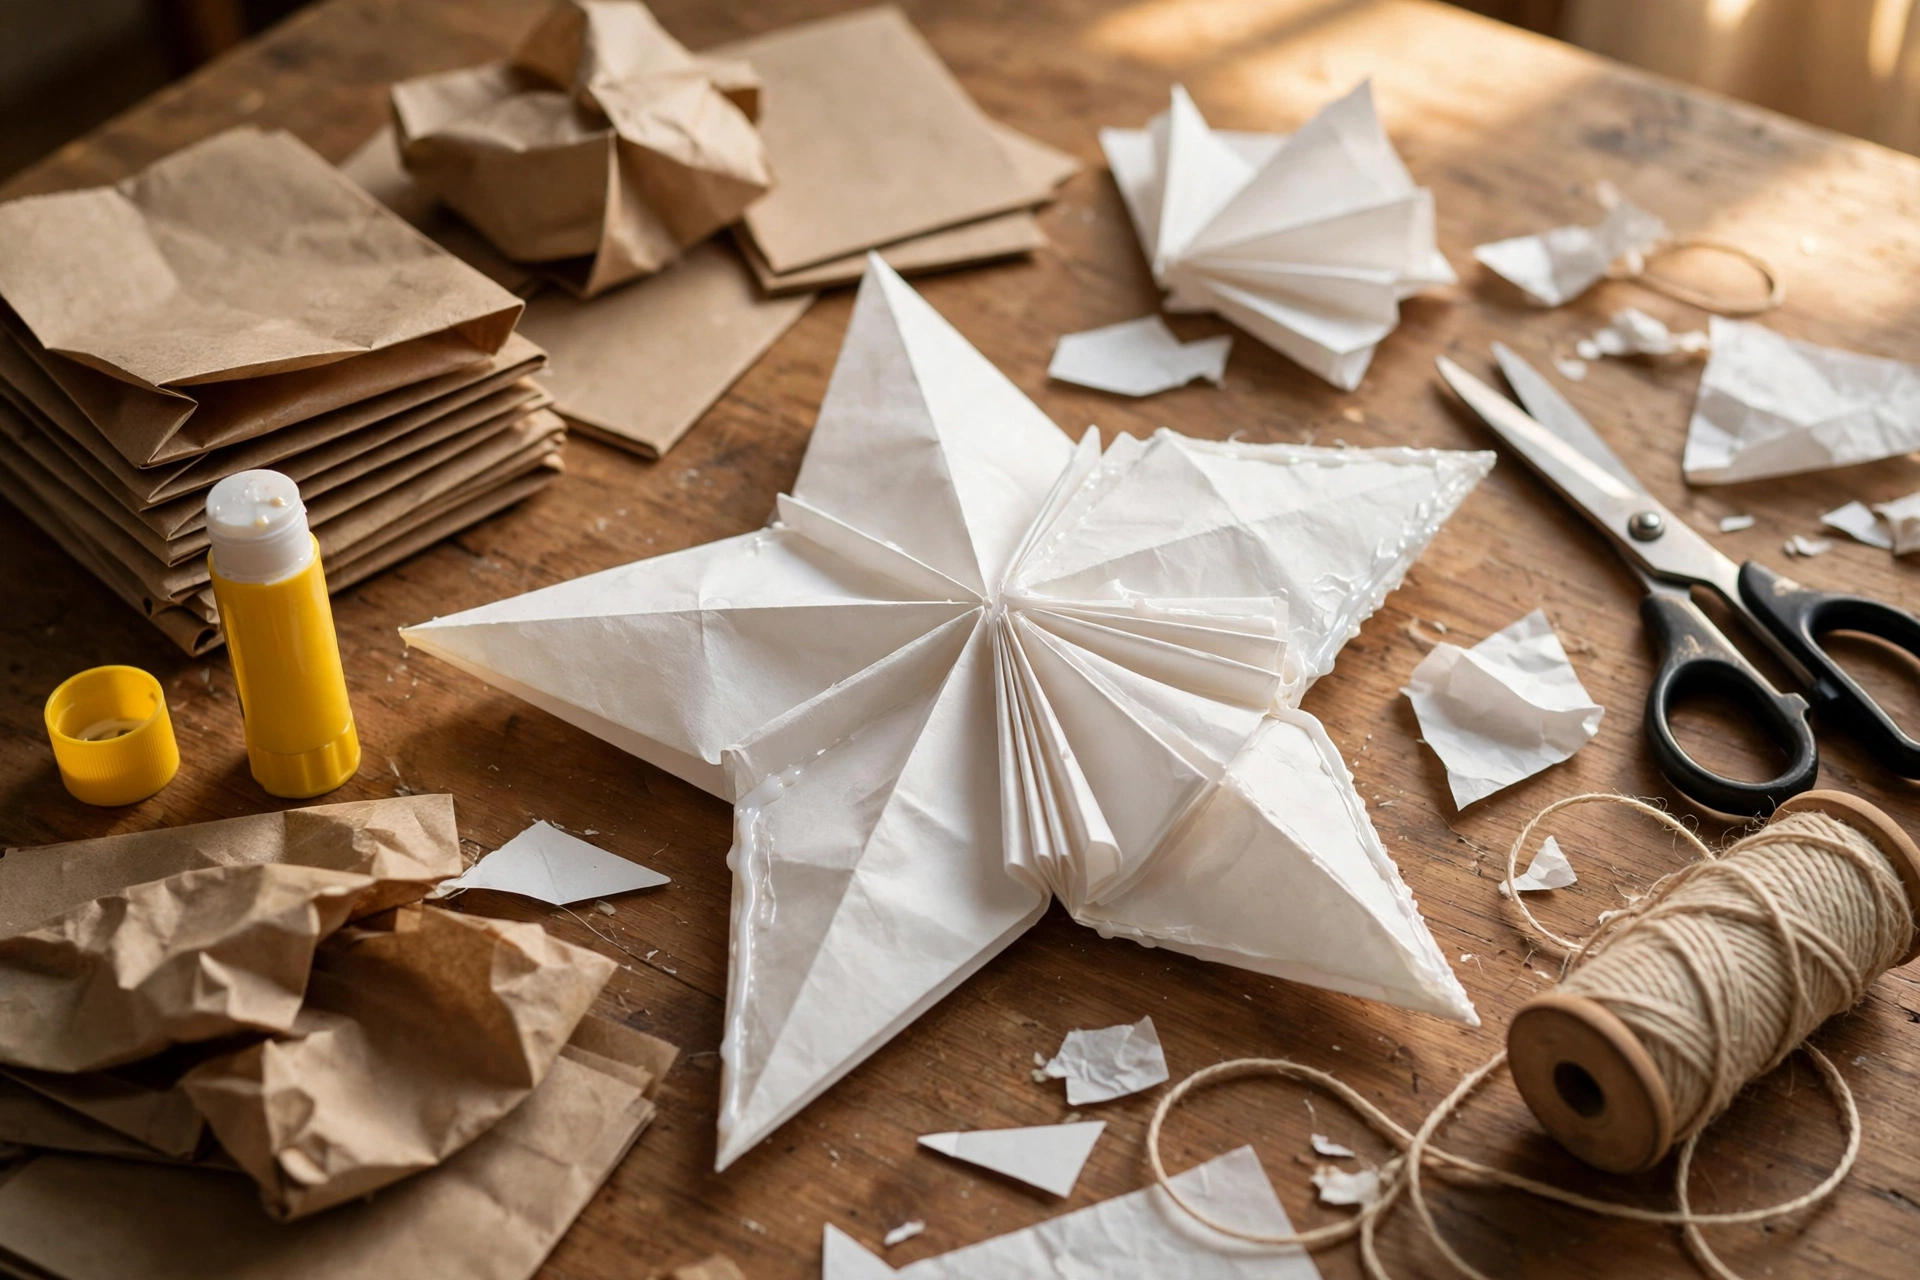
- Take eight bags for one star all facing the same way with the flap side down. Apply a T-shaped line of glue across the edge and up the middle then stack the next bag on top. Repeat this for all eight bags. (2 Minutes)
- Let the stack sit under a book for ten minutes. Warm fresh glue explains why most first attempts come apart later.
- Draw a point at the top centre of the stack and cut both top corners diagonally so the top becomes a peak. Small triangles cut along the sides give a lacy edge. Cut through all layers at once. (3 Minutes)
- Glue the top bag then fan the stack open into a circle until the two ends meet. Hold for thirty seconds. That is the star truly that is all.
- Punch a hole through the two bags tie on twine and hang.
Time: fifteen minutes per star including the pause while the stack sits under the book.
Difficulty: Easy. Kid-friendly: Yes kids can handle the stacking and gluing. An adult should cut through the eight layers, which requires hand strength.
What goes wrong
- The star springs apart after an hour. Too little glue or you fanned it open before it set. Fix: apply T-shaped glue lines on every bag. The ten minutes under a book is not optional.
- The star is lopsided. Bags weren’t aligned at the edge before gluing. Fix: tap the stack on the table, bottom-edge down, before each glue layer.
- The points become torn. Blunt scissors chew through eight layers. Use your sharpest pair and cut the side notches one at a time not in one bite.
Project 2: Dried Orange Slice Garland
This is the project that fills your house with the smell of December for the first week. It’s also the one you cannot rush so start it on a morning when you’re already at home.
Supplies (makes one garland, 6 feet)
- 4-5 navel oranges about $4-5 a bag
- Twine or thin jute string 8-10 feet, about $3
- Optional: 6-8 cinnamon sticks or bay leaves to alternate between slices, about $3
- Baking parchment, a sharp knife, a clean tea towel
Honest total: about $5 for the garland if the twine is already in a drawer, $8 if you’re buying everything.
Steps
- Slice the oranges across the middle into rounds 5mm / quarter inch thick no thicker. Pat every slice dry on the tea towel pressing gently. This step decides whether they dry or steam. (10 Minutes)
- Line a baking tray with parchment. Lay the slices in a single layer, not touching.
- Dry them, low and slow. Oven (best method): 95C / 200F for 2.5-3 hours flipping every hour. Dehydrator: 57C / 135F for 6-8 hours. Air-drying on a rack near a radiator: 3-5 days and honestly hit-and-miss in a humid house; I’ve lost a batch to mould this way.
- They’re done when they feel papery look slightly translucent against the light. Make a faint click tapped on the counter. Soft centre = not done, back in for 30 minutes.
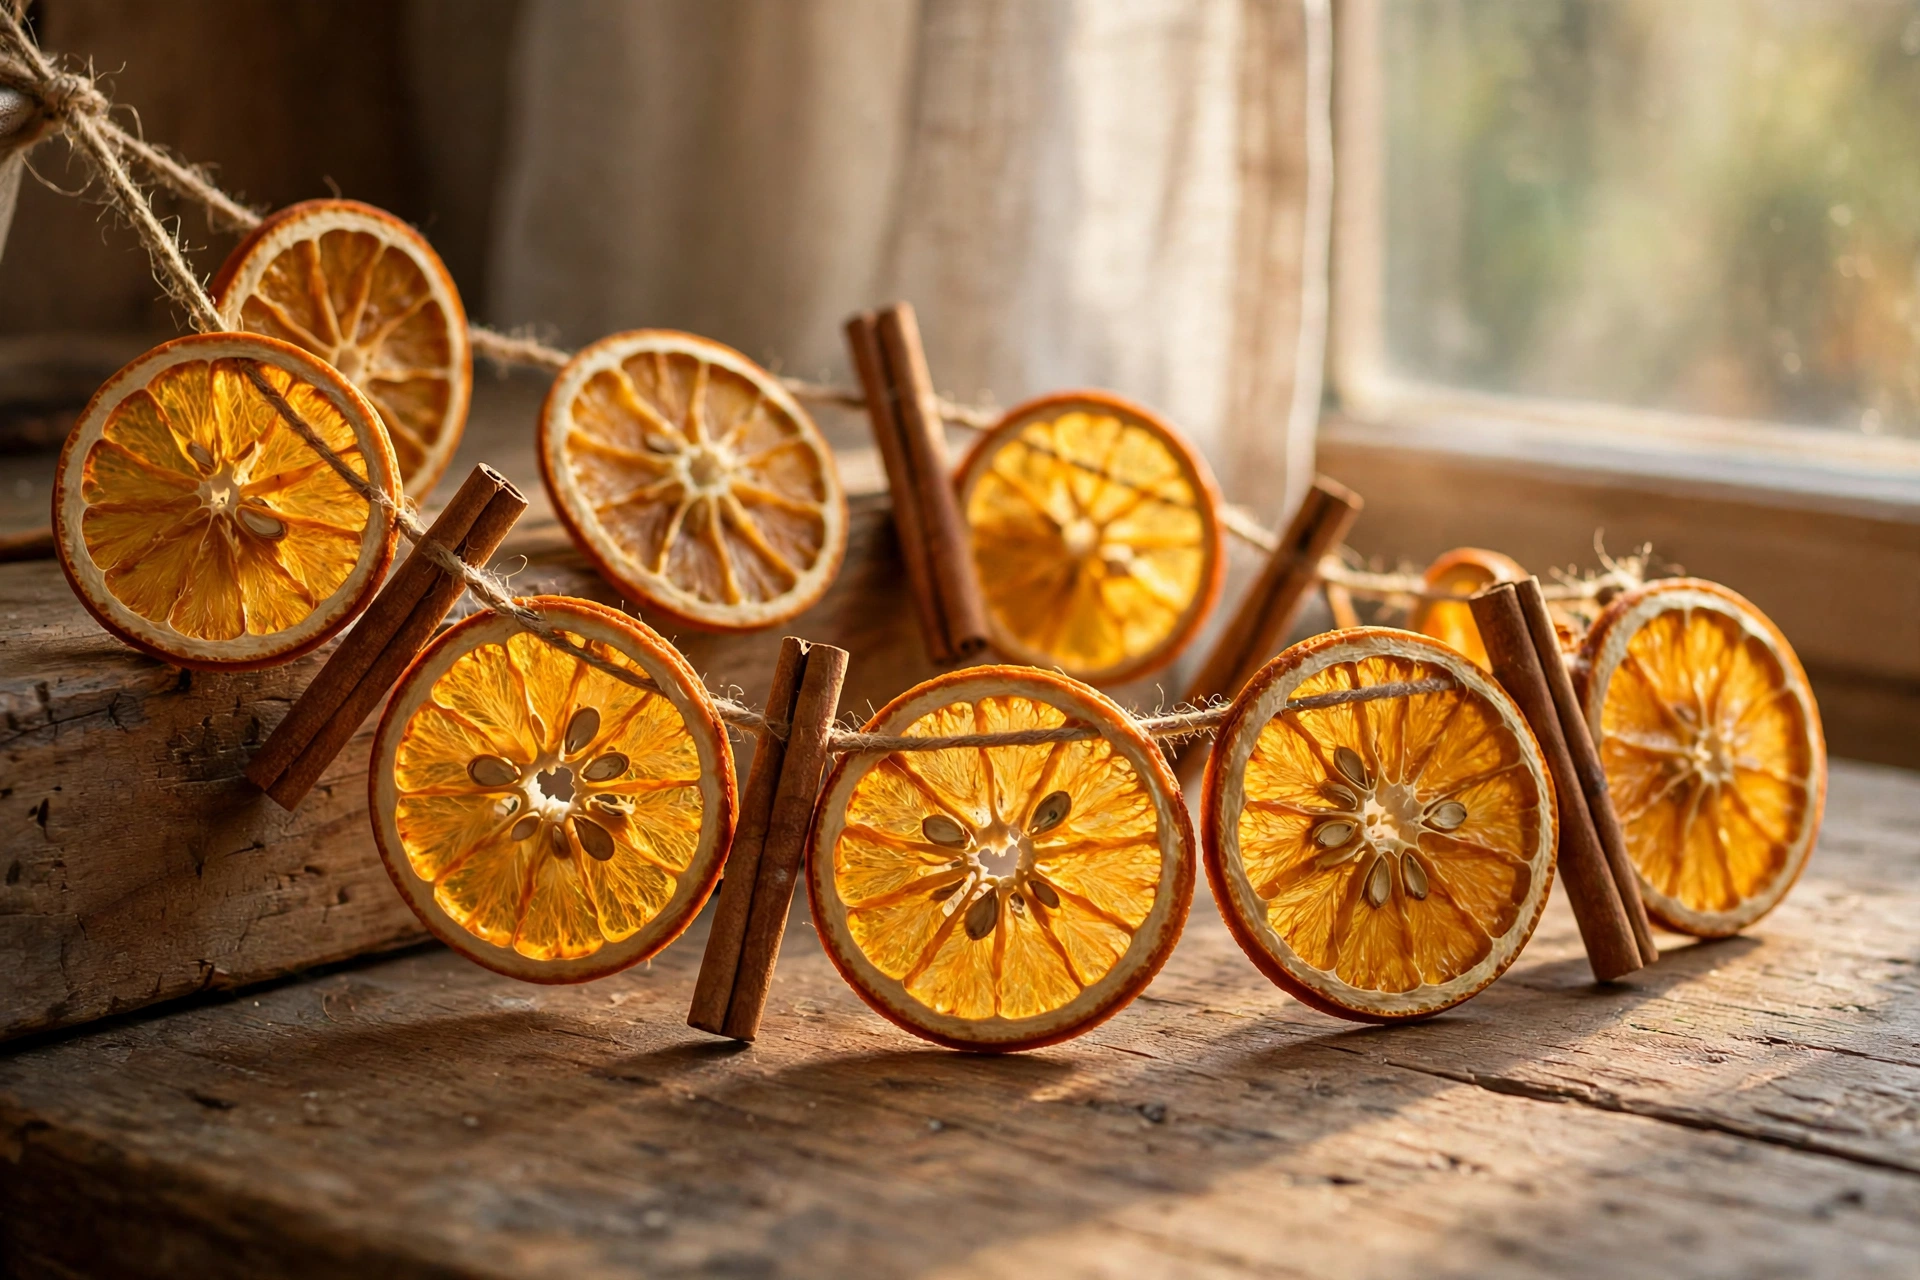
- Thread a needle or a skewer-poked hole through each slice near the top sliding them onto the twine. Alternate 3-4 slices with a bay leaf or a cinnamon stick tied on if you’re using them. (15 Minutes)
Time: 30 minutes of your work; the oven does the other 3 hours.
Difficulty: Easy. It needs that oven window. Kid-friendly: stringing the finished slices yes. The oven work, no.
What goes wrong
- Spongy mouldy slices a week later. Cut thick or under-dried. There’s no saving a mouldy slice bin it. Next batch: thinner slices, full drying time.
- Dark burnt edges. Oven hot or slices forgotten. 95C really is the ceiling; set a timer for the flips.
- Garland sags and twists. Slices threaded all facing directions on slippery string. Fix: thread through two points, in one hole and out a second hole an inch across, so each slice hangs flat.
Real talk on lifespan: a garland looks its best for 2-3 weeks and smells wonderful for about one. After that it fades to an amber don’t make it in October expecting December glory.
Project 3: Pinecone Ornaments, 3 Ways
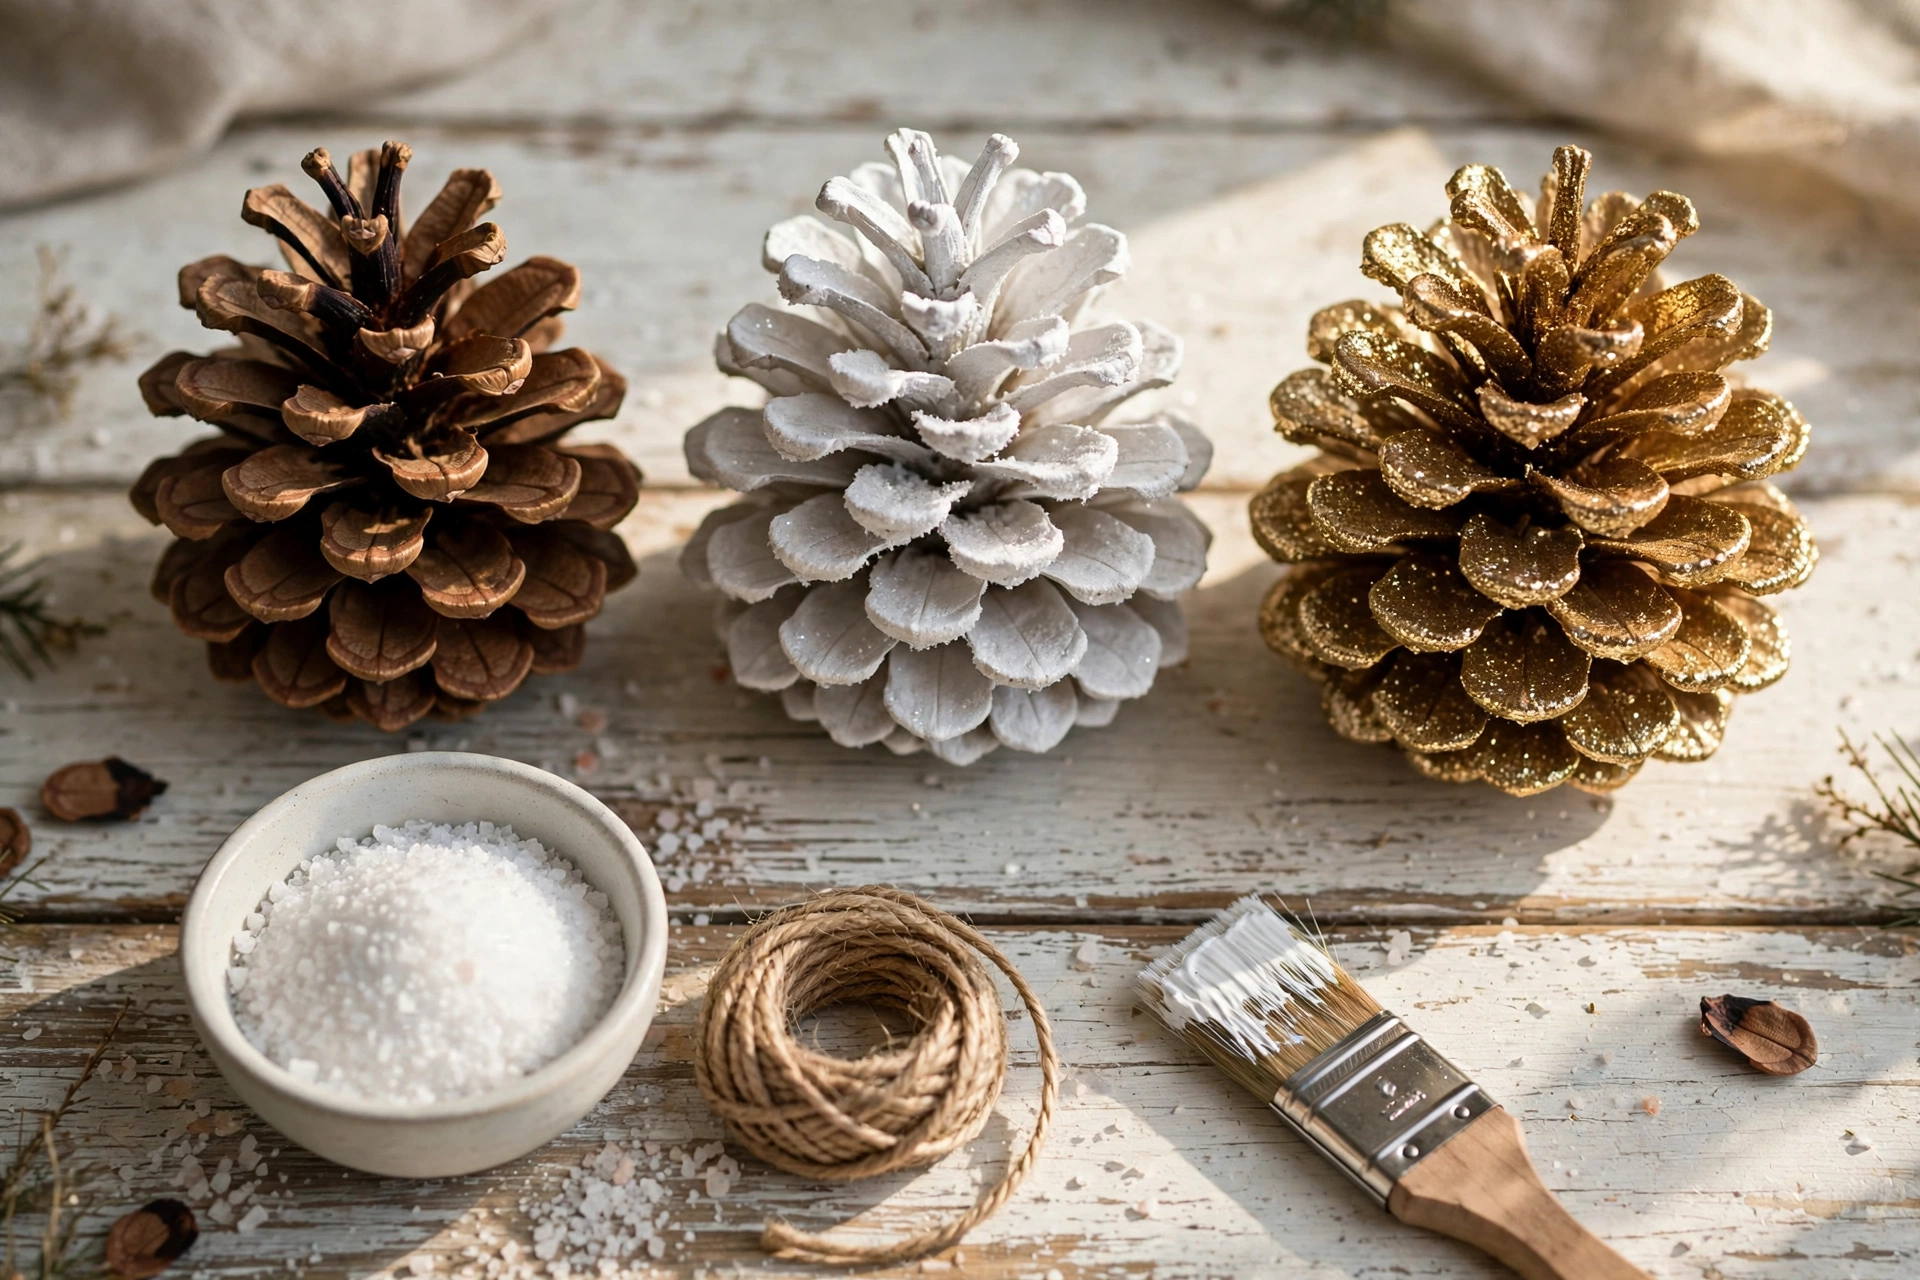
This project is free if you have pine trees around. It’s the most forgiving of the three. You can make them natural, frosted or glittered. One batch of pinecones gives you three styles.
Supplies (makes 12-15 ornaments)
- Pinecones gathered or from a craft store bag free to about $5
- White acrylic paint, about $3
- Epsom salt for the frosted finish about $2
- School glue (PVA) about $2
- Ribbon or twine for loops about $3 or use leftover from Project 2
- A stiff brush or foam brush about $1
Honest total: around $6 for the whole batch if you gather the pinecones. That’s pennies per ornament.
Start by cleaning the pinecones. Don’t skip this step. Collected pinecones bring dust, sap and tiny bugs. Soak them for 30 minutes in a sink of water with a splash of vinegar. Bake them spread out on a foil-lined tray at 95C / 200F for 30-45 minutes. Baking has a benefit: the heat melts the sap and opens up closed pinecones into that perfect shape. Let them dry completely before painting, overnight is safest.
The 3 finishes
- Natural: Tie a piece of twine or ribbon around the scales. Use a dot of glue to hold it in place. This takes two minutes per cone. These stay looking good in February as a bowl filler.
- Frosted: brush white paint lightly over just the tips of the scales. Use little paint on the brush and quick strokes. Brush on school glue and roll the pinecone in Epsom salt to make a sparkly snow crust. The painting tips from my hand-painted home decor ideas roundup work too: thin layers focus on the tips and go slow.
- Glitter: Brush glue over the tips of the scales. Shake glitter over a tray and let the excess fall off. My honest opinion? Make two glitter ornaments, not twelve. They shed glitter all winter and the natural and frosted ones look better in photos anyway.
Time: 5 minutes per ornament once the pinecones are clean and dry. Add drying time. Difficulty: The easiest of the three. Kid-friendly: This is the one for kids. Painting and rolling in salt feel like a craft-table invitation. Lay down newspaper. Be ready for glitter everywhere.
What could go wrong
- Paint looks thick and plastic-like. That means much paint was used and it was applied wet-on-wet. Fix: Use a dry-brush technique. Apply two layers instead of one heavy one. Focus on the tips.
- Epsom salt falls off in a pile. The glue layer was too thin. The pinecone wasn’t fully dry. Make sure the glue covers the scales well and press the salt gently with your palm.
- Ornaments smell musty indoors. That means the pinecones weren’t fully dry, after soaking. Let them sit another day on a tray before bringing them near your tree.
Where Each Piece Actually Goes
- Paper stars: start with paper stars at windows. Let daylight hit the cut edges; that is the effect. Then place a cluster of three paper stars at different heights above a mantel or over the dining table and put one big paper star in a hallway.
- Orange garland: lay orange garland along the mantel edge around a kitchen window or thread it through a plain greenery garland on the stairs. Keep orange garland out of steamy bathrooms because the orange slices soak up moisture and go soft.
- Pinecones: pinecones belong on the tree of course but pinecones also tie onto wrapped gifts instead of a bow hang from a stocking hook in a cluster or pile them in a glass vase with fairy lights as a centrepiece.
If you are building a handmade scheme instead of one corner my creative home decor ideas list has the big projects that match these.
Do the oranges first, tonight, if you can. Not because orange garland is the prettiest. Because orange garland is the only project that needs time. Let it dry while you fold paper stars tomorrow and by the weekend every decoration, in this post can be hanging up.