Christmas Tree Decor Ideas That Look Planned
The tree is the decoration that every guest notices and it is also the easiest to overdo. Most trees do not look messy because the owner bought the ornaments. They look messy because every idea was added at once without order and with no colour limit. A tree with five colours, three ribbon styles, flashing lights and ornaments on the outer tips will look busy even when every single piece is beautiful on its own. A planned tree works the other way around. You pick one look first, then you build it in layers. You stop before the branches disappear. The result is not a showroom tree. It is a tree that looks calm in daylight, glows at night, photographs well and still has room for the ornaments that actually matter, the handmade ones, the old ones and the ones the children made at school. This guide follows the order professionals use, even when they are decorating a tree they already own. Lights first, then ribbon or garland, then ornaments, from largest to smallest, then the topper, then the base. Along the way you will get the sizing rules that stop most mistakes, four looks you can copy without buying a whole new set and the small tree tricks that make a pencil tree or a tabletop tree feel grand instead of apologetic. You do not need a bigger tree, a bigger budget or a whole weekend. You need a plan, a colour limit and about two focused hours.
1. Pick One Look Before You Touch a Light
Every good tree begins with a choice, not a shopping trip. Choose one look, two colours, and one metal, and write them down before you open a box. Red and green with gold is classic. Cream and green with brass is calm. Burgundy and gold on a dark green tree is rich without being loud. Champagne, cream, and soft gold is elegant in a light room. Pick the combination that already appears in your room, because the tree should belong to the room, not fight it.
The colour limit is the single rule that makes the biggest difference. Two colours plus one metal gives the eye a pattern to follow from top to bottom. Add silver, blue, pink, and copper as well, and the eye has nowhere to rest, so the tree reads as clutter even when it is carefully arranged. If you have beloved ornaments in other colours, give them a place of honour rather than scattering them everywhere. One small tree, one shelf, or one branch cluster can hold the sentimental pieces without breaking the main look.
Next, choose one texture family. Velvet ribbon, matte baubles, and wooden ornaments read warm and collected. Shiny glass, glitter, and metallic ribbon read bright and festive. Natural textures, such as dried orange slices, pinecones, wooden beads, and linen ribbon, read calm and woodland. Mixing all three families at full strength is what makes a tree look like a craft shop exploded. Choose one family as the lead, then let one or two pieces from another family act as accents.
Finally, decide how full you want the tree to look. A minimal tree leaves plenty of green showing, uses fewer ornaments, and lets each piece breathe. A lush tree layers ribbon, picks, and ornaments until the branches are mostly covered, and it needs a firmer colour limit to stay readable. Neither is better. The mistake is drifting between the two, adding a little more every day until a minimal tree becomes a crowded one by accident. Decide now, and let that decision guide every box you open.
2. Measure, Place, and Fluff Before You Decorate
A tree that is too big for its corner will look wrong no matter how well you decorate it, so measure before you buy or bring the tree in. Measure the ceiling height, then subtract about a foot for the topper and a little breathing room. Measure the floor space, including how far people need to walk past the tree, and check the width at the widest branches, not just the height on the box. A six foot slim tree can fit a small room far better than a five foot wide tree, because width, not height, is what blocks walkways and crowds furniture.
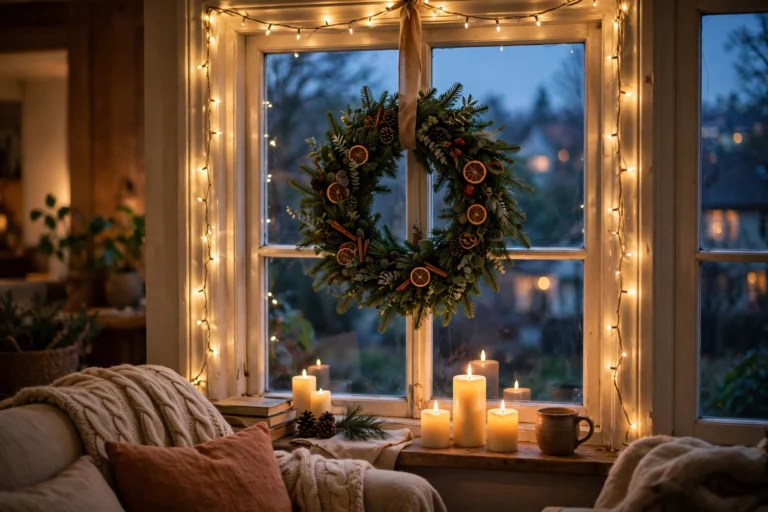
Place the tree where it can be seen from the main seating, but not where it blocks a door, a radiator, or the television. A corner beside the sofa usually works, because the tree gets a backdrop of wall on two sides and does not eat the middle of the room. If the tree stands in front of a window, keep the window ideas simple, since a tree plus a fully dressed window can compete for attention. For window dressing that stays calm beside a tree, see our Christmas window decor guide.
Fluffing is the unglamorous step that changes everything, and it is worth a full twenty minutes. Start at the bottom, pull each branch out and slightly down, then fan the tips so they point in different directions instead of lying flat. Work around the tree in sections, and step back every few minutes to check for flat patches and holes. A well fluffed artificial tree looks twice as full as the same tree pulled straight from the box. A real tree needs a different check: shake it gently outside, trim any broken lower branches, and cut about an inch off the trunk before it goes into water, so it can drink properly.
Check the stand before decorating, not after. The tree should stand straight without leaning, and the stand should be hidden later by a collar or skirt, not by pushing the tree against a wall. If you have pets or small children, anchor the tree to the wall with a discreet hook and fishing line, or choose a heavier stand. A tree that falls once will lose ornaments, break glass, and scare everyone. Prevention takes five minutes and costs almost nothing.
3. Lights First, Deep Inside the Branches
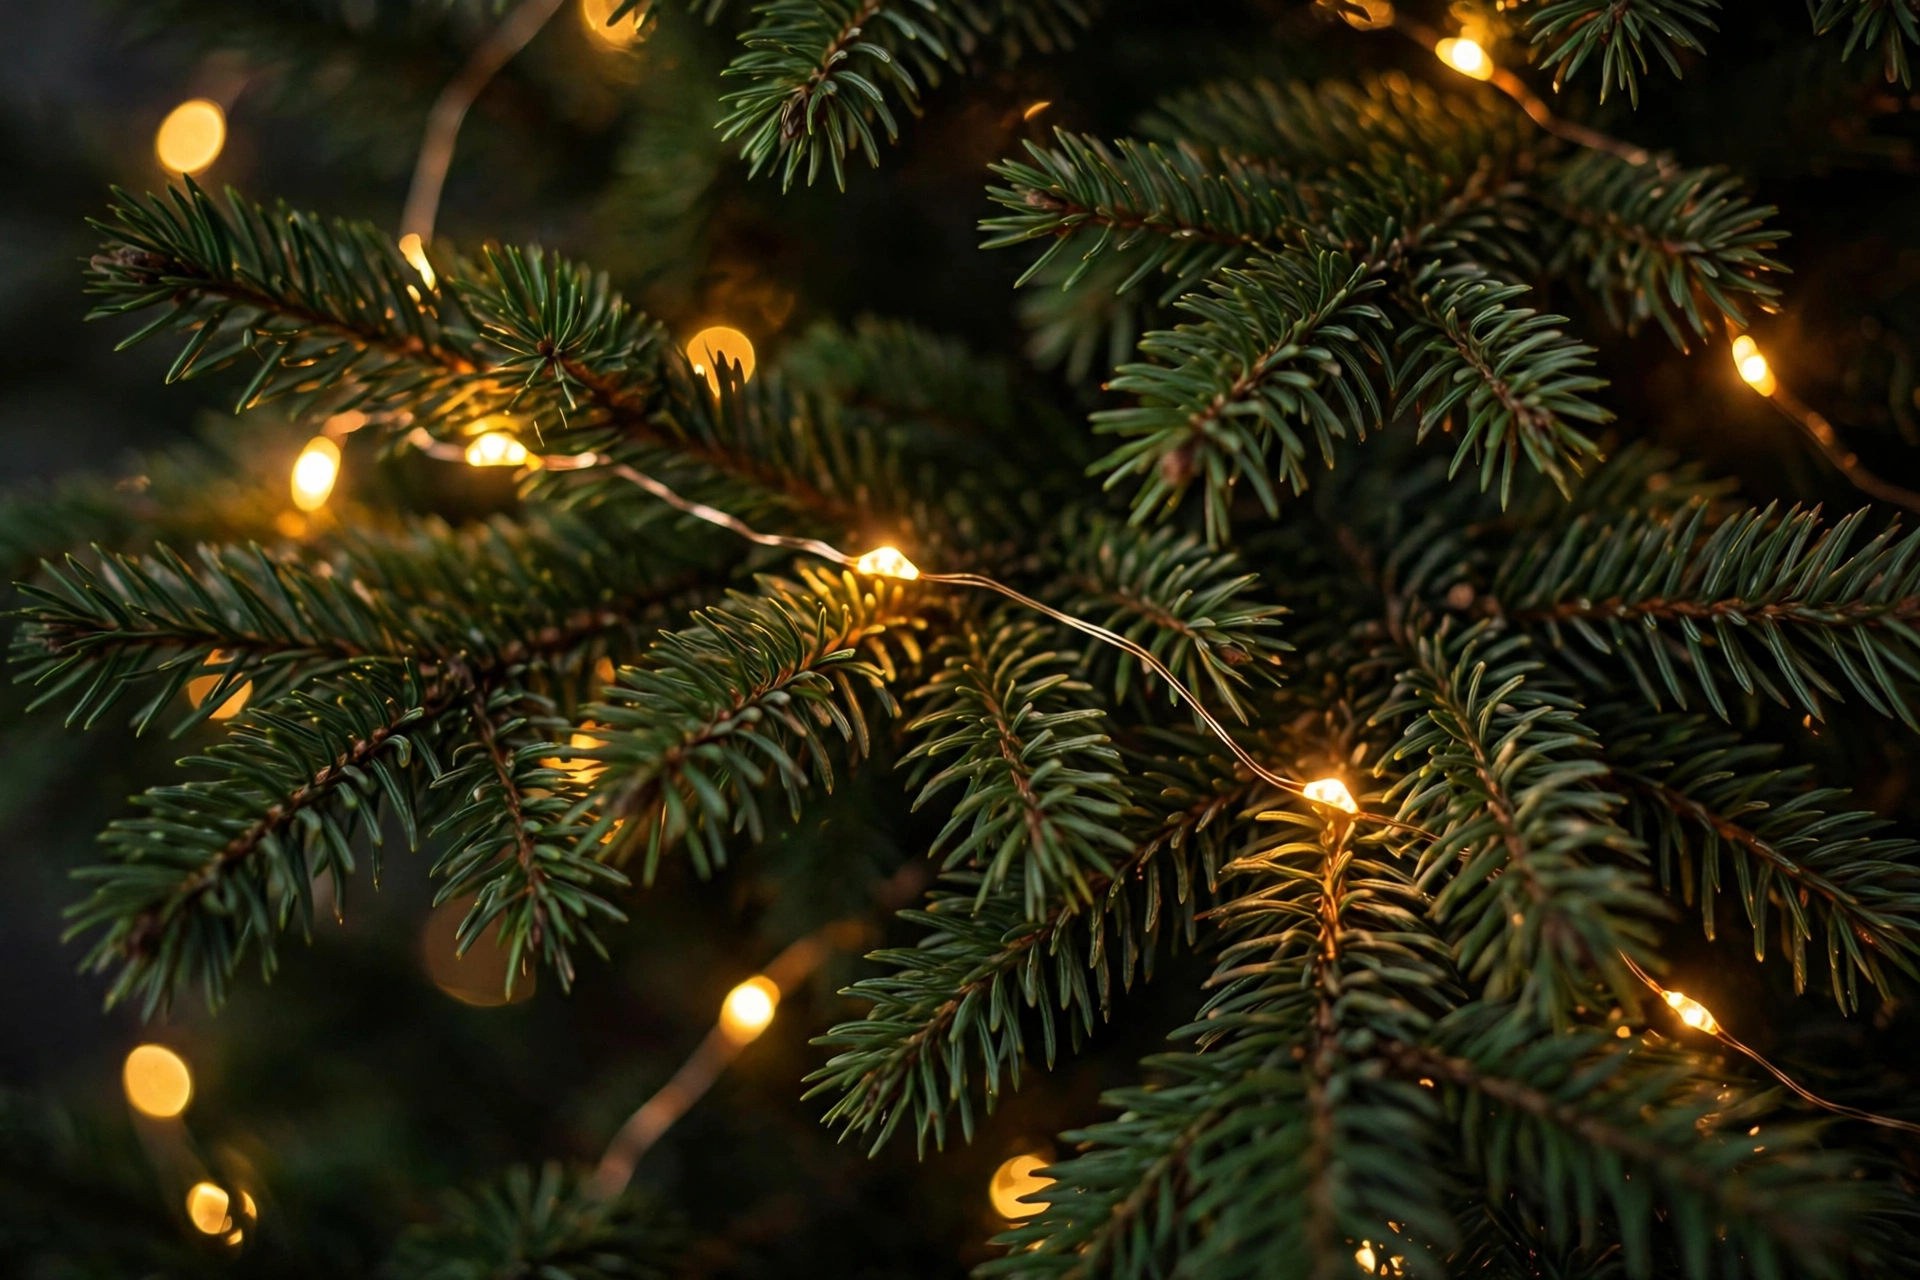
Lights always go on first, and they go deep, not just around the outside. A tree lit only on the surface looks flat at night, because the middle stays dark and the ornaments cast hard shadows. A tree lit from the inside glows, because light comes through the branches from several depths. That depth is what makes saved photos of trees look so warm, and it is easier to achieve than it looks.
Use warm white lights for most rooms, around 2700K, because cool white can make a living room feel clinical in the evening. If you already own cool white lights and like them, keep them, but do not mix warm and cool on the same tree, since the clash is visible from across the room. For a rough guide, allow about 100 small lights per foot of tree height, so a six foot tree wants roughly 600 lights. A fuller, more glowing tree may want more, and a minimal tree may want fewer, but starting from that guide stops the two most common errors: a tree so dim it disappears at night, and a tree so bright it washes out every ornament.
Start at the base, near the trunk, and weave the lights in and out, pushing some strands deep toward the centre and letting others sit nearer the tips. Work upward in sections, and plug the lights in as you go, so you can see dark patches while you can still fix them. Battery lights work well for small and tabletop trees, and for trees far from a socket, but check the battery box position before you finish, so it is hidden behind the tree and easy to reach for switching off. For a tree in a working room, keep fairy lights away from the screen, as lights behind a monitor can reflect and distract. Our Christmas home office decor guide covers that placement in detail.
When the lights are on, step back and look at the tree in the evening, not only in daylight. Daylight hides uneven lighting, while evening shows it at once. Move a strand or two now, before ribbon and ornaments cover them, because fixing lights after decorating means undoing half the work. This one check, done in the dark, is what separates a tree that glows from a tree that merely has lights on it.
4. Ribbon, Garland, and Picks: The Layer That Fills Gaps
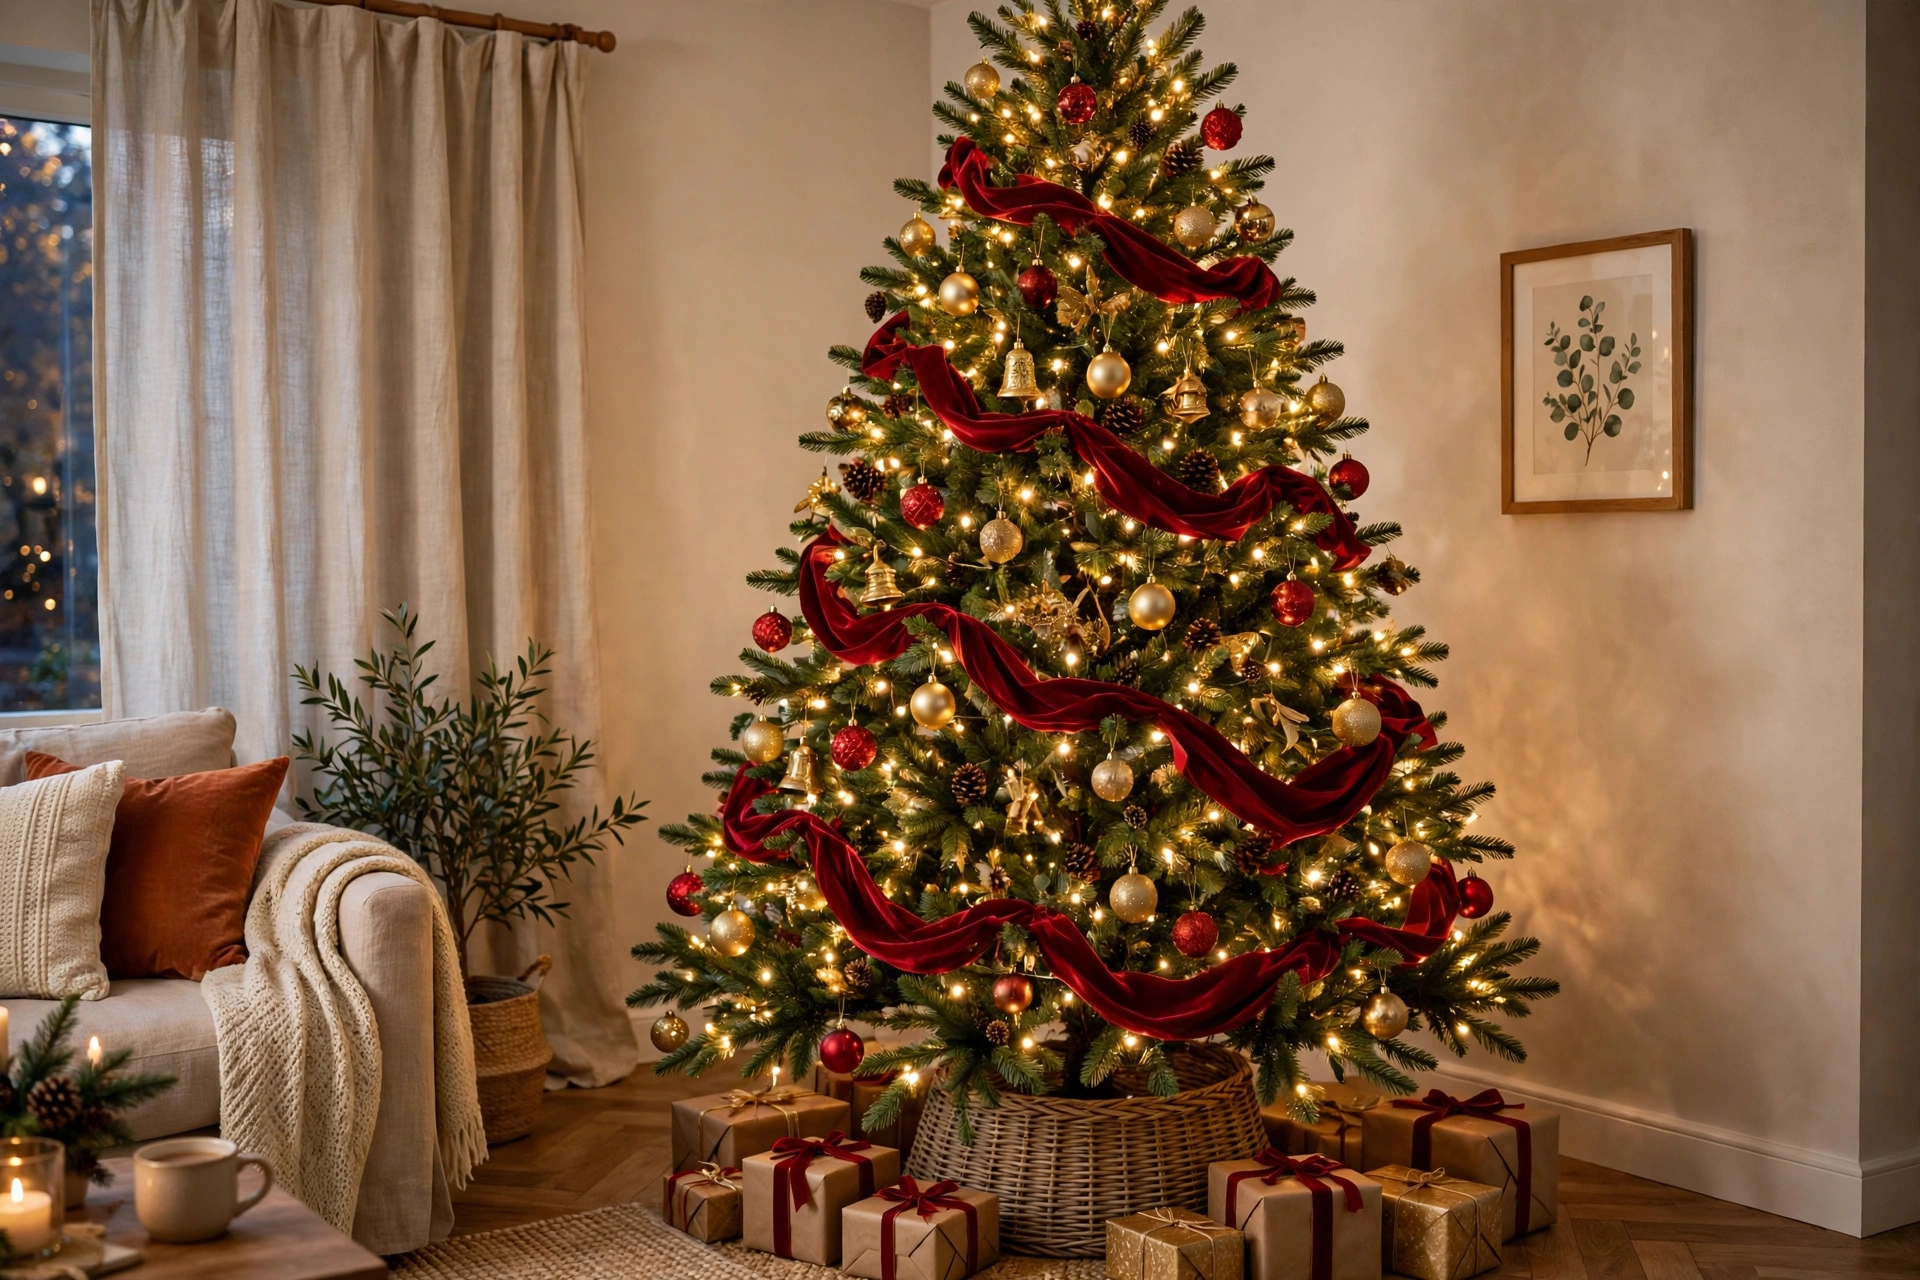
Ribbon is the layer most beginners skip. It is the layer that makes a tree look designed rather than decorated. Ribbon fills the gaps between ornaments, leads the eye around the tree, and softens the straight lines of the branches. You do not need much. One ribbon style, repeated all the way around, beats three ribbons competing for attention. A wide velvet ribbon, about two to three inches for a full tree and narrower for a slim tree, gives the most forgiving result, because it holds its shape and hides small gaps.
Run ribbon in a loose spiral from top to bottom, tucking it into the branches every foot or so, so it looks woven in rather than draped on top. Alternatively, cut the ribbon into shorter lengths and tuck each piece in like a bow or a waterfall, which works well on slim trees where a long spiral can look heavy. Do not pull ribbon tight. A little slack, with soft loops and tails, reads natural and festive, while tight ribbon reads like packing tape. Step back after each side and check that the ribbon appears at different depths, not only on the front face.
Garland works the same way, but use it sparingly. One garland, either beaded, wooden, or simple greenery, is enough. Two garlands plus ribbon plus picks will bury the tree. If you love a beaded garland, let it be the only garland, and keep ribbon to one style. If you prefer a natural look, dried orange slices on a string, or a simple wooden bead garland, can replace ribbon entirely and still give the tree structure.
Picks are the finishing touch in this layer: a few sprigs of berries, eucalyptus, pinecones on stems, or frosted branches, pushed into the tree at angles. Use five to ten picks on a full tree, not fifty, and place them where the tree looks thin, not evenly spaced like fence posts. Picks add height and texture at the outer edge, and they are especially useful near the top, where branches are shorter and ornaments alone can look sparse. Remove any pick that blocks a light or hides a favourite ornament, because the layer should support the ornaments, not compete with them.
5. Ornaments in Order: Largest First, Deepest First
Hang ornaments from largest to smallest, and from deepest to outermost, and the tree will look balanced without any measuring. Start with your largest ornaments, and place them deep inside the branches, not only on the tips. Deep ornaments create depth, catch the light from inside, and stop the tree looking like a flat wall of baubles. Space them evenly around the tree, checking from several angles, because a tree decorated only from the front looks thin from the side.
Next, add medium ornaments, again at mixed depths, and repeat your colours in a pattern around the tree rather than grouping all the reds on one side and all the golds on another. Repetition is what makes a colour scheme read as intentional. If you have a set of twelve matching baubles, spread them through the tree instead of clustering them, so the colour travels from top to bottom. The same rule applies to special ornaments: one handmade ornament on each side of the tree reads as a collection, while ten on one branch read as clutter.
Small ornaments and fillers go last, on the outer tips and in any remaining gaps. Small baubles, mini pinecones, tiny bells, and delicate glass pieces are perfect here, because they catch light without weighing branches down. As a rough guide, allow about 10 to 15 ornaments per foot for a full look, and fewer for a minimal look, adjusting for tree width and ornament size. Count loosely, not strictly, because a tree with large ribbon and picks needs fewer ornaments than a bare tree of the same height.
Finally, walk around the tree slowly and look for three problems: a bare patch where branches show through, a heavy patch where ornaments cluster, and an ornament hanging so low it brushes furniture or the floor. Fix those three, then stop. The temptation to keep adding one more ornament is strong, especially when there are boxes left over, but a tree with a little green showing looks alive, while a tree with no green showing looks like a display in a shop window. Save the leftover ornaments for a second small tree, a garland, or next year, and let this tree breathe.

6. The Topper, the Base, and the Last Ten Minutes
The topper should fit the tree, not take over the tree. A star, an angel, a large bow, or a bundle of picks all work, provided the size matches the tree. As a guide, a topper of about ten to twelve inches suits a six foot tree, while a smaller tree needs a smaller topper, or it will look top heavy. The 2026 trend toward a generous velvet bow instead of a traditional topper is worth trying if you like a softer finish: one large bow, wired firmly at the crown, with loops and tails trailing a little down the top branches, gives a finished look without adding height.
Fix the topper firmly. A topper that leans, spins, or falls off on the first evening will bother you all season. Wire it to the top branch, not just balanced on it, and check it from across the room. If you use a star with lights, connect it to the same circuit as the tree lights where possible, so it switches on and off with the rest of the tree, rather than needing a separate plug hunt every evening.
At the base, a collar, a skirt, or a basket all work, and the choice depends on the room. A woven collar looks tidy and modern, and it hides the stand completely. A fabric skirt softens a traditional room and can hide extension cords. A basket or a large pot suits a natural or woodland tree, and it also adds weight at the base, which helps stability. Whatever you choose, make sure it does not block the water reservoir on a real tree, and that you can still reach the light switch and plug without crawling under branches.
Spend the last ten minutes on the room around the tree, not on the tree itself. Move one piece of furniture if the tree blocks a walkway, clear the floor of ornament packaging, and put a small tray or basket beside the tree for fallen needles or spare hooks. Check the tree at night once more, with the room lights low, and enjoy the one moment when the work is done and the season feels properly started. That evening check is also when you will notice a dark patch or a leaning topper, while there is still time to fix it calmly.
7. Four Looks to Copy Without Buying a Whole New Set
If picking a look from scratch feels difficult, try copying one of these four options, using items you already own plus one or two new pieces. The classic red and gold tree uses a green tree, warm lights, red baubles that are matte and shiny, gold ribbon, and a gold star or bow. Make the ribbon wide, the ornaments large, and put plaid ribbon on gifts underneath to tie the room together. This look suits almost any living room, and the look photographs beautifully because the contrast is strong but the palette is limited.
The woodland tree uses materials such as wooden ornaments, pinecones, dried orange slices, linen or burlap ribbon, and warm lights, with a few cream baubles to lift the darkness. The look suits a room with wooden furniture, plants, and neutral walls, and the look is the easiest to build slowly, because you can add a few natural pieces each year without breaking the scheme. Avoid shiny plastic in this look, because one glossy piece can pull the whole tree toward a different style.
The champagne and cream tree uses a flocked or green tree, warm lights, cream and champagne baubles in mixed finishes, soft gold ribbon, and a cream bow topper. The look suits a light, modern room, and the look glows beautifully at night because the pale colours reflect light instead of absorbing it. The risk with this look is flatness, so add texture: velvet ribbon, frosted picks, and a mix of matte and glitter finishes, rather than only shiny baubles, which can look cold on their own.
The moody burgundy tree uses deep burgundy, forest green, and brass, with velvet ribbon and a few dark glass ornaments. The look suits a room with dark furniture, bookshelves, or deep wall colours, and the look feels rich without needing many pieces, because the colours are already strong. Keep the lights warm and plentiful, because dark colours absorb light, and add one lighter accent, such as cream baubles or gold picks, so the tree does not disappear in a dark corner at night. Whichever look you copy, keep the rule from section one: one look, two colours, one metal, and the tree will hold together.
8. Small, Slim, and Tabletop Trees That Still Feel Grand
A small tree is not a lesser tree. It is a tree that needs stricter rules, because every mistake shows up closer. For a slim pencil tree, use smaller ornaments, no bigger than about two and a half inches, one narrow ribbon spiralled from top to bottom, and micro fairy lights for a fine sparkle. Big ornaments make a slim tree look lumpy, while small ornaments in a tight colour palette make it look tall and elegant. Place the tree in a narrow corner or beside the television, where its height can shine without its width blocking anything.
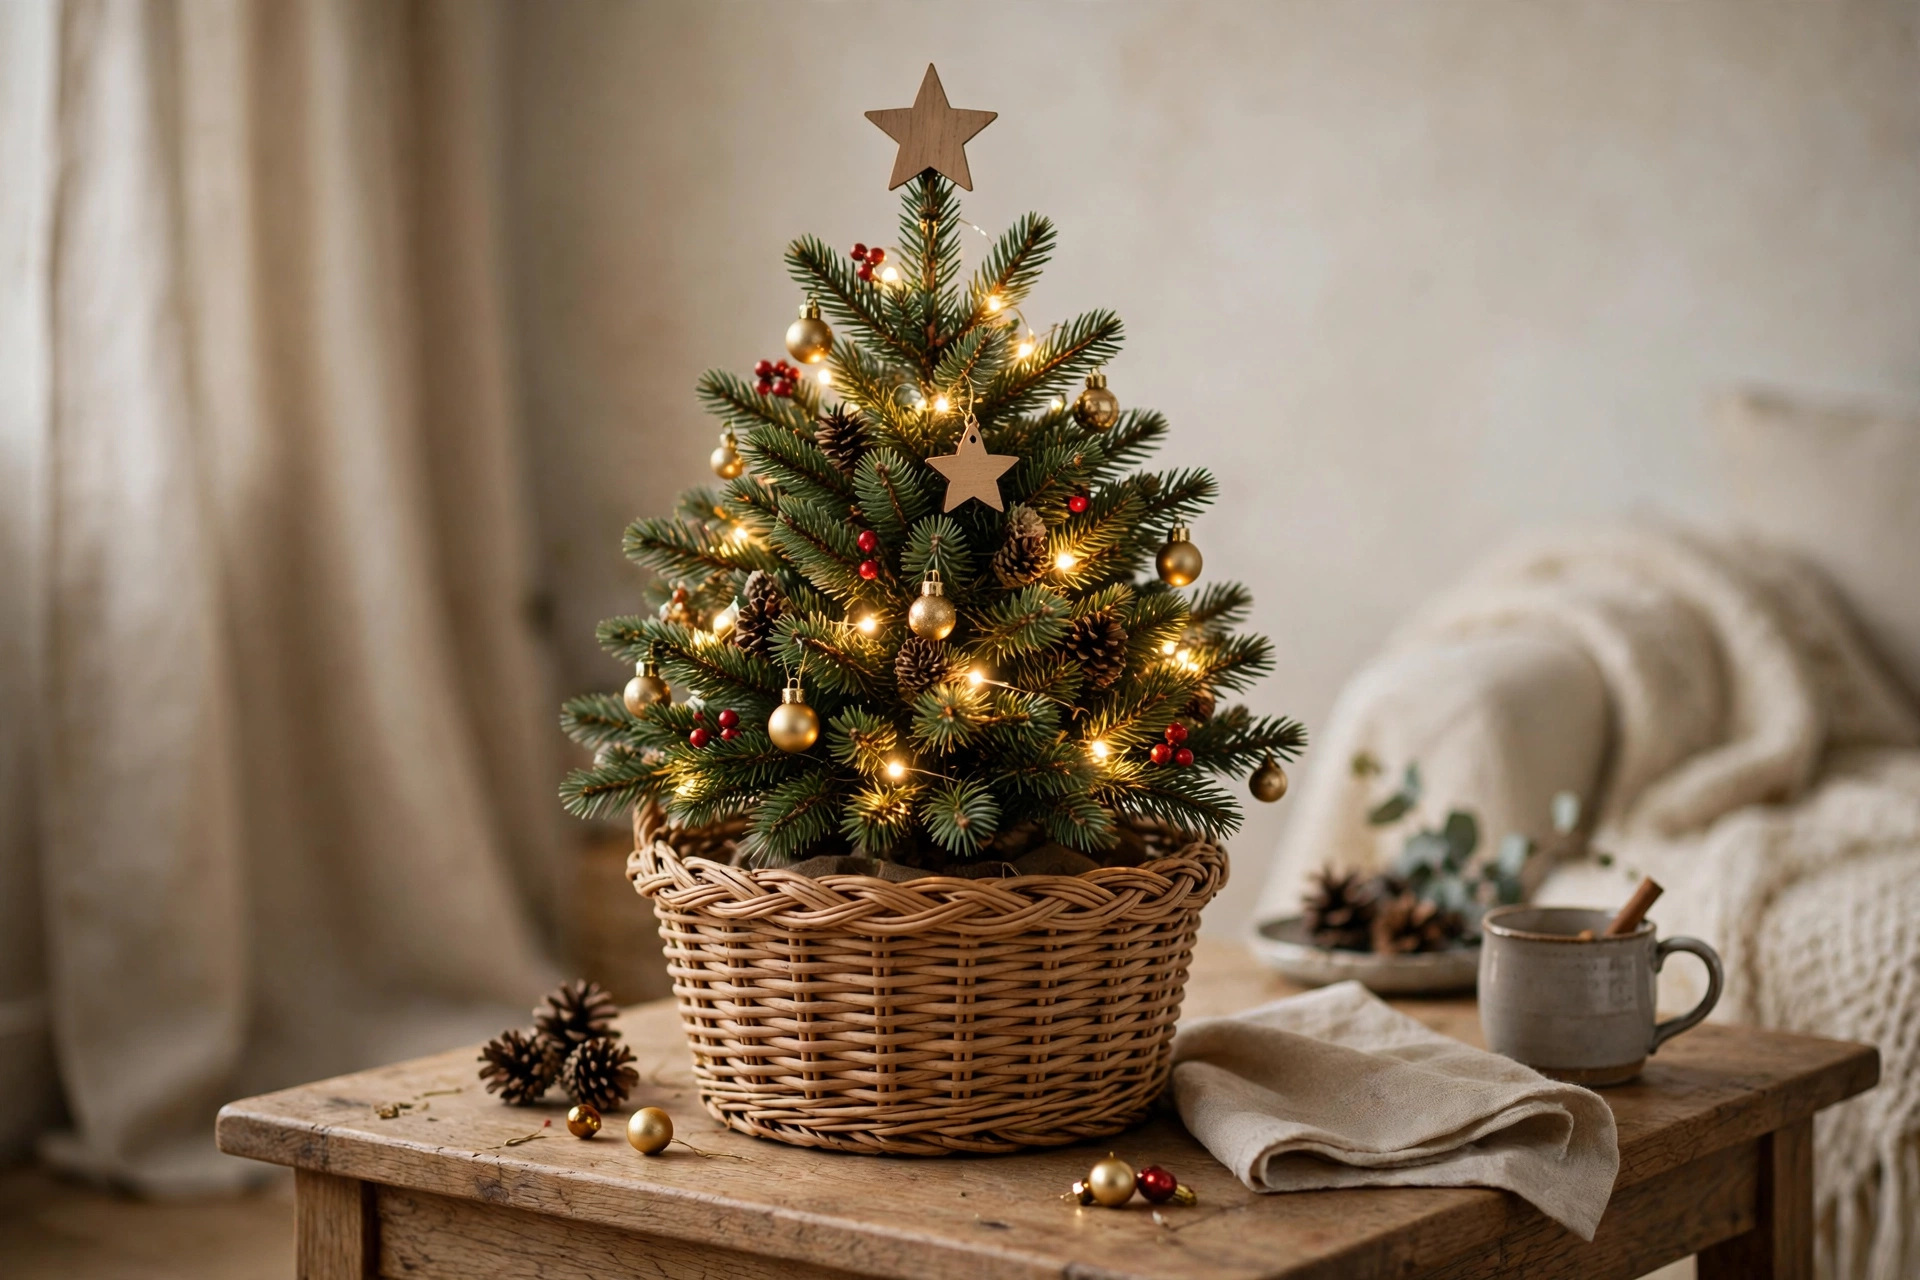
A tabletop tree, usually three to four feet tall, works on a side table, a console, or a desk, and it is perfect for a bedroom, a kitchen corner, or a small apartment. Because you see it up close, detail matters more than quantity. Use mini ornaments only, battery fairy lights so you do not need a plug nearby, and a pretty pot or basket as the base, rather than hiding it under a skirt. Keep the colours tight, and let the pot do half the work: a ceramic pot, a woven basket, or a simple wooden box can make a small tree feel deliberate instead of temporary. For a desk tree in a working room, keep the same discipline as our Christmas home office decor guide: one small tree, one candle, one sprig, and nothing that blocks the screen.
For a tree in a room with pets or young children, choose shatterproof ornaments for the lower branches, keep glass and sentimental pieces higher up, and avoid tinsel and small detachable parts at pet height. Anchor the tree, hide cords behind furniture, and use battery lights where possible, so there is no trailing cable to pull. A tree skirt or collar that covers the stand also stops curious hands and paws from reaching the water reservoir or the light plug. These safety steps do not make the tree less pretty. They make it a tree you can relax beside, which is the whole point.
Finally, plan the end of the season while the tree is still up. Take a phone photo of the finished tree from two angles, so next year you can repeat what worked without guessing. Note which ribbon, which lights, and which ornament sizes you used, and store them together in one labelled box, with the topper on top so it is the first thing you find. A small tree packs away in minutes, a full tree in about an hour, and both feel easier when the storage matches the plan. When January comes, the tree comes down, the room feels calm again, and the photo is already waiting for next December.
Conclusion
A beautiful Christmas tree is not about owning more decorations. It is about choosing one look, building it in the right order, and stopping before the branches disappear. Lights deep inside, one ribbon repeated, ornaments largest first and deepest first, a topper that suits the size, and a base that hides the stand, that sequence alone will improve almost any tree, whatever style you prefer.
Start with what you already own. Fluff the tree properly, check the lights in the evening, and move one or two ornaments from the tips to deeper branches. You will see the difference at once, without spending anything. Then, if you want a change, add one new element, a velvet ribbon, a set of wooden ornaments, or a bow topper, and let that one change carry the whole look. Small, deliberate changes beat a whole new set, every time.
Your tree does not need to look like a photograph to be right. It needs to look like your home at Christmas: warm, a little personal, safe for the people and pets who live there, and easy to enjoy every evening until January. Pick your look, follow the layers, and let the tree glow. For the rooms around the tree, our Christmas bathroom decor guide shows how the same warm light and simple greenery can carry the season into even the smallest room, without taking over the space you actually live in.