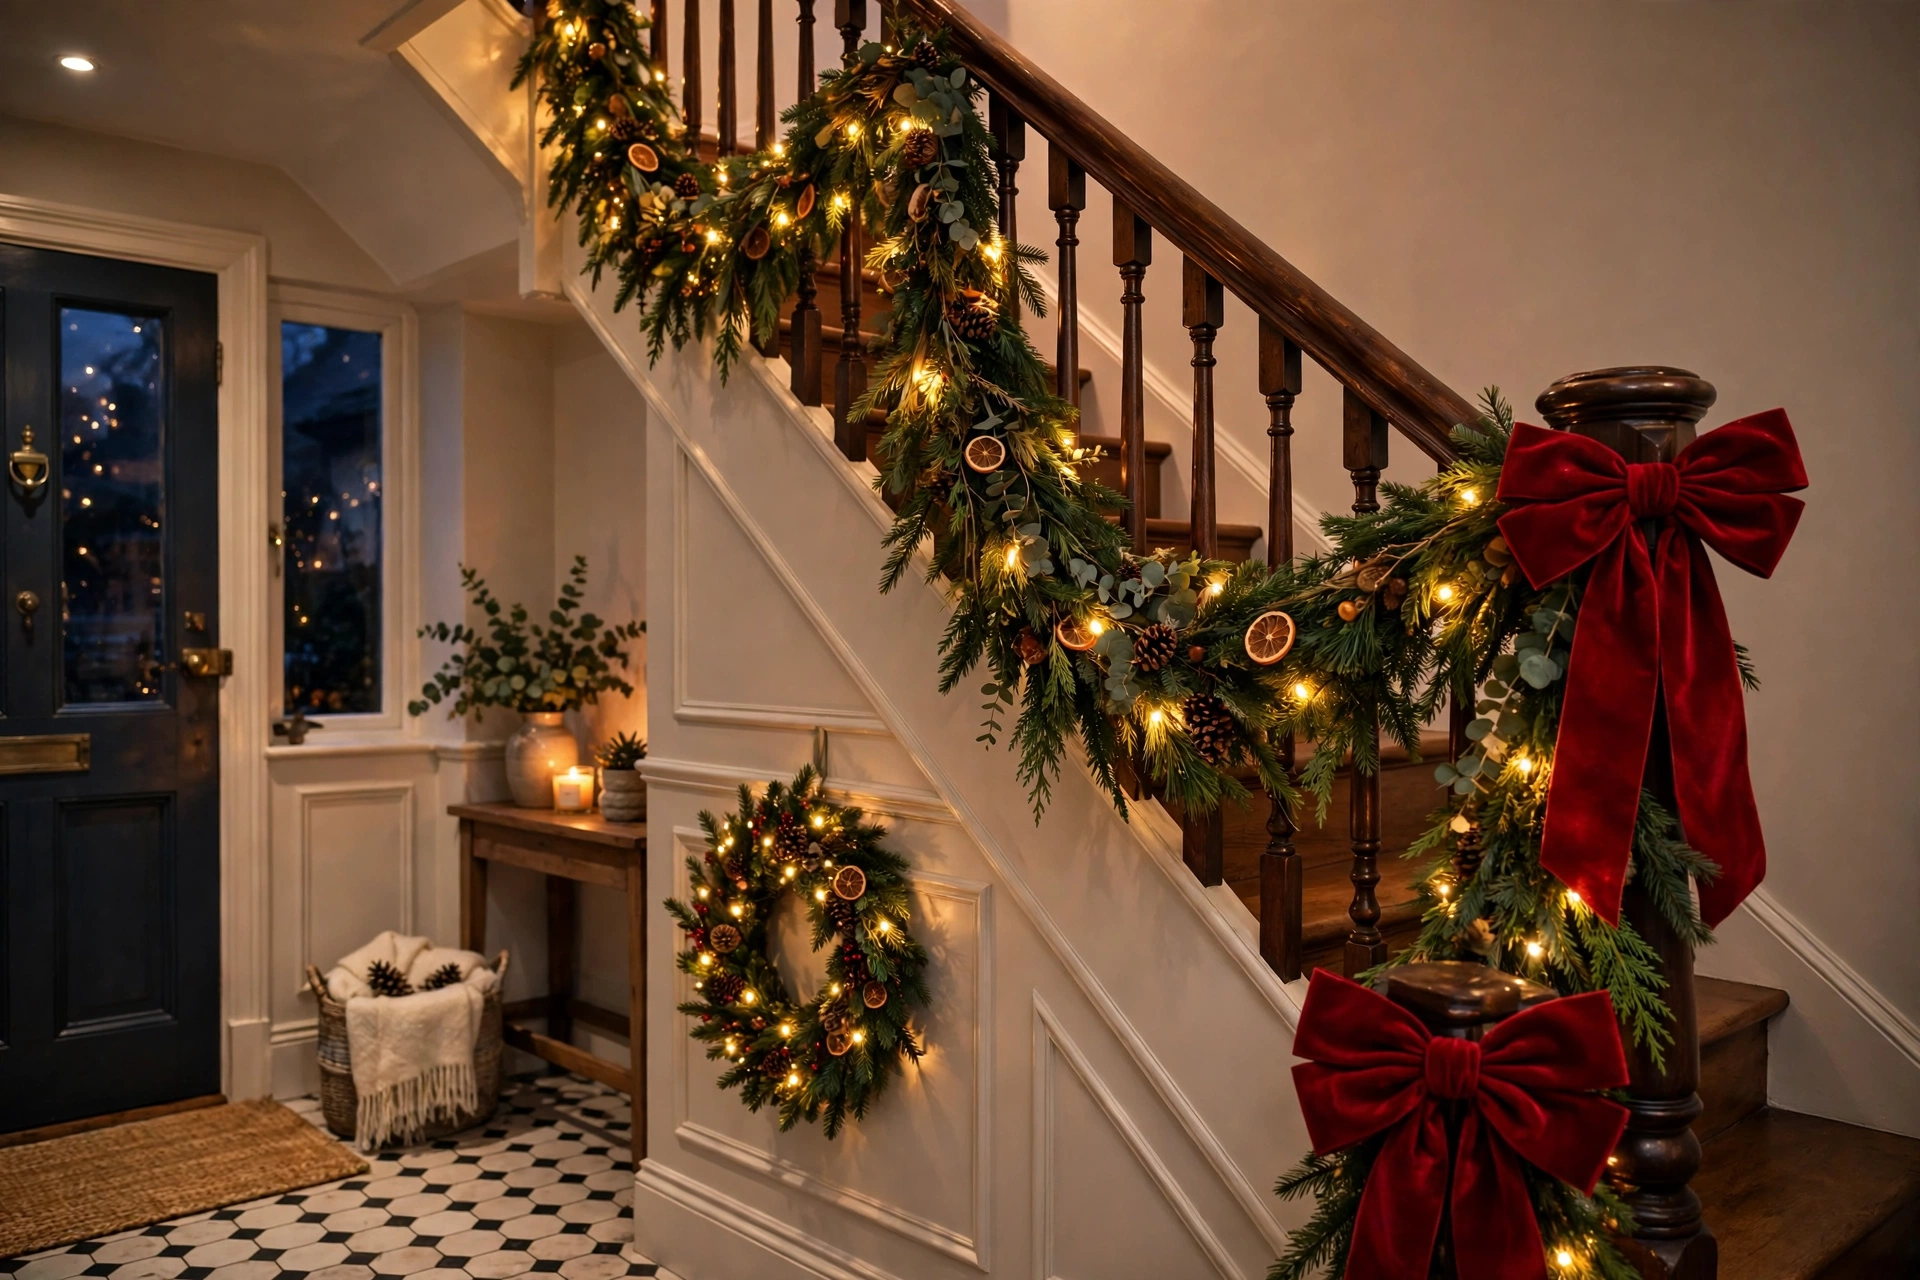
Christmas Staircase Decor Ideas for a Warm Welcome
The staircase is the one Christmas decoration guests walk through instead of looking at. The tree sits in a corner. The mantel sits on a wall. The staircase carries people up and down all day, in the dark, with full hands, in socks, while children run past and dogs follow. That is why it deserves a plan, not just a garland thrown over the rail on the first weekend of December. Done well, a dressed staircase is the first thing guests notice when they come in, and the last thing they see on the way to bed. Done badly, it is a handrail you cannot grip, a swag that catches a sleeve, and a string of lights that comes down with the first excited child. This guide starts with safety, because safety is what makes the pretty part last. Then it works through measuring, garland lengths, swag spacing, lights, newel posts, landings, and the small staircase version of every idea, so a narrow hall gets the same warm welcome as a grand entry. Nothing here needs a designer budget. Most of it needs a tape measure, a spool of floral wire, and an hour you were going to spend untangling lights anyway.
The Safety Rule First: The Handrail Must Stay a Handrail
Before you hang anything on your stairs, walk up and down them the way a guest would. Do it in the evening, with something in your hands, and without really thinking about it. Your hand should find the rail easily at every step. If a garland sits on top of the rail where your palm needs to go, or a bow hangs into the grip zone, move it. The prettiest staircase in the world is a failure if no one can hold on safely.
There are three tests to make sure your staircase stays safe and beautiful. First, the grip test. Can you wrap your hand around the rail? At least rest your palm flat on the top of the rail for the full flight? If the garland covers the top of the rail completely, shift it to the outer face of the rail, below the top edge, so the top stays clear. Second, the sleeve test. Walk up slowly with a loose sleeve or a scarf. See what catches. Anything that snags, a wire end, a loose ornament hook, a long ribbon tail, gets tucked in or removed. Third, the dark test. Go up the stairs in low light. See how they look at night. Check that no decoration narrows the tread, hangs over a step, or blocks the first and last steps, which are where most stumbles happen.
Use battery lights on a staircase, never plug-in lights with a cord crossing a step or a landing. A cord across a walkway is a trip hazard, and a staircase is the worst place in the house for one. Use shatterproof ornaments, not glass. People brush past a banister all season. Glass on a hard stair is a hazard nobody needs. Keep real candles off the stairs entirely. A lantern on a landing is fine if it is battery lit and out of the walking line. A real flame on a step is not a decoration. It is an accident waiting for a sleeve.
If you live with small children or pets, add one more rule. Nothing dangling at head height for a toddler. Nothing edible-looking at dog nose height. Pinecones are fine. Dried orange slices look like treats to a dog. They should go higher, or be left out. Stockings hung on spindles are charming until a child pulls one down and brings the garland with it. So hang stockings from the newel post or the wall beside the stairs, not from a spindle a small hand can reach and yank. Safety is not a sacrifice to beauty. The stairs are a place of movement. They are a place of transition. They are a place where people walk. Make them safe. Make them beautiful. Never forget: the stairs are not a display shelf. They are a pathway.
Measure First: How Much Garland Your Banister Actually Needs
Most staircase garland disappointment happens because people buy too little. A garland that ends before the top, or one that is so thin it shows the rail, looks worse than no garland at all. Measure before you shop, and write the number down. Take a tape measure along the top of the handrail from the newel post at the bottom to the end of the rail at the top. That is your rail length. For a garland that goes along the rail with no swags, add about 10 to 15 percent to that length, so you have enough to wrap the newel post and tuck the ends neatly. For the classic draped look, with swags hanging between fastening points, multiply the rail length by 1.5. A 12 foot banister needs about 18 feet of garland for gentle swags, or two 9 foot lengths joined in the middle. The same math works for ribbon. A loose spiral of ribbon along the length takes roughly 1.5 times the garland length, plus about 3 yards for each large bow. Lights follow the garland, not the rail, so buy a string long enough for the draped length, not the straight length, or the top of the stairs will go dark while the bottom glows. Two thin garlands twisted together look fuller than one expensive thick one. A basic pine garland plus a cedar or eucalyptus strand, twisted loosely around it, reads as one lush garland for a fraction of the price of a premium thick one. This is also the trick for a staircase that has to last six weeks: the faux base holds its shape all season. A few fresh sprigs tucked in each week keep it smelling real without the cost and shedding of an all fresh garland.
The Swag Formula: Where to Fasten, How Deep to Dip
A swag is a dip in the garland between two points where it is tied. How apart those points are makes a big difference. If the points are too close, the staircase looks small. If they are far apart, it looks sloppy. You should tie the garland to the rail or the spindles every 3 to 4 feet. Use floral wire, green zip ties, or ribbon ties. Never use tape or nails. Tape can leave marks. Nails can scratch the surface. Both ruin the finish. The middle of each swag should hang about 6 to 10 inches below the rail. That is the spot. If it hangs too shallow, you will not even notice it from across the room. If it hangs too deep, it starts to get in the way. It can catch on sleeves and bump into people walking by. Always start at the bottom. Work your way up.
Begin by fastening the garland at the newel post. That is the post at the end of the stairs. Make sure it looks good. Use a bow or a bunch of greenery to cover the knot. Then go up to the next fastening point. Let the garland drop naturally into a dip. Then fasten it again. Keep the dips even. One swag that is deep next to one that is too shallow looks off. It does not matter if you cannot say why. It just looks wrong. After every two fastenings, step back to the bottom of the stairs. Look at the whole thing. A staircase is seen as one line, not a series of separate parts. Even spacing makes the line look planned and intentional. If the spacing looks random, the whole design falls apart.
Hide every fastening. A visible zip tie on the banister may seem small. It ruins a photo. Cover it. Twist a piece of greenery over it. Tie a ribbon bow over it. Or tuck a pinecone into the garland at that point. The newel post deserves the most attention. It is the part people see up close. Make it stand out. Give it the biggest bow, the fullest cluster, or a small wreath, and let the rest of the flight be simpler by comparison. For a curved or spiral staircase, skip the swag idea entirely. A
swag on a curve pulls sideways. It looks uneven after a day. Instead, run the garland straight along the rail, fastened every 2 feet, and let the curve itself provide the movement. Spiral stairs also need a lighter touch, because the walking space is already narrow, so use a slim garland and keep ornaments flat against the greenery rather than hanging into the stairwell.
Lights First, Then Ribbon, Then Ornaments
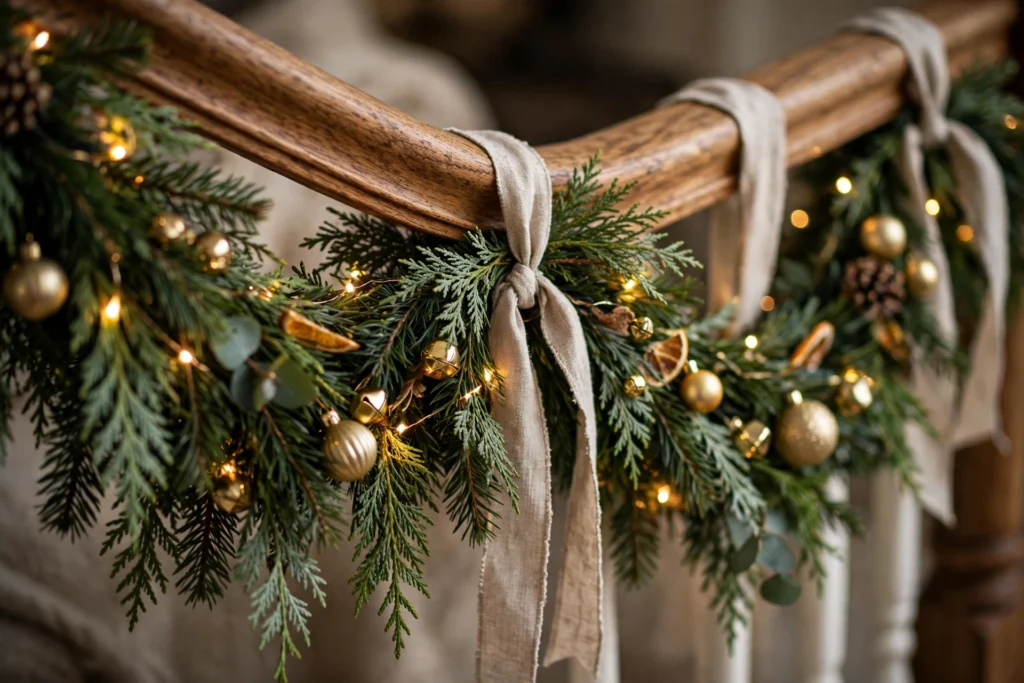
The order you add layers matters. Lights go on first, woven through the garland before it goes up, or threaded through it once it is fastened, working from the bottom of the stairs to the top, so the battery pack ends up at the bottom, where you can reach it. Warm white lights, 2700K or warmer, are the right choice for a staircase, because cool white light on greenery reads as cold and commercial. Battery lights with a timer are worth the small extra cost, because a staircase timer means the lights come on at dusk every evening without anyone climbing the stairs to switch them on. Ribbon goes on second. Wide wired ribbon, 2.5 to 4 inches wide, is the sweet spot for a staircase: narrow enough to twist easily, wide enough to be seen from across the room. Weave it through the garland in loose loops, or spiral it around the garland, and finish with a bow at each newel post and at each swag point if you want a fuller look. Velvet ribbon reads as rich and traditional. Plaid reads as cozy and classic. A plain satin ribbon in one of your palette colors reads as calm and modern. Pick one ribbon and use it everywhere on the staircase, because two different ribbons on one flight fight each other.
Ornaments go on last, and fewer than you think. Wire small clusters of two or three items together, a pair of pinecones with a gold ornament, or a berry pick with a small bauble, and attach each cluster to the garland core with floral wire, spaced evenly, one at each swag point and one or two between. Hanging ornaments should hang short, no more than 3 or 4 inches below the garland, so they do not swing into people using the stairs. Shatterproof ornaments only, as above, and lightweight ones, because a heavy ornament pulls a swag down unevenly over a few days and the whole flight starts to sag on one side. Step back and remove one thing. Every staircase looks better after one removal, usually the extra ornament cluster in the middle that made the flight look busy. The staircase is a long, narrow canvas, and restraint reads as confidence. Once the stairs are dressed, carry the same palette onward through the house. Guests arrive through the porch, so our guide to Christmas front porch decor ideas helps the outside welcome match the stairs inside, and the same colors carried into the dining room, where our guide to Christmas dining table decor ideas keeps the table festive but usable, make the whole house feel planned rather than decorated room by room.
The Newel Post: The One Place to Go Big
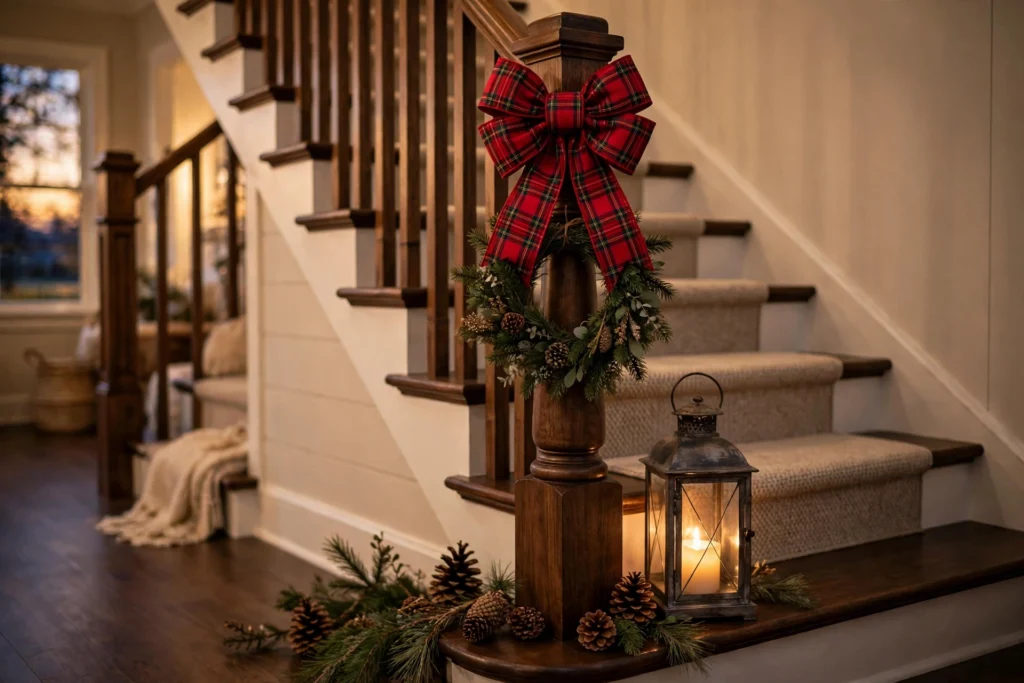
The newel post is the anchor of the staircase, the part people touch, take pictures of, and remember. This is the one place where going big is right. A big bow, a small wreath, a lantern next to the post, or a group of greenery with pinecones and berries, all work. The post can hold more than the rest of the stairs because it is at the edge of the walking area, not in the middle of it. For a traditional look, put a large wired ribbon bow around the post, with tails about 12 inches long, and tuck a sprig of greenery and a pinecone behind the knot. For a modern look, hang a simple wreath on the post, or lean a tall lantern next to it with a battery candle inside. For a family look, hang the stockings here, one for each person, on hooks or ribbon loops around the post, where they can be seen from the front door without blocking the stairs. Stockings on the post also solve the toddler problem from section 1, because they are at the edge of the stairs, not over a spindle in the middle. If your staircase has a landing with a second newel post halfway up, treat that post the same way but make it a little smaller, so the bottom post stays the main focus. Two equal sized bows at different heights look like a competition. One big bow at the bottom and
a smaller one at the landing looks like a plan. A tall display next to the bottom newel post, like a basket of branches, a small potted pine, or a group of lanterns, frames the staircase from the front door and makes the whole entrance look nicely dressed. Keep it out of the walking line and away from the first step, and keep it stable, because a tall basket that tips when a child brushes past it is worse than no basket at all.
Four Finished Looks, One Banister
Use the same garland base and the same swag formula, but change the colors and the accents, and the staircase changes character completely. Traditional red and green is the nostalgic one. Deep green garland, red velvet ribbon, gold ornaments, and red berries tucked into the greenery. It forgives mismatched pieces, because mismatched pieces read as collected over the years, which is the whole point of a traditional staircase. Add a plaid bow at the newel post and it is done. Neutral and Scandinavian is the calm one. Pale faux pine or eucalyptus garland, cream and oatmeal ribbon, pale wood or white ornaments, and warm lights only. Keep metal to one finish, matte black or brushed nickel, and skip the red entirely. This look suits small rooms and modern houses, because it does not shout, and it photographs beautifully in daylight. It also carries beautifully into January if you take the ribbon off and leave the greenery, which is a bonus for anyone who hates undecorating in one big rush. Jewel tones is the dramatic one. Emerald or deep green garland, burgundy and plum ribbon, gold candlesticks or lanterns on the landing, and a few navy ornaments in the garland. Rich and a little theatrical, best in rooms with dark furniture or low evening light. One honest warning: jewel tones eat light, so add more fairy lights than you think you need, or the staircase will look dark in the evening, which is exactly when guests see it most. Woodland and natural is the cheapest one, and often the prettiest. Plain greenery, pinecones gathered for free, dried orange slices on twine, cinnamon sticks tied in small bundles, and a burlap or jute ribbon. No ornaments needed, no color story to match, and everything in it can go back to the garden or the compost in January. This is the look to choose if you have children who want to help, because pinecones and orange slices are decorations a child can actually make and hang without breaking anything.
Small Staircase Christmas Decor: Slim, High, and One Side Only
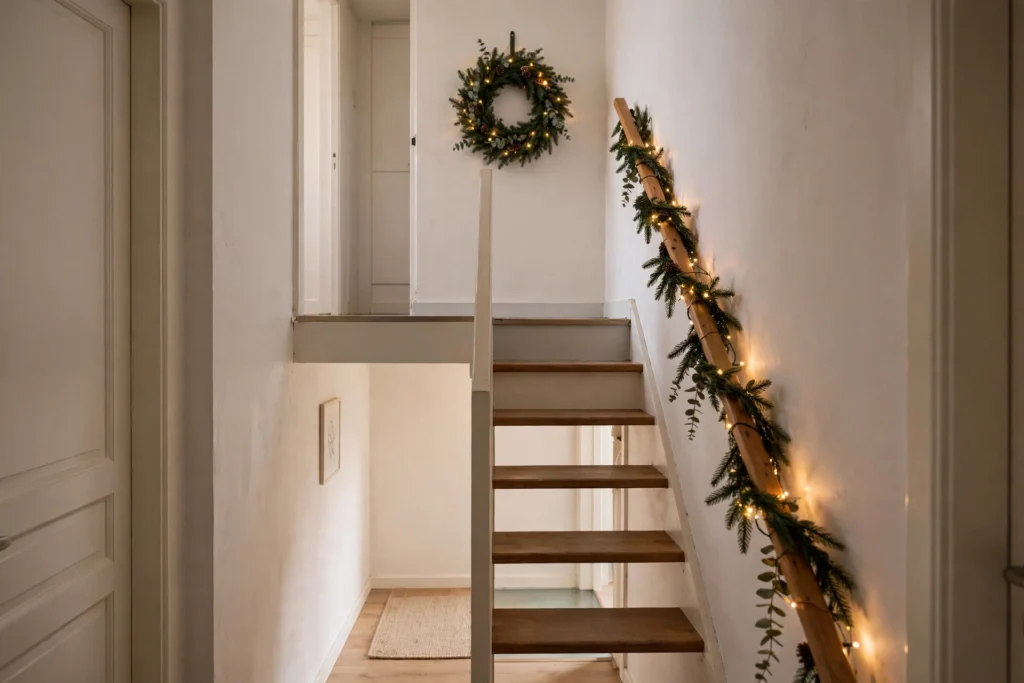
A small staircase is easier, not harder, once you accept that one good garland beats three crowded ones. For a small staircase christmas decor plan, use a slim garland, not a full one, and run it along one side of the rail only, the side guests see from the front door, not both sides. A full garland on a narrow staircase eats the handrail, narrows the walkway, and makes the hall feel smaller, which is the opposite of festive. The formula is simple: one slim garland, one ribbon, lights, and one big moment at the newel post. Skip ornaments on the flight itself, or use only three or four small clusters, because ornaments hanging into a narrow stairwell are the first thing to catch a coat. Put the impact at the bottom, a wreath on the newel post or the wall beside the stairs, a lantern on the floor beside the post, and a short garland swag across the doorway at the top of the stairs if there is one. Guests see a festive staircase, even though the flight itself stays clear enough to walk up safely.
Decorate the wall beside the stairs instead of the stairs themselves. A string of paper stars, a few framed prints swapped for festive ones, or a garland swagged along a picture rail gives the staircase zone color without touching the handrail at all. This is also the renter friendly version, because a wall garland on removable hooks and a wreath on a door hook need no drilling, no nails, and no damage to a banister you do not own. If your stairs are steep, narrow, and heavily used, the honest answer may be to decorate only the newel post and the landing, and leave the flight bare. A bare flight with a beautiful newel post looks intentional. A crowded flight that nobody can use safely looks like a mistake, and guests will remember the stumble, not the garland. This is the same decorate up, not out, idea that works for a small entryway, and if you have just dressed your hallway, our guide to Christmas entryway decor ideas shows how one palette carried from door to stairs makes the whole house feel planned.
Landings, Steps, and the January Take Down
Landings are the staircase’s bonus rooms. They can carry more decoration than the flight because nobody walks through the middle of a landing the way they walk up a flight. A small tree on a landing, a basket of branches, a lantern group, or a console with a garland and candles, all work, as long as the walking line through the landing stays clear. A landing tree should be small, stable, and away from the top step, because a tree that blocks the turn at the top of the stairs is a hazard, not a feature. Steps themselves need restraint. Decorating the risers, the vertical faces of the steps, with removable decals, paper, or a runner, is safe and pretty, because risers are not walked on. Decorating the treads, the horizontal surfaces you step on, with anything loose, is not safe. A runner on the stairs is fine if it is properly fitted and non slip, but a loose rug, a garland draped across a tread, or a lantern sitting on a step, is a trip hazard. Lanterns belong on the wall side of a landing, or on every second or third step only if the steps are wide, the lanterns are battery lit, and they sit hard against the wall, never where a foot lands. On narrow stairs, skip step lanterns entirely and put one generous lantern at the bottom and one at the top, because the glow still frames the staircase without narrowing the walkway.
The take down deserves a plan too, because a staircase garland left up until February looks tired, and a garland ripped down in one rush sheds needles everywhere. Take ornaments off first, then ribbon, then lights, then garland, working from the top down, and bag the garland before carrying it through the house. Faux garland goes back in its box for next year. Fresh sprigs go to compost. Ribbon, if it is wired and undamaged, goes back in the box too, because good wired ribbon lasts for years, and buying the same ribbon again next December is money spent twice. Start with the tape measure, keep the handrail grippable, and let the newel post do the showing off. Do that, and your christmas staircase decor will look like it belongs in a holiday card, while still letting everyone get up and down the stairs safely, which is, after all, the job the staircase has to do every day of December.